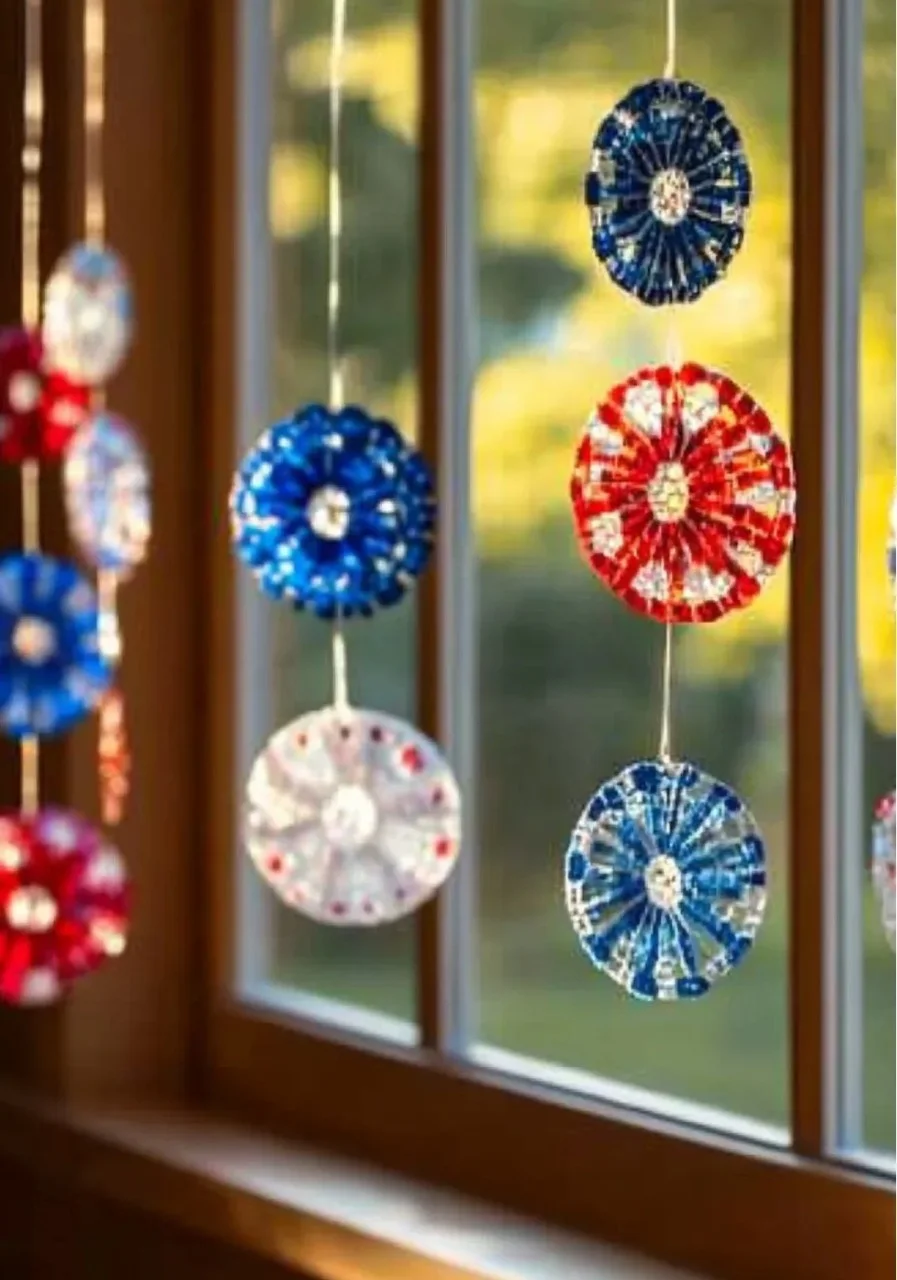
Crafting your own suncatchers is a delightful way to celebrate the 4th of July. Not only do these colorful decorations infuse your home with a festive spirit, but they also allow your creativity to shine. As sunlight filters through the vibrant designs, they illuminate your space with dazzling patterns. This craft is perfect for all ages, making it an excellent activity for family gatherings or a solo project to enjoy on a sunny afternoon. Plus, with minimal supplies and easy-to-follow steps, you’ll find that creating these suncatchers is a rewarding experience that leaves you with a beautiful decoration to show off.
Why You’ll Love This 4th of July Suncatchers:
- Festive Decor: Perfect for adding patriotic flair to your home.
- Creative Expression: A chance to express your creativity with colors and designs.
- Family Fun: A great activity for kids and adults alike.
- Simple and Easy: Minimal supplies needed and straightforward steps.
- Sensory Engagement: The sensory experience of manipulating different materials is both fun and stimulating.
Materials:
- Clear sheet plastic or transparency film
- Red, white, and blue colored tissue paper
- Scissors
- Craft glue or Mod Podge
- Paintbrush (optional, for glue)
- Hole puncher
- String or ribbon for hanging
Full Step-by-Step:
Step 1: Prepare Your Workspace
- Clear a flat surface and gather all your materials.
- Lay down some newspaper or a plastic sheet to protect your workspace.
Step 2: Cut the Base
- Use scissors to cut a piece of clear sheet plastic into your desired shape, such as stars or hearts.
Step 3: Tear Tissue Paper
- Tear or cut red, white, and blue tissue paper into small pieces or shapes.
- Feel the texture of the paper as you create your design!
Step 4: Apply Glue
- Use a brush to spread a thin layer of glue on the plastic sheet.
- The glue will be your adhesive for the tissue paper.
Step 5: Arrange and Adhere
- Begin arranging the tissue paper pieces on the glued surface.
- Place them close together but not overlapping too much to maintain vibrancy.
Step 6: Seal It
- Once you like your design, apply a light layer of glue over the top of the tissue paper.
- This will help seal the paper in place and give it a glossy finish.
Step 7: Punch a Hole
- Use a hole puncher to make a hole at the top of your suncatcher for hanging.
Step 8: Hang Your Suncatcher
- Thread a piece of string or ribbon through the hole.
- Find a sunny window and hang your suncatcher there!
Tips & Variations:
- Customize Colors: Use different colors of tissue paper to match your home decor or personal style.
- Shape Variety: Experiment with different shapes, like circles, stripes, or even abstract designs.
- Layering: Add layers of tissue paper for a more textured look.
- Use Different Materials: Incorporate beads or sequins to add sparkle.
Frequently Asked Questions:
-
Can I use regular paper instead of tissue paper?
- Regular paper is less translucent; however, you can try using it for a different effect, just keep in mind it may not let in as much light.
-
What if I don’t have clear sheet plastic?
- You can use a clear plastic lid or a piece of transparency film from an old report cover.
-
How can I safely clean my suncatcher?
- Use a damp cloth to gently wipe dust off; avoid harsh cleaning agents that can damage the tissue paper.
-
Can these be used outdoors?
- While they can be displayed outside, prolonged exposure to the sun may cause the tissue paper to fade.
Suggestions:
- Consider creating a matching garland with smaller suncatcher shapes to hang around your space.
- Host a suncatcher-making party to share the fun with friends and family.
Final Thoughts
Creating 4th of July suncatchers is more than just a craft; it’s a way to celebrate creativity and bring a touch of festivity into your home. We’d love to hear about your versions! Share your creations or any thoughts in the comments below! Happy crafting!
Print
4th of July Suncatchers
- Total Time: 15 minutes
- Yield: 1 suncatcher
- Diet: N/A
Description
Create colorful suncatchers that celebrate the 4th of July with this fun and easy craft project.
Ingredients
- Clear sheet plastic or transparency film
- Red, white, and blue colored tissue paper
- Scissors
- Craft glue or Mod Podge
- Paintbrush (optional, for glue)
- Hole puncher
- String or ribbon for hanging
Instructions
- Prepare Your Workspace: Clear a flat surface and gather all your materials, laying down newspaper or a plastic sheet for protection.
- Cut the Base: Cut a piece of clear sheet plastic into your desired shape, like stars or hearts.
- Tear Tissue Paper: Tear or cut red, white, and blue tissue paper into small pieces or shapes.
- Apply Glue: Spread a thin layer of glue on the plastic sheet.
- Arrange and Adhere: Arrange the tissue paper pieces on the glued surface, placing them close together.
- Seal It: Apply a light layer of glue over the top of the tissue paper to seal.
- Punch a Hole: Use a hole puncher to make a hole at the top of the suncatcher for hanging.
- Hang Your Suncatcher: Thread a piece of string or ribbon through the hole and hang it in a sunny window.
Notes
Customize colors and shapes or add beads and sequins for extra sparkle. Clean gently with a damp cloth.
- Prep Time: 15 minutes
- Cook Time: 0 minutes
- Category: Craft
- Method: Crafting
- Cuisine: N/A
Nutrition
- Serving Size: 1 suncatcher
- Calories: 0
- Sugar: 0g
- Sodium: 0mg
- Fat: 0g
- Saturated Fat: 0g
- Unsaturated Fat: 0g
- Trans Fat: 0g
- Carbohydrates: 0g
- Fiber: 0g
- Protein: 0g
- Cholesterol: 0mg

