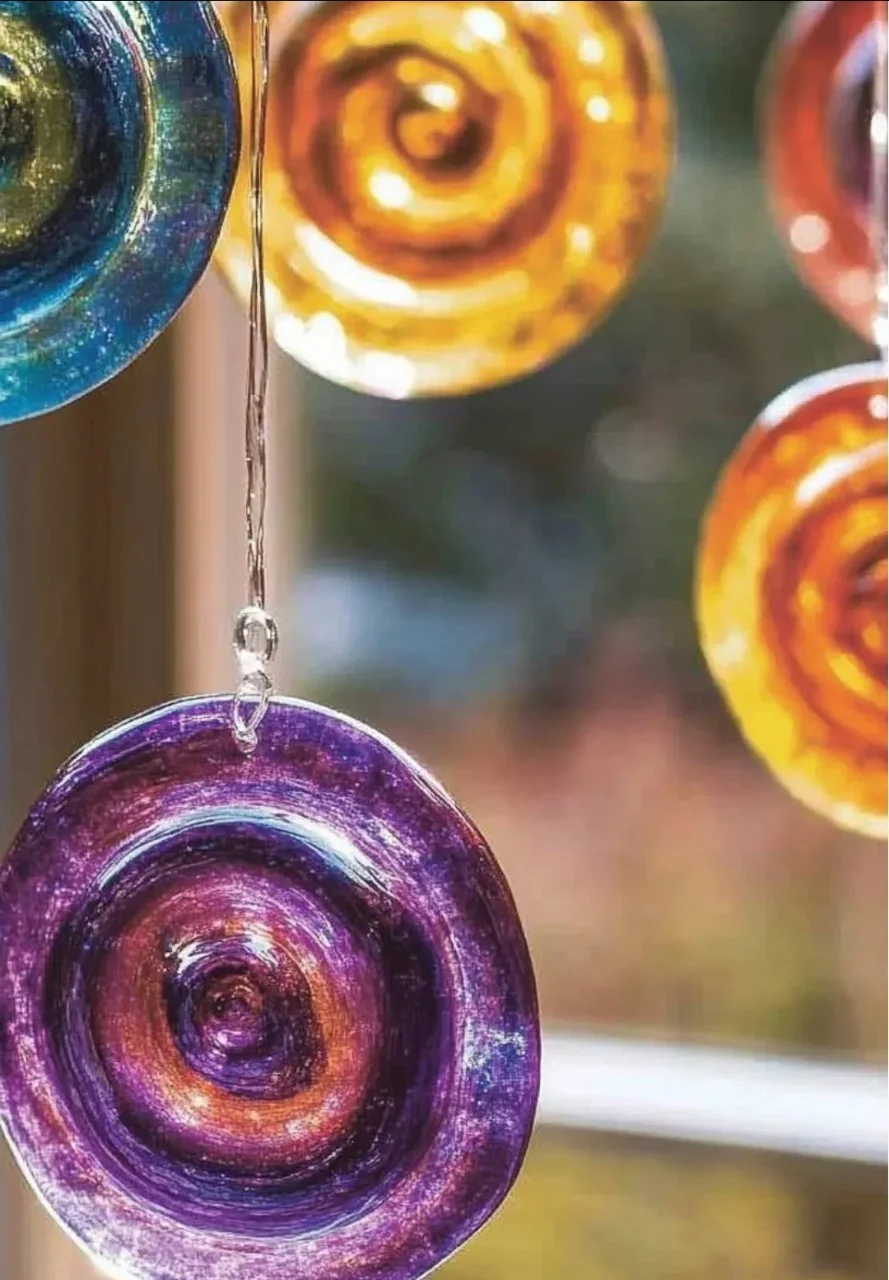
Are you looking for a fun and creative way to brighten up your home? Tie-dye glue suncatchers are the perfect craft to add a splash of color while making a lovely decoration. These suncatchers are not only beautiful but also easy to create, making them an excellent choice for both kids and adults. The materials required are simple and inexpensive, ensuring that you can get started without much hassle. Plus, the process of seeing your design come to life as the sunlight shines through adds an extra element of joy. Whether you’re crafting on a sunny afternoon or a rainy day, tie-dye glue suncatchers will spark creativity and imagination. Let’s dive into this enchanting craft that can breathe new life into any window!
Why You’ll Love This Tie-Dye Glue Suncatchers
- Easy to Create: Suitable for all skill levels, making it a great family activity.
- Colorful Creations: Brings vibrant colors and patterns into your home.
- Customizable: Personalize with different colors and designs to fit your style.
- Sensory Experience: Engaging process with the sticky texture of glue and the vivid colors.
- Sunlit Artwork: Brightens your space as sunlight shines through.
Materials
- Clear school glue
- Liquid food coloring (various colors)
- A sheet of wax paper or parchment paper
- Plastic squeeze bottles or disposable pipettes
- Toothpicks or skewers (optional for swirling colors)
- Scissors (for cutting out shapes later)
Full Step-by-Step
Prepare Work Area
- Choose a well-lit and clean workspace.
- Lay down wax paper or parchment to prevent sticking.
Mix Colors
- Pour clear school glue into squeeze bottles or cups.
- Add a few drops of liquid food coloring to each glue container.
- Mix well to combine, creating your desired colors.
Create Suncatcher Design
- Squeeze out glue in your preferred shapes (circles, swirls, lines) onto the wax paper.
- Use toothpicks to swirl colors together, creating tie-dye effects.
- Layer colors if desired, allowing them to blend.
Drying
- Allow your suncatchers to dry completely (at least 24 hours).
- Once dry, carefully peel off suncatchers from the wax paper.
Hang and Enjoy
- Cut out any desired shapes if needed, then hang in a sunny window.
- Enjoy the beautiful reflections and colors dancing in your space!
Tips & Variations
- Customize Colors: Experiment with different color combinations to match your decor.
- Use Glitter: Add fine glitter to the glue before applying for extra sparkle.
- Shape Templates: Use cookie cutters as templates for fun shapes.
- Size Variations: Create smaller or larger suncatchers depending on your window size.
Frequently Asked Questions
Q1: Can I use other types of glue?
A1: Yes, but clear school glue works best for a transparent finish.
Q2: How do I clean up if glue spills?
A2: Use warm, soapy water immediately; dried glue may require scraping.
Q3: How long does it take to dry?
A3: It typically takes 24 hours for the glue to dry completely.
Q4: Can I use this method outdoors?
A4: While you can hang them outside, prolonged sunlight exposure may fade the colors.
Suggestions
- Create a series of themed suncatchers for different seasons or holidays.
- Use as gifts; add a personal touch with handwritten notes.
- Make a suncatcher for each family member; challenge everyone to create unique designs.
Final Thoughts
Crafting tie-dye glue suncatchers is not only a delightful endeavor but also a fantastic way to beautify your living space. We encourage you to share your versions of this craft! Leave a comment to let us know how your suncatchers turned out or if you have any fun variations we can try together. Happy crafting!
Print
Tie-Dye Glue Suncatchers
- Total Time: 24 hours 10 minutes
- Yield: Varies based on design size
- Diet: N/A
Description
Brighten up your home with these colorful, easy-to-create tie-dye glue suncatchers that are perfect for all ages.
Ingredients
- Clear school glue
- Liquid food coloring (various colors)
- A sheet of wax paper or parchment paper
- Plastic squeeze bottles or disposable pipettes
- Toothpicks or skewers (optional for swirling colors)
- Scissors (for cutting out shapes later)
Instructions
- Prepare Work Area: Choose a well-lit and clean workspace. Lay down wax paper or parchment to prevent sticking.
- Mix Colors: Pour clear school glue into squeeze bottles or cups. Add a few drops of liquid food coloring to each glue container and mix well to combine.
- Create Suncatcher Design: Squeeze out glue in your preferred shapes onto the wax paper. Use toothpicks to swirl colors together.
- Drying: Allow your suncatchers to dry completely (at least 24 hours). Carefully peel off suncatchers from the wax paper.
- Hang and Enjoy: Cut out any desired shapes if needed, then hang in a sunny window.
Notes
Experiment with different color combinations and consider adding glitter for extra sparkle.
- Prep Time: 10 minutes
- Cook Time: 0 minutes
- Category: Craft
- Method: Crafting
- Cuisine: N/A
Nutrition
- Serving Size: N/A
- Calories: 0
- Sugar: 0g
- Sodium: 0mg
- Fat: 0g
- Saturated Fat: 0g
- Unsaturated Fat: 0g
- Trans Fat: 0g
- Carbohydrates: 0g
- Fiber: 0g
- Protein: 0g
- Cholesterol: 0mg

