- Introduction
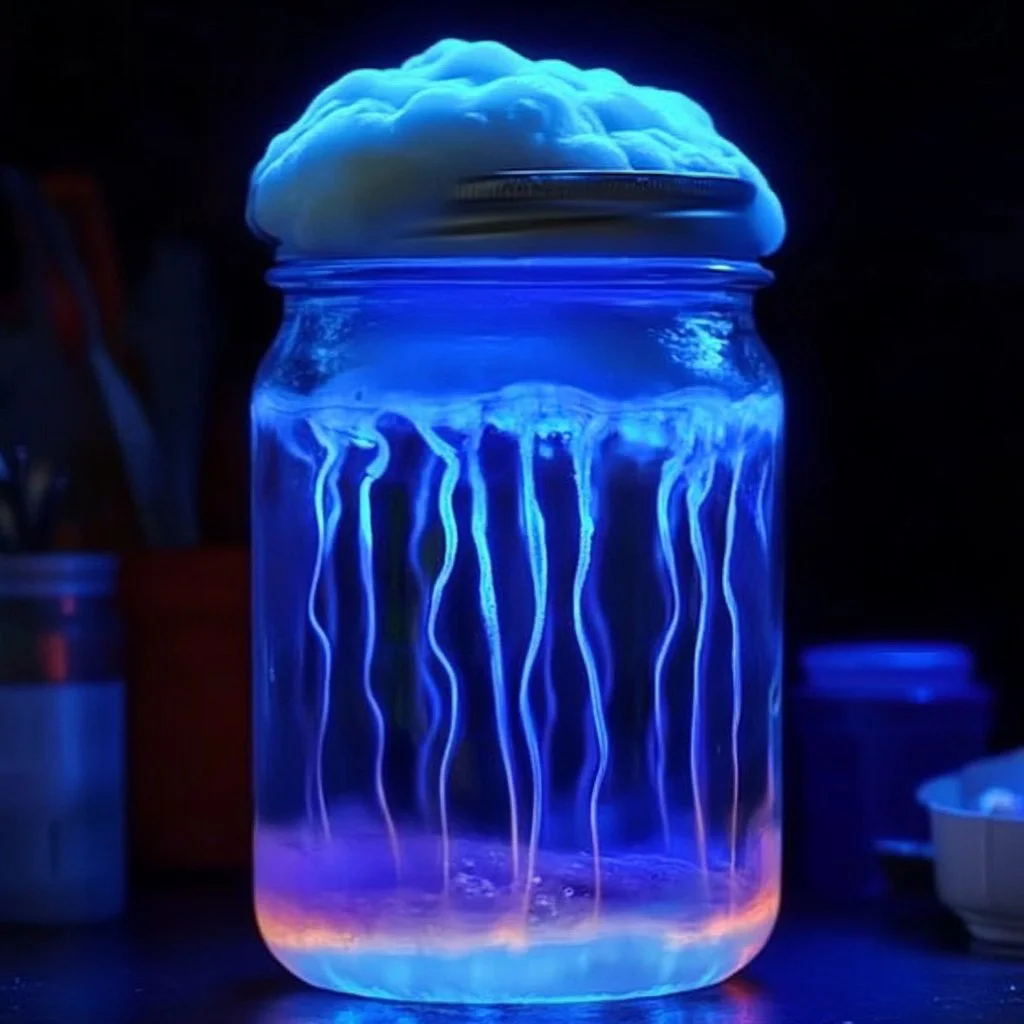
Creating a Thundercloud Jar is not only a delightful DIY project but also a captivating way to experience the beauty of storms indoors. This simple jar captures the essence of a thunderstorm, combining vibrant colors and sensory elements that are both fun and educational. Perfect for kids and adults alike, the Thundercloud Jar is an inspiring way to explore concepts like density and light diffusion. Plus, it’s an eye-catching decorative piece that can spark conversations and curiosity. Gather your materials and prepare for an engaging, hands-on experience that brings a bit of nature’s wonder into your home.
- Why You’ll Love This Thundercloud Jar
- Visually Stunning: The swirling colors simulate a thunderstorm, creating mesmerizing visuals.
- Educational Experience: Great for kids to learn about density, color mixing, and atmospheric effects.
- Easy to Make: Requires only a few materials and can be completed in a short time.
- Customizable: Experiment with different colors or add ins to create your unique version.
- Stress Relief: Watching the swirling colors can be calming and therapeutic.
- Perfect Gift Idea: Makes a thoughtful and unique gift for friends or family.
- Materials
- Clear glass jar or container
- Water
- Vegetable oil
- Food coloring (blue, black, gray)
- Dropper or syringe
- Optional: Glitter or small beads for added effect
- Step-by-Step Instructions
Step 1: Prepare the Jar
- Begin with a clean, dry glass jar. A tall jar works best to capture the thundercloud effect.
Step 2: Fill with Water
- Fill the jar about one-third full with water. Use tap water for easy availability.
Step 3: Add Oil
- Carefully pour vegetable oil into the jar until it is almost full. Leave some space at the top. Note how the oil sits on top of the water due to density differences.
Step 4: Add Color
- Using a dropper or syringe, dispense food coloring into the jar. Watch how the color beads sink through the oil before spreading out in the water.
Step 5: Create Your Thundercloud Effect
- To enhance the visual, add glitter or small beads to simulate raindrops or thundercloud texture. This step is optional but adds an exciting element.
Step 6: Observe and Enjoy
- Gently swirl the jar to mix the ingredients. Pause and observe the captivating movements inside as the colors blend and swirl.
- Tips & Variations
- Swap Ingredients: Instead of food coloring, try using liquid watercolors for a different hue palette.
- Layering Colors: Experiment with layering different colors of oil and water for a more dramatic effect.
- Texture Add-Ins: Consider adding small plastic toys or marbles for a playful touch.
- Seasonal Themes: Use colors reflective of different seasons or holidays for unique themes.
- Frequently Asked Questions
-
Can I use other types of oil?
Yes, you can experiment with different oils (like olive or canola), but vegetable oil is preferred for clarity and consistency. -
What if I don’t have food coloring?
If you don’t have food coloring, you can use alternative dyes like natural juices or powders, but they may not produce the same vibrant results. -
How long will the Thundercloud Jar last?
The jar can last for weeks; however, if you notice any separation or odor, it’s best to refresh the materials. -
Can I store the jar for later use?
Yes, you can keep it sealed for future enjoyment, but mixing it before use will enhance the visual effect.
-
Serving Suggestions or Pairings
Pair your Thundercloud Jar with educational books about weather, science experiments, or craft sessions. It also looks great alongside light snacks or beverages like lemonade to keep the mood light and fun. -
Final Thoughts
The Thundercloud Jar is not just a decorative piece; it’s a memorable experience that encourages creativity and learning. Whether as a project for a rainy day or a unique gift, it’s sure to delight. We encourage you to share your own variations or thoughts in the comments below! Your creative ideas can inspire others to join in on the fun!

Thundercloud Jar
- Total Time: 15 minutes
- Yield: 1 jar
- Diet: N/A
Description
A visually stunning DIY project that simulates a thunderstorm with swirling colors, perfect for educational purposes and decorative displays.
Ingredients
- Clear glass jar or container
- Water
- Vegetable oil
- Food coloring (blue, black, gray)
- Dropper or syringe
- Optional: Glitter or small beads
Instructions
- Prepare the jar: Begin with a clean, dry glass jar.
- Fill with water: Fill the jar about one-third full with water.
- Add oil: Carefully pour vegetable oil into the jar until it is almost full.
- Add color: Using a dropper or syringe, dispense food coloring into the jar.
- Create your thundercloud effect: Add glitter or small beads to simulate raindrops.
- Observe and enjoy: Gently swirl the jar and observe the captivating movements.
Notes
Experiment with different colors, layering techniques, and texture add-ins to customize your Thundercloud Jar.
- Prep Time: 15 minutes
- Cook Time: 0 minutes
- Category: DIY Craft
- Method: Crafting
- Cuisine: N/A
Nutrition
- Serving Size: 1 jar
- Calories: 0
- Sugar: 0g
- Sodium: 0mg
- Fat: 0g
- Saturated Fat: 0g
- Unsaturated Fat: 0g
- Trans Fat: 0g
- Carbohydrates: 0g
- Fiber: 0g
- Protein: 0g
- Cholesterol: 0mg

