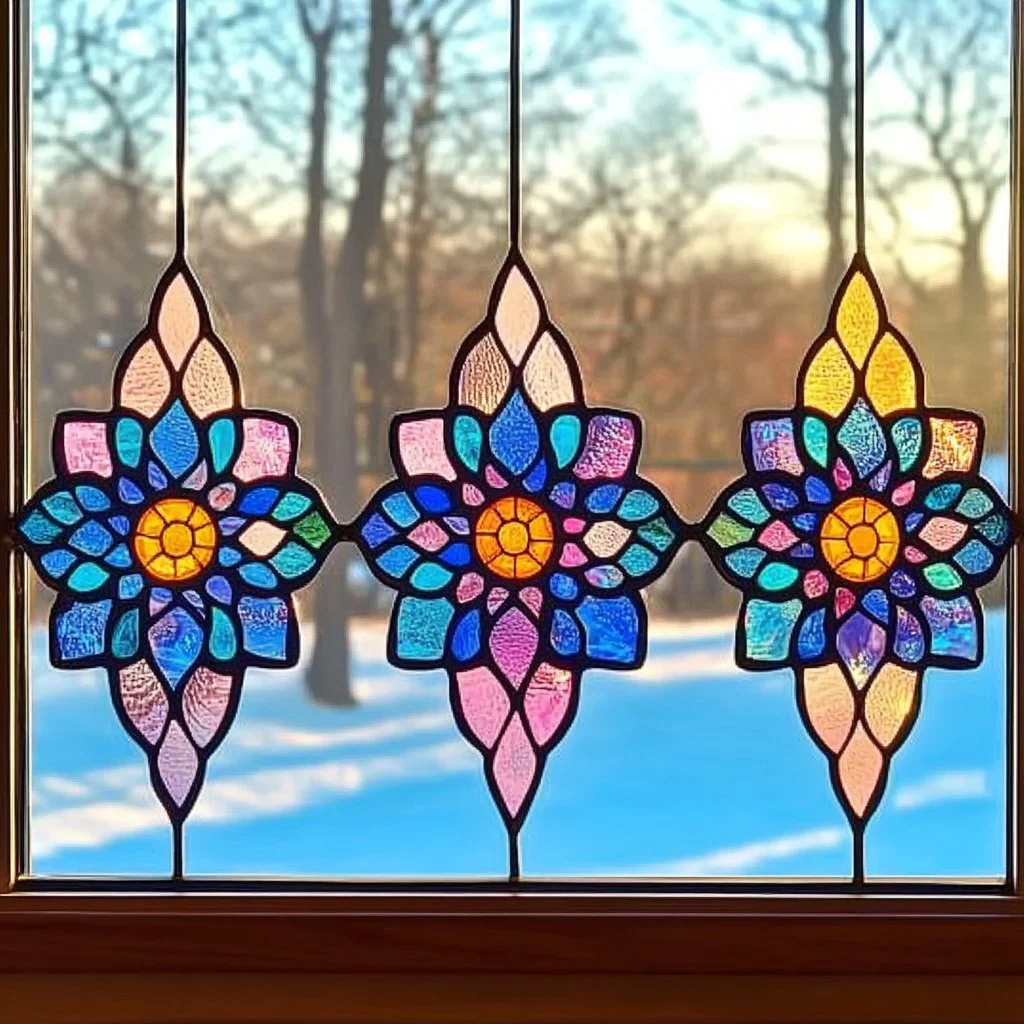
Stained glass suncatchers add a touch of elegance and color to any space, and a snowflake design can evoke the beauty of winter all year round. Not only is this craft visually striking, but it also allows for creativity and personal expression. Whether you are a seasoned crafter or a beginner, making stained glass suncatcher snowflakes can be a fun, meditative experience. This guide will walk you through the steps of creating your own stunning suncatcher, helping you bring a touch of nature’s beauty indoors. If you’re looking for a unique decoration or a thoughtful gift, this project is sure to inspire!
Why You’ll Love This Stained Glass Snowflake Suncatcher:
- Easy to Make: Perfect for crafters of all skill levels.
- Customizable: Use colors and styles that match your décor.
- Beautifully Reflective: Captures and displays light beautifully.
- Seasonal Decor: A lovely addition during the winter months.
- Perfect Gift: A thoughtful handmade gift for friends and family.
Materials:
- Clear plastic sheets or transparency film
- Permanent markers (various colors)
- Scissors
- Craft knife (for adult supervision)
- String or fishing line
- Hole puncher
- Optional: glitter, beads, or rhinestones for added flair
Full Step-by-Step:
1. Design Your Snowflake
- Use a pencil to sketch a snowflake pattern on paper.
- Keep it simple with symmetrical shapes for best results.
2. Transfer to Plastic
- Place your plastic sheet over the drawn design.
- Use permanent markers to trace and color in the pattern.
3. Cutting
- Carefully cut out the snowflake shape using scissors or a craft knife.
- Make sure to wear protective gloves if using a craft knife for safety.
4. Adding Holes
- Use a hole puncher to create a hole at the top of the snowflake for hanging.
5. Finishing Touches
- If desired, add glitter, beads, or rhinestones for sparkle.
- Allow any glue or ink to dry fully before proceeding.
6. Hang Your Suncatcher
- Thread string or fishing line through the hole.
- Find a spot that receives direct sunlight, preferably near a window.
Tips & Variations:
- Customize Colors: Use metallic or neon markers for a different look.
- Experiment with Shapes: Create various shapes—like stars or icicles—for diversity.
- Frame Your Design: Consider using a wooden or metal frame for added dimension.
- Layer Designs: Make several layers of snowflakes for a 3D effect.
Frequently Asked Questions:
Q1: Can I use different types of plastic?
A1: Yes, any clear plastic will work, but make sure it’s sturdy enough to hold its shape.
Q2: What if I don’t have permanent markers?
A2: You can use acrylic paint, but ensure it is on a surface that won’t smudge.
Q3: How do I hang the suncatcher if I don’t have a hole punch?
A3: You can tie loops directly around the edges if a hole punch isn’t available.
Q4: Can kids participate in this project?
A4: Yes, with supervision, they can help with coloring and design, but cutting should be done by an adult.
Suggestions:
- Pair this project with a fun hot chocolate night for a perfect winter activity.
- Use this snowflake suncatcher as part of a larger winter-themed display with other crafts.
Final Thoughts
Creating your own stained glass snowflake suncatcher not only enriches your crafting skills but also brightens up your surroundings. Once you’ve finished your project, we’d love to see your versions! Share your creations or leave a comment below to inspire others in our crafting community. Happy crafting!
Print
Stained Glass Snowflake Suncatcher
- Total Time: 20 minutes
- Yield: 1 suncatcher
- Diet: N/A
Description
Create stunning stained glass suncatcher snowflakes to bring a touch of winter elegance indoors.
Ingredients
- Clear plastic sheets or transparency film
- Permanent markers (various colors)
- Scissors
- Craft knife (for adult supervision)
- String or fishing line
- Hole puncher
- Optional: glitter, beads, or rhinestones for added flair
Instructions
- Design Your Snowflake: Sketch a snowflake pattern on paper with a pencil.
- Transfer to Plastic: Place the plastic sheet over the design and trace with permanent markers.
- Cutting: Cut out the snowflake shape carefully using scissors or a craft knife.
- Adding Holes: Use a hole puncher to create a hole at the top for hanging.
- Finishing Touches: Optionally add glitter, beads, or rhinestones and let it dry.
- Hang Your Suncatcher: Thread string or fishing line through the hole and hang by a sunny window.
Notes
Supervise children when using a craft knife and ensure safe materials for all ages.
- Prep Time: 10 minutes
- Cook Time: 0 minutes
- Category: Craft
- Method: Crafting
- Cuisine: N/A
Nutrition
- Serving Size: 1 suncatcher
- Calories: 0
- Sugar: 0g
- Sodium: 0mg
- Fat: 0g
- Saturated Fat: 0g
- Unsaturated Fat: 0g
- Trans Fat: 0g
- Carbohydrates: 0g
- Fiber: 0g
- Protein: 0g
- Cholesterol: 0mg

