

Stained glass glue window art creates vibrant translucent designs that shine beautifully in natural sunlight. As the morning light spills softly into your home, you can feel the warmth of the sun wrapping around you. Imagine creating something that catches that gentle light, transforming your space into a cozy canvas of color. The act of mixing glue with vibrant pigments stirs a sense of calm, much like a soothing balm for the spirit. Each swirl of color becomes a moment, inviting you to slow down and savor the tactile experience of making art.
The Heart Behind This DIY
Stained glass glue window art offers a simple yet profound way to embrace creativity and mindfulness. This project eases you into a state of tranquility, helping to quiet the noise of daily life. The vibrant colors and delicate designs remind us of the joy in simplicity. As you make this window art, each moment allows you to focus on the subtle shift of color, the way light dances through it, and how it changes the atmosphere of your surroundings.
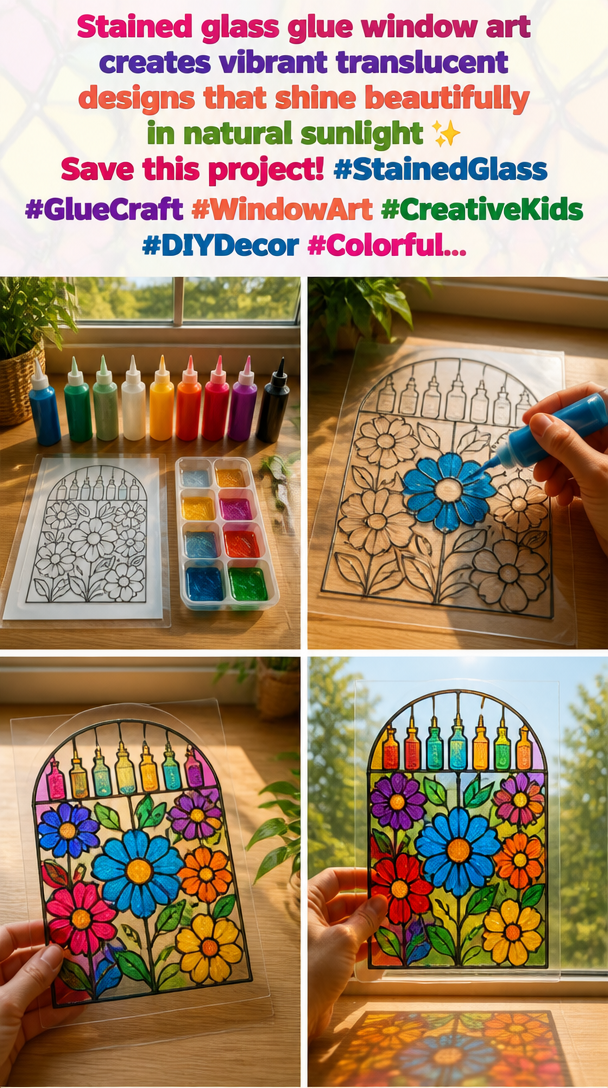
Creating something beautiful can be a deeply satisfying experience. It allows you to take a breath and engage with the world around you in a slower, more intentional way. The cozy nature of this DIY provides an open invitation to explore your imagination and express your personality through color and design. Each piece tells a story, inviting warmth and joy into your home.
A Gentle Look at the Process
The process of making stained glass glue window art feels gentle and rhythmic. It invites you to engage with each element—seeing, touching, and feeling the colors come to life. The sensation of smooth glue gliding under your fingers as you shape the design becomes a meditative practice.
As you pour out the glue and mix in the colors, notice the soft sounds—the quiet squish of the glue bottle, the gentle tap of your tools on the surface, and the subtle rustle of paper as you create your canvas. Each phase unfolds like a calming ritual, encouraging you to embrace the flow of creation.
Materials You’ll Need
Gathering materials for stained glass glue window art is a delightful part of the process. Here’s what you will need:
- Clear school glue or craft glue (easy to find)
- Food coloring or glass paint in various colors
- Wax paper or parchment paper to serve as your canvas
- A plastic squeeze bottle or pipette for precision
- Scissors and a small paintbrush (optional)
- Glitter (optional, for added sparkle)
Everything you need is simple, allowing you to focus on the joy of creating without the stress of complicated ingredients.
Step-by-Step Directions
-
Prepare Your Space: Find a quiet, comfortable spot where you can spread out your materials. Lay down your wax paper or parchment paper as a base for your work.

-
Mix the Colors: In a small container, combine some school glue with a few drops of your chosen food coloring or glass paint. Use a craft stick or spoon to mix well until you achieve a consistent hue.
-
Create Your Design: Start with a simple shape, like a sun or flower. Use the squeeze bottle or pipette to carefully outline your design on the wax paper. Let the glue flow freely, and enjoy the sensation of control as you create shapes.
-
Add Color: Once the outline is dry to the touch, fill in the shapes with your mixed colors. Blend colors in areas if you wish, making sure to keep the glue layer thick enough to maintain a translucent quality.
-
Incorporate Glitter: If you love a bit of sparkle, sprinkle glitter on wet sections of glue for added texture. It catches the light beautifully, enhancing the overall effect.
-
Let It Dry: Allow your artwork to cure for several hours, or overnight, if possible. This drying time develops the vibrant colors and translucent qualities needed for that stunning stained glass look.
-
Peel and Display: Once completely dry, carefully peel your art from the wax paper. You can now stick it to your window or another glass surface using a bit of water or more glue.
Enjoying the Finished Piece
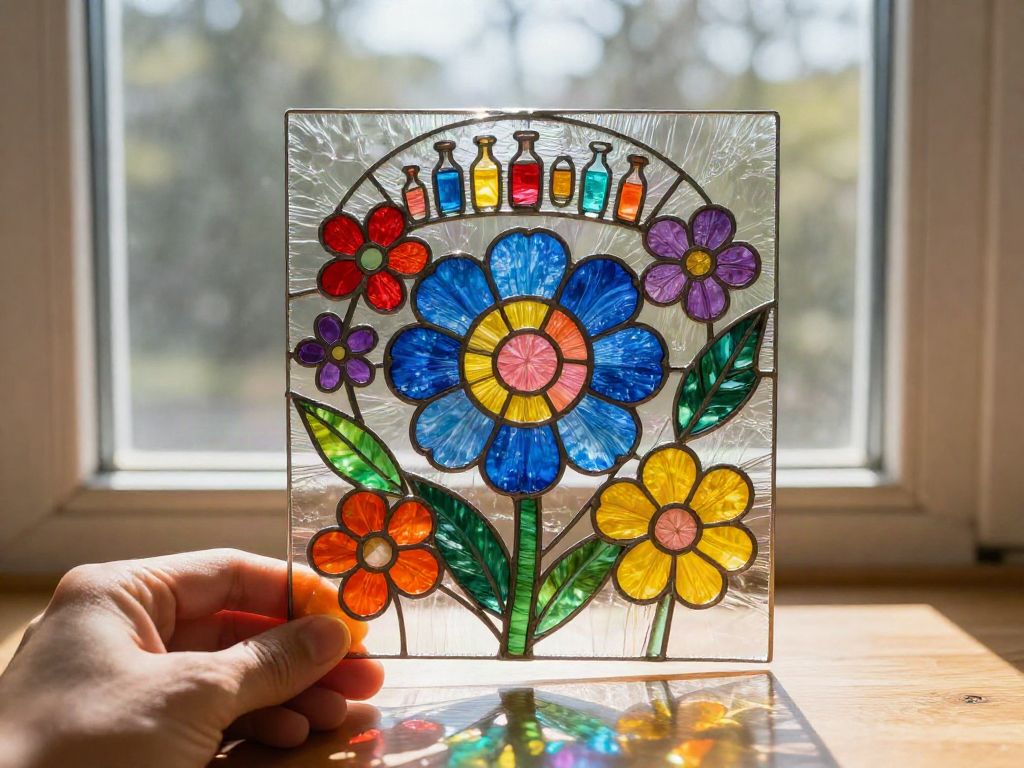
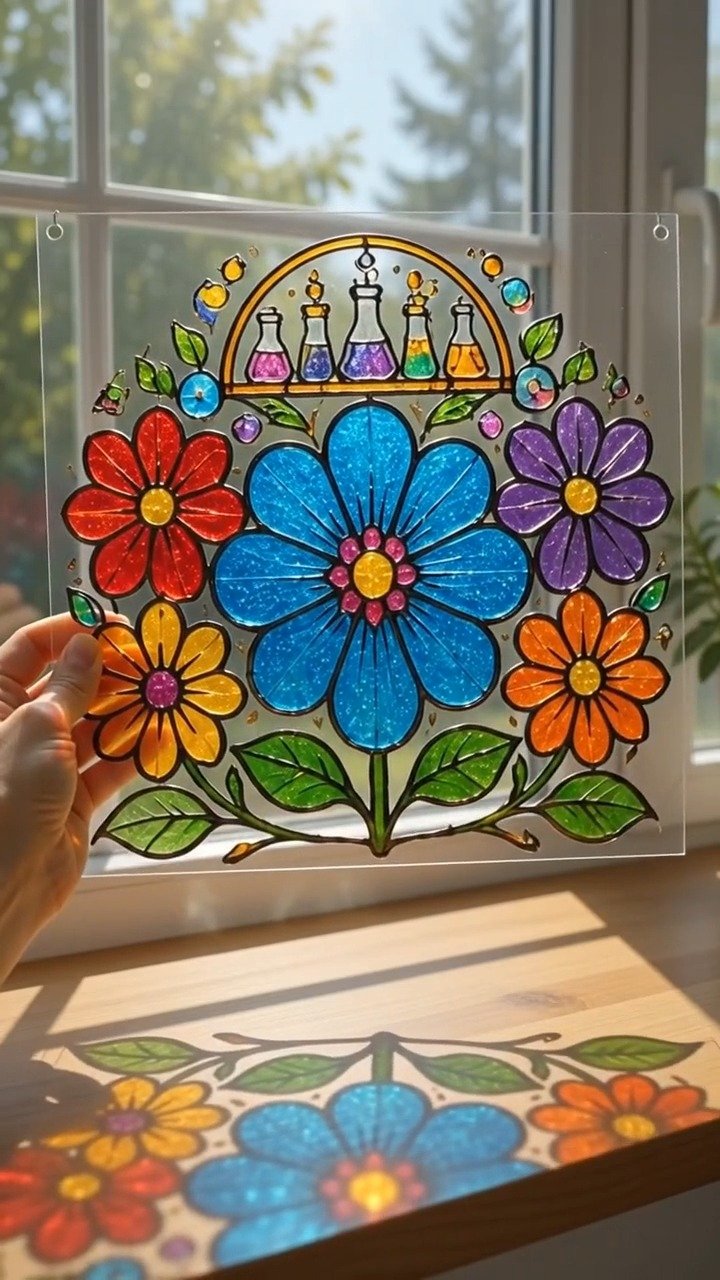
Once you hang your stained glass glue window art, step back and observe how it shifts with the sunlight. The colors become alive, radiating warmth throughout your space. This DIY brings a personal touch to your home, transforming ordinary windows into colorful portals.
Imagine the delight as sunlight filters through your creation, spilling colors onto your walls, furniture, and floors. It invites serenity into your day, filling your environment with cheerful hues that remind you to pause and appreciate small moments of beauty.
You can change your art with the seasons or simply when you feel inspired to create anew. Each piece adds its own charm and personality to your space, creating a dynamic atmosphere that encourages warmth and reflection.
Making This DIY Last
One of the beautiful aspects of stained glass glue window art is its longevity when cared for properly. To preserve your artwork, avoid direct moisture and harsh sunlight, which can fade colors over time. Instead, keep it in a lovely window that offers filtered light.
If you wish to change or refresh your designs, simply peel the art off its surface carefully and clean the glass with a glass cleaner to remove any residue. You can even layer new creations over old ones, allowing them to coexist on the same window. This playful approach keeps your creative spirit alive as you explore new colors and patterns.
Small Ways to Make It Your Own
Every artistic journey is unique, and inviting personal touches into your stained glass glue window art makes it even more special. Here are a few gentle suggestions to inspire you:
-
Experiment with Shapes: Instead of standard designs, explore abstract forms or intricate patterns. Let your imagination guide you.
-
Layering Colors: Play with the intensity of your colors. Some layers can be more opaque, while others remain translucent, creating depth in your design.
-
Textures and Mixed Media: Incorporate textured elements like fabric or string into your designs for added dimension. These materials can create unique shadows and enhance the visual experience.
-
Seasonal Themes: Create artworks inspired by the changing seasons. Use autumn hues for a fall piece or soft pastels for spring, allowing your windows to reflect nature’s cycles.
-
Collaborate: If you have children or friends who enjoy crafting, invite them to create alongside you. Together, you can celebrate your collective creativity and share materials.
FAQs About Stained glass glue window art creates vibrant translucent designs that shine beautifully in natural sunlight
Q: Will my stained glass glue art be safe in direct sunlight?
A: While the artwork looks lovely in sunlight, prolonged exposure can fade the colors. It’s best to display it in a place where it enjoys filtered light.
Q: How do I clean my window after I’ve applied the art?
A: Use a gentle glass cleaner and a soft cloth to wipe your windows. Be careful not to scrub too hard, as you don’t want to damage your artwork.
Q: Can I reuse the materials?
A: Yes, you can reuse the glue and colors for new designs when you’re ready. Keep everything properly stored for your next creative session.
Q: How do I make the colors brighter?
A: Experiment with adding varying amounts of food coloring. Start with a small amount and add more until you reach your desired vibrancy.
Q: Is this project suitable for children?
A: Absolutely! With supervision, children can enjoy this project too. It allows them to express their creativity while developing fine motor skills.
Final Reflections on Making Stained glass glue window art creates vibrant translucent designs that shine beautifully in natural sunlight
As you complete your stained glass glue window art, allow yourself to bask in the joy of creation. Each moment spent designing and producing brings a sense of calm and fulfillment, filling your space with warmth and color.
Remember that your artwork does not need to conform to any standard; it is a reflection of your journey in creativity. Embrace the process—how colors merge, how shapes evolve, and how the final piece radiates not just beauty but also the love and intention behind it.
Let this experience inspire you to take time for yourself, for the act of making is just as important as the finished creation. So, take a breath, delight in the colors, and let your unique spirit shine through your artistry.
Print
Stained Glass Glue Window Art
- Total Time: 130 minutes
- Yield: 1 artwork
- Diet: N/A
Description
Create vibrant stained glass art using simple materials that shines beautifully in natural sunlight.
Ingredients
- Clear school glue or craft glue
- Food coloring or glass paint
- Wax paper or parchment paper
- Plastic squeeze bottle or pipette
- Scissors
- Small paintbrush (optional)
- Glitter (optional)
Instructions
- Prepare your space by laying down wax paper or parchment paper as a base.
- Mix school glue with food coloring or glass paint in a small container.
- Create your design by outlining it on the wax paper using the squeeze bottle or pipette.
- Add color to the outlined shapes once they’re dry to the touch.
- Incorporate glitter on wet glue sections for added sparkle.
- Let the artwork dry for several hours or overnight to achieve the best results.
- Peel off the art from the wax paper and stick it to your window.
Notes
To preserve your artwork, avoid direct moisture and harsh sunlight, which can fade colors over time.
- Prep Time: 10 minutes
- Cook Time: 120 minutes
- Category: Craft
- Method: DIY Art
- Cuisine: N/A