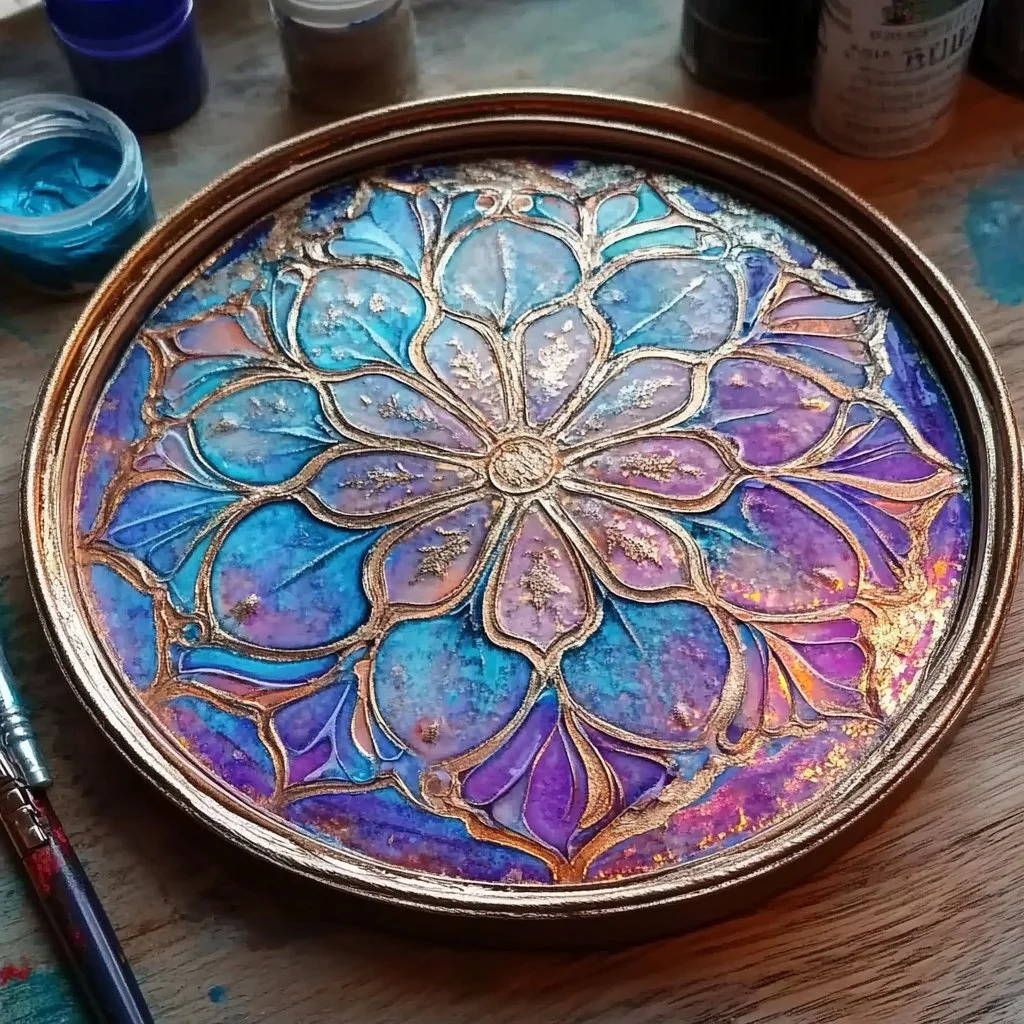
Stained glass art has captivated hearts and homes for centuries, offering a beautiful way to light up any space. While traditional stained glass can be costly and complex, this simple craft recipe allows anyone to create stunning window art with just a few materials and a bit of creativity. Using stained glass glue, you’ll enjoy the mesmerizing experience of piecing together colorful designs that reflect your personal style. Whether you’re a seasoned crafter or a novice looking for a fun project, this stained glass glue window art will surely bring joy and brighten your surroundings. Let’s dive into why you should give this a try and how to make your own dazzling creations.
Why You’ll Love This Stained Glass Glue Window Art:
- Creative Expression: Unleash your artistic flair by designing unique patterns and color combinations.
- Budget-Friendly: Utilize cost-effective materials to achieve stunning results without breaking the bank.
- Easy to Do: Simple steps make this craft accessible to all skill levels, including children.
- Beautiful Decor: Add a pop of color to any window or space, enhancing your home’s ambiance.
- Great Gift Idea: Handmade stained glass pieces make heartfelt and personalized gifts for loved ones.
- Engaging Activity: Perfect for solo time or group activities with friends and family.
Materials:
- Stained glass glue (or clear silicone adhesive)
- Colored tissue paper or transparent film
- Plastic or glass sheet (for the base)
- Craft scissors
- Pencil or marker
- Craft brushes (optional)
- Ruler (optional)
Full Step-by-Step:
1. Prepare Your Base
- Place the plastic or glass sheet onto a flat surface.
- Use a ruler and pencil to sketch out the desired design lightly on the base.
2. Cut the Tissue Paper
- Select colors of tissue paper or transparent film to match your vision.
- Cut the tissue paper into various shapes and sizes according to your design.
3. Apply Stained Glass Glue
- Using a craft brush or directly from the bottle, apply a thin layer of stained glass glue where you plan to place the tissue paper pieces.
- Work in sections to avoid drying out the glue.
4. Position Tissue Paper
- Carefully place your tissue paper pieces onto the glued sections, pressing gently to adhere them firmly.
- Overlap pieces for a blended and layered effect.
5. Seal and Dry
- Once all pieces are in place, apply another layer of stained glass glue on top of the entire design to seal it.
- Allow the art to dry completely, following the manufacturer’s guidelines.
Tips & Variations:
- Customize Colors: Experiment with different colors and textures of tissue paper or film.
- Layer Shapes: Add depth by layering tissue pieces in various shapes.
- Add Details: Use additional materials like beads or glitter for embellishment.
- Swap Bases: Try using different bases like wood or cardboard for unique results.
Frequently Asked Questions:
Q1: Can I use regular school glue instead of stained glass glue?
A1: Regular school glue may not provide the same transparency and adherence, so it’s best to use stained glass glue for optimal results.
Q2: How long does it take to dry?
A2: Drying time can vary, but generally, it takes about 24 hours for the glue to dry completely.
Q3: What can I do if I accidentally tear the tissue paper?
A3: You can patch it with a similar colored piece or cut a new section to replace it carefully.
Q4: Can this project be done outdoors?
A4: Yes, you can work outdoors, but be mindful of wind or moisture which could affect the drying process.
Suggestions:
- Consider making a themed piece, like a seasonal design for holidays.
- Create a series of smaller artworks to display together for a cohesive look.
- Use this craft as a fun activity during family gatherings or birthday parties.
Final Thoughts
Creating stained glass glue window art is a delightful journey into creativity and color. Whether you choose to craft alone or with others, the enjoyment lies in the process as much as the final piece. We’d love to see your unique versions of this project! Please share your creations or leave a comment below to inspire others!
Print
Stained Glass Glue Window Art
- Total Time: 1440 minutes
- Yield: 1 artwork
- Diet: N/A
Description
A simple and budget-friendly stained glass glue project to create stunning window art using colorful tissue paper and clear adhesive.
Ingredients
- Stained glass glue (or clear silicone adhesive)
- Colored tissue paper or transparent film
- Plastic or glass sheet (for the base)
- Craft scissors
- Pencil or marker
- Craft brushes (optional)
- Ruler (optional)
Instructions
- Prepare Your Base: Place the plastic or glass sheet onto a flat surface and sketch your design lightly with a pencil.
- Cut the Tissue Paper: Cut the tissue paper into various shapes and sizes according to your design.
- Apply Stained Glass Glue: Apply a thin layer of stained glass glue where you plan to place the tissue paper pieces.
- Position Tissue Paper: Carefully place your tissue paper pieces onto the glued sections and press gently.
- Seal and Dry: Apply another layer of glue on top to seal your artwork and let it dry completely.
Notes
Experiment with colors and textures for a unique touch. Consider using additional embellishments like beads or glitter.
- Prep Time: 15 minutes
- Cook Time: 0 minutes
- Category: Crafts
- Method: Crafting
- Cuisine: N/A
Nutrition
- Serving Size: 1 artwork
- Calories: 0
- Sugar: 0g
- Sodium: 0mg
- Fat: 0g
- Saturated Fat: 0g
- Unsaturated Fat: 0g
- Trans Fat: 0g
- Carbohydrates: 0g
- Fiber: 0g
- Protein: 0g
- Cholesterol: 0mg

