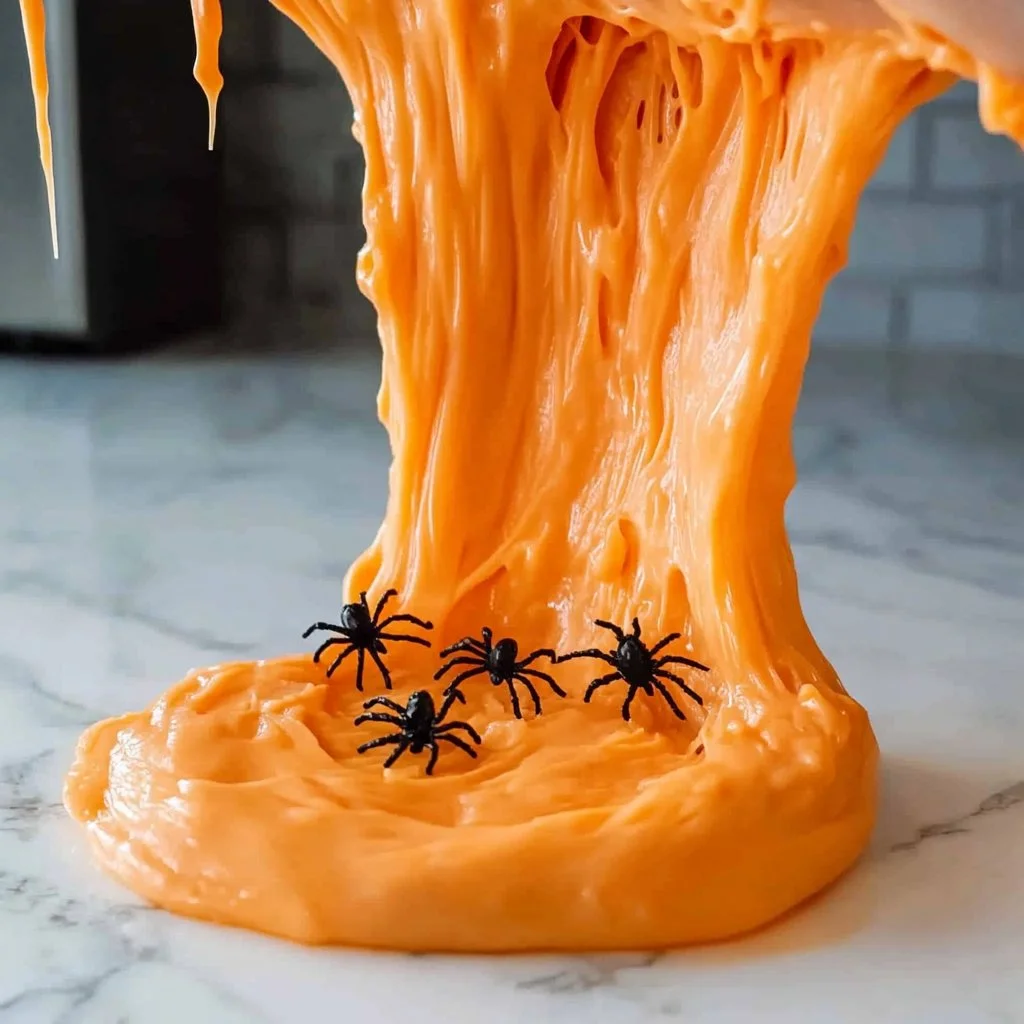
Spider slime is the perfect blend of creativity and fun, making it an exciting project for kids and a nostalgic treat for adults. Whether you’re looking for a spooky activity for Halloween or just enjoy a tactile experience, this DIY slime recipe will keep you entertained. Not only is it easy to make, but it also allows for endless customization. With a few simple ingredients, you can create a stretchy, gooey slime that oozes with personality—just like a spider! Get ready to unleash your inner scientist and enjoy the satisfying feel of this unique creation.
Why You’ll Love This Spider Slime
- Sensory Fun: Engaging texture that is fun to stretch and squish.
- Creative Customization: Easy to personalize with colors and add-ins like glitter or spider toys.
- Simple Ingredients: Made from common household items, making it a budget-friendly project.
- Great for Parties: Perfect as a spooky party favor or entertainment for kids.
- STEM Learning: Encourages exploration and scientific thinking through hands-on activity.
Materials
- 1 cup of white school glue
- 1 cup of water
- 1 teaspoon of baking soda
- 1 tablespoon of contact lens solution
- Black food coloring (optional)
- Plastic spiders (optional, for added fun)
- Mixing bowl
- Spoon for stirring
Step-by-Step Instructions
Prepare the Glue Mixture
- Combine Glue and Water: In a mixing bowl, pour 1 cup of white school glue and 1 cup of water.
- Mix Well: Stir the glue and water together until fully blended.
Add Color
- Incorporate Color: If you want your spider slime to have a creepy vibe, add a few drops of black food coloring. Mix thoroughly until the color is uniform.
Activate the Slime
- Baking Soda Addition: Add 1 teaspoon of baking soda to the mixture. Stir well to incorporate it, making the slime thicker.
- Add Contact Solution: Slowly add 1 tablespoon of contact lens solution while stirring. This will start the slime forming. You will notice the mixture pulling away from the sides of the bowl.
Knead and Play
- Kneading Time: Once the slime begins to form, use your hands to knead it for a minute or two until it reaches your desired consistency.
- Incorporate Spiders: If desired, mix in the plastic spiders for an eerie touch!
Tips & Variations
- Custom Colors: Swap black food coloring for other colors to match themed events!
- Glitter Add-Ins: Add glitter for sparkle.
- Change Your Base: Use clear glue instead of white for a different look.
- Scented Slime: Add a few drops of essential oils for fragrance.
Frequently Asked Questions
-
Can I use another type of glue?
- Yes, you can use clear glue or glitter glue, but the consistency may vary.
-
What if my slime is too sticky?
- If your slime sticks to your hands, add a bit more contact lens solution and knead it well.
-
How do I store spider slime?
- Keep it in an airtight container at room temperature to maintain its texture.
-
Is this recipe safe for children?
- Yes, as long as children do not ingest the slime. Adult supervision is recommended for younger kids.
Serving Suggestions or Pairings
- ** paired Drinks**: Serve with spooky smoothies made from blended bananas and spinach for a nutritious treat.
- Ideal Sides: Pair with crunchy vegetable sticks or fruit platters for a balanced snack.
- Fun Dips: Try serving it with ranch or hummus for a fun contrast!
Final Thoughts
Spider slime is not only a fun, hands-on activity, but it also provides opportunities for creative play and sensory exploration. Whether you keep it for yourself, give it as a gift, or use it for party entertainment, this slime will surely entertain. After trying this recipe, we’d love to hear from you! Share your own versions, tips, or any experiences in the comments below!
Print
Spider Slime
- Total Time: 10 minutes
- Yield: 1 batch of slime 1x
- Diet: Non-Dietary
Description
A fun and engaging DIY slime recipe that combines creativity and tactile play, perfect for kids and adults alike.
Ingredients
- 1 cup of white school glue
- 1 cup of water
- 1 teaspoon of baking soda
- 1 tablespoon of contact lens solution
- Black food coloring (optional)
- Plastic spiders (optional)
- Mixing bowl
- Spoon for stirring
Instructions
- In a mixing bowl, pour 1 cup of white school glue and 1 cup of water. Stir the glue and water together until fully blended.
- If desired, add a few drops of black food coloring and mix thoroughly.
- Add 1 teaspoon of baking soda to the mixture and stir well to thicken the slime.
- Slowly add 1 tablespoon of contact lens solution while stirring to start the slime forming.
- Once the slime begins to form, knead it for 1-2 minutes until desired consistency is reached.
- Mix in plastic spiders if using for added fun.
Notes
Store the slime in an airtight container at room temperature. It is safe for children, but adult supervision is recommended.
- Prep Time: 10 minutes
- Cook Time: 0 minutes
- Category: Craft
- Method: Mixing
- Cuisine: American
Nutrition
- Serving Size: 1 portion of slime
- Calories: 50
- Sugar: 0g
- Sodium: 10mg
- Fat: 0g
- Saturated Fat: 0g
- Unsaturated Fat: 0g
- Trans Fat: 0g
- Carbohydrates: 12g
- Fiber: 0g
- Protein: 0g
- Cholesterol: 0mg

