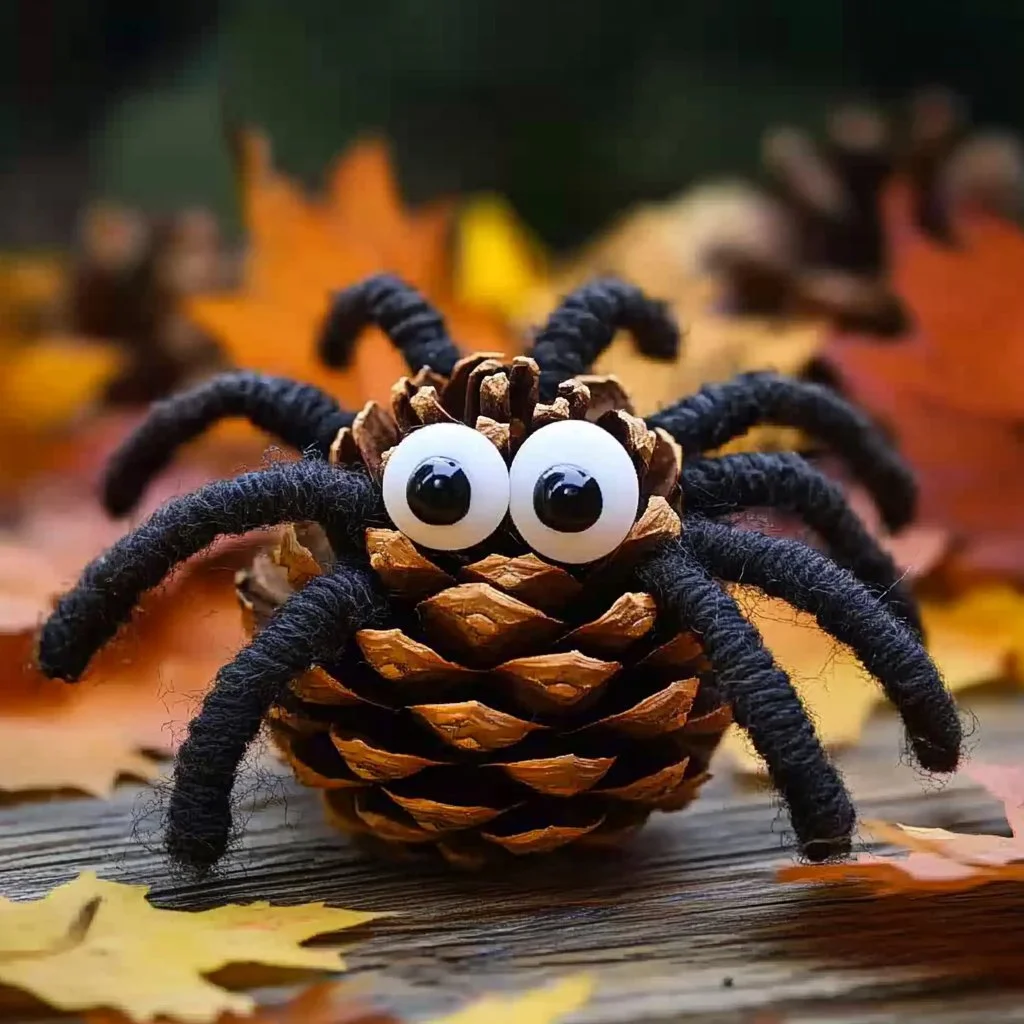
Crafting is an enjoyable way to express creativity, and what could be more delightful than creating a spooky yet fun spider craft? Perfect for Halloween or a rainy day, this easy DIY project allows you to transform simple materials into adorable or creepy crawly spiders. Not only does this craft spark creativity, but it also engages kids’ fine motor skills as they cut, glue, and assemble their spooky creations! Join us on this whimsical journey, and by the end of the project, you’ll have a hauntingly charming spider decoration to showcase. Whether you’re crafting solo or with family, it’s time to unleash your inner artist and add a touch of crafty fun to your day!
Why You’ll Love This Spider Craft
- Easy to Make: With simple materials and straightforward instructions, anyone can create this fun project.
- Creative Outlet: The craft encourages creativity, allowing for custom designs and colors.
- Engaging for Kids: Great for children, enhancing their fine motor skills and hand-eye coordination.
- Perfect for Halloween: A festive decoration that adds a playful yet spooky vibe to your home.
- Versatile Decor: Use your creations as table centerpieces, window hangings, or even as part of a costume!
Materials
- Black construction paper
- Googly eyes
- Scissors
- Glue stick or hot glue gun
- Pipe cleaners (black or orange)
- White chalk or a white gel pen (optional for detailing)
Step-by-Step Instructions
Step 1: Prepare the Body
- Cut out a large circle from the black construction paper to serve as the spider’s body.
- For a larger spider, consider cutting out two circles—one for the body and one for the head.
Step 2: Add Eyes
- Use glue to attach googly eyes to the head (or the larger circle if using one piece).
- Make sure they are positioned for maximum cuteness or spookiness!
Step 3: Create the Legs
- Cut four or eight pieces of pipe cleaner, each approximately 6 inches long. You can double up for a creepier effect!
Step 4: Attach the Legs
- Poke small holes in the sides of the spider body and insert the pipe cleaners.
- Secure them with glue if necessary, bending them into an appropriate spider leg shape.
Step 5: Add Details
- Use white chalk or a gel pen to add fangs or other designs to the spider to give it personality!
Tips & Variations
- Colorful Spiders: Experiment with different colors of construction paper or pipe cleaners.
- Balloon Bodies: For a larger spider, use a balloon instead as a body!
- Glow-in-the-dark Paint: Add a spooky twist by using glow-in-the-dark paint for detail.
- Themed Spiders: Create themed spiders for different holidays by changing the colors (e.g., red and green for Christmas).
Frequently Asked Questions
Q1: Can I use different types of paper?
A1: Yes! You can use any type of paper you have on hand—cardstock or even recycled materials work well.
Q2: What can I use if I don’t have googly eyes?
A2: You can cut out small circles from white paper and draw pupils with a marker for DIY eyes.
Q3: Is this craft safe for little kids?
A3: Yes, but supervise younger children with scissors and hot glue. You can substitute safer materials as needed.
Q4: Can I make a spider with multiple colors?
A4: Absolutely! Use different colors for the body, legs, and eyes to make your spider unique and fun!
Serving Suggestions or Pairings
- Pair your spider craft with pumpkin-themed snacks like pumpkin muffins or cookies.
- Create a spooky scene by adding other crafts, such as bats or ghosts made from paper plates.
Final Thoughts
This spider craft is not only enjoyable but also a fantastic way to produce some festive decorations for your space. Whether you stick to the classic design or let your creativity run wild, we hope you have fun while crafting your spooky buddies! Don’t forget to share your unique versions or leave a comment below—we’d love to see your spooky creations! Happy crafting!
Print
Spooky Spider Craft
- Total Time: 10 minutes
- Yield: 1 spider decoration
Description
Create delightful and spooky spider decorations with this fun and easy DIY craft project, perfect for Halloween or a rainy day.
Ingredients
- Black construction paper
- Googly eyes
- Scissors
- Glue stick or hot glue gun
- Pipe cleaners (black or orange)
- White chalk or a white gel pen (optional for detailing)
Instructions
- Cut out a large circle from the black construction paper for the spider’s body.
- Attach googly eyes to the head or larger circle using glue.
- Cut four or eight pieces of pipe cleaner, each about 6 inches long.
- Poke small holes in the sides of the spider body and insert the pipe cleaners, securing with glue if necessary.
- Add details with white chalk or a gel pen to give your spider personality.
Notes
Experiment with different colors and materials to make unique spiders. Supervise young children when using scissors and hot glue.
- Prep Time: 10 minutes
- Cook Time: 0 minutes
- Category: Craft
- Method: DIY
Nutrition
- Serving Size: 1 decoration

