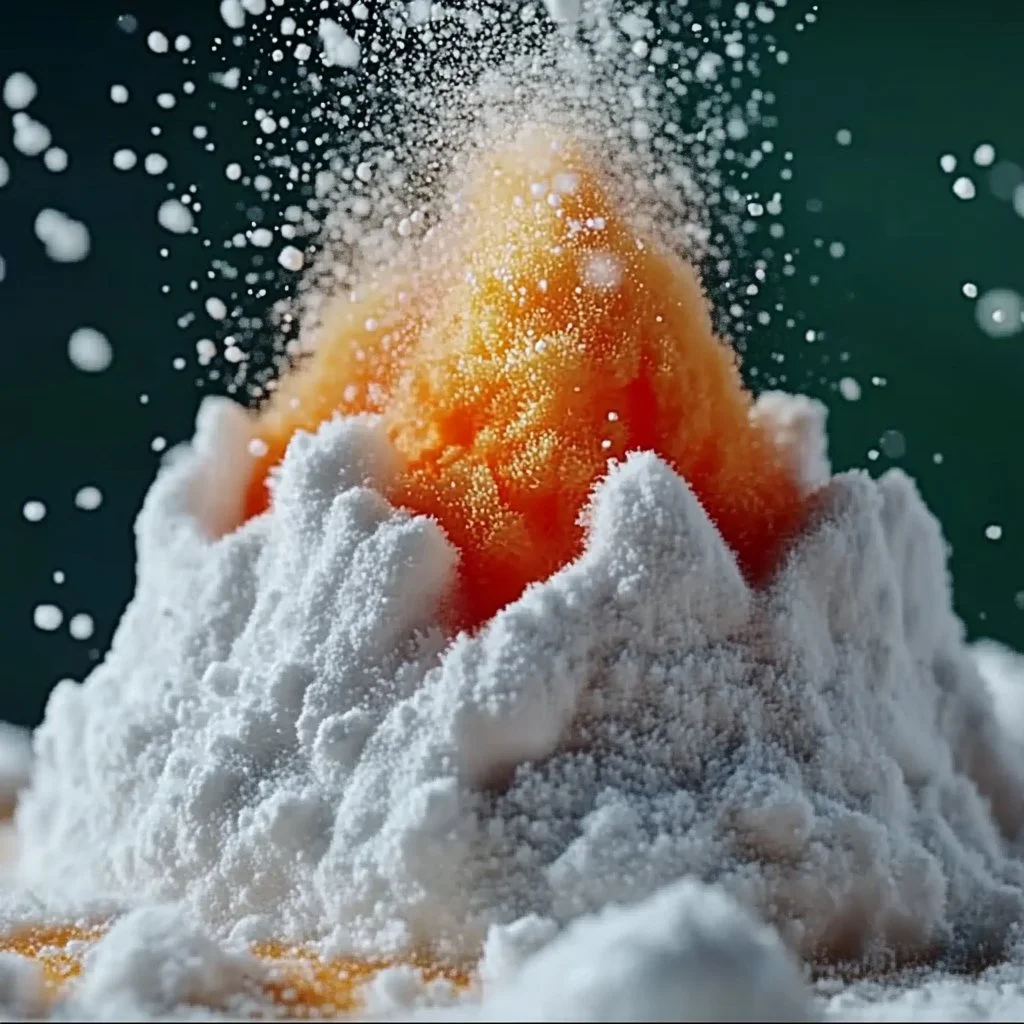
Creating engaging seasonal crafts can bring joy and excitement, especially during winter. This snow volcano project is an imaginative way to combine the beauty of snow with the thrill of a mini volcanic eruption. Perfect for children and adults alike, it promotes creativity while also serving as an educational experience that delves into basic scientific concepts such as chemical reactions. Adding a touch of whimsy, this craft transforms simple ingredients into a dynamic display, sparking wonder and curiosity.
Whether you’re hosting a gathering, looking for a fun afternoon activity, or teaching a lesson on volcanoes, this snow volcano project is sure to captivate. Observing the fizzy eruption against the snowy backdrop creates a delightful visual impact, making it a memorable experience. Get ready to embark on a frosty adventure with this easy and enjoyable craft!
Why You’ll Love This Snow Volcano:
- Visually Stunning: The eruption against the snow creates a beautiful spectacle.
- Simple Ingredients: Uses common household items.
- Educational Fun: Teaches kids about chemical reactions.
- Endless Creativity: Customize the colors and shapes of your volcano.
- Perfect for All Ages: Fun for both kids and adults.
Materials:
- Baking soda (1 cup)
- Vinegar (1 cup)
- Food coloring (optional)
- Dish soap (1 tablespoon)
- A container or small cup for volcano structure
- Snow or a snow-like substance (e.g., crushed ice)
- Plastic tray or baking sheet (for easier cleanup)
Full Step-by-Step:
1. Create Your Volcano Structure
- Form the Base: Use snow to build an elevated mound where your volcano will sit. This forms the landscape around your eruption.
- Place Your Container: Set a small cup or container at the peak of the snow mound, which will hold your volcano mixture.
2. Prepare Your Eruption Mixture
- Mix Ingredients: In another bowl, combine 1 cup of baking soda, 1 tablespoon of dish soap, and food coloring if desired. Stir until well mixed.
- Load the Container: Carefully pour the volcano mixture into your cup or container.
3. Erupt Your Volcano!
- Pour the Vinegar: Slowly pour 1 cup of vinegar into the container with the baking soda mixture.
- Watch the Magic: Observe the colorful fizz and bubbles erupting from your volcano, spilling over the sides and into the surrounding snow.
Tips & Variations:
- Color Creation: Use different food coloring to create layers or swirls in your eruption.
- Add Glitter: Mix in some glitter for an enchanting effect when the volcano erupts.
- Experiment with Amounts: Adjust the quantities of baking soda and vinegar for larger or smaller eruptions.
- Add Scent: Include a few drops of essential oils to make the eruption smell refreshing.
Frequently Asked Questions:
Q1: Can I use something other than vinegar?
A1: White vinegar is ideal, but you can experiment with lemon juice, which has a similar acidic reaction.
Q2: What if I don’t have snow?
A2: You can use white rice or shredded coconut as a snow substitute.
Q3: Is this messy? How do I clean up?
A3: It can get a bit messy, so perform the experiment outdoors or on a tray. Clean up with warm water to dissolve any residual baking soda or vinegar.
Q4: Can I store leftovers?
A4: It’s best to perform the reaction immediately; leftover mixtures may not react effectively if stored.
Suggestions:
- Make a Volcano Map: After completing the volcano, discuss and draw out different parts of a real volcano.
- Combine Crafts: Create miniature dinosaurs or other scenery to accompany your snow volcano for added thematic fun.
- Conduct a Science Experiment: Change variables like the amount of vinegar or baking soda to observe differences in eruptions.
Final Thoughts
The snow volcano project is a delightful blend of science and art that brings families together and inspires creativity. We’d love to hear about your experiences! Share your versions or leave a comment below with any creative twists you’ve added to this craft. Enjoy your snowy adventure!
Print
Snow Volcano Project
- Total Time: 15 minutes
- Yield: Varies
- Diet: N/A
Description
Create a visually stunning snow volcano using simple ingredients for a fun and educational activity.
Ingredients
- 1 cup baking soda
- 1 cup vinegar
- 1 tablespoon dish soap
- Food coloring (optional)
- A container or small cup for volcano structure
- Snow or a snow-like substance (e.g., crushed ice)
- Plastic tray or baking sheet (for easier cleanup)
Instructions
- Create Your Volcano Structure: Use snow to build an elevated mound where your volcano will sit. Set a small cup at the peak for the mixture.
- Prepare Your Eruption Mixture: In a bowl, combine baking soda, dish soap, and food coloring. Pour this mix into your cup.
- Erupt Your Volcano: Slowly pour vinegar into the container with the mixture and watch the colorful fizz and bubbles erupt.
Notes
Experiment with different food coloring, add glitter for effect, or change the amounts of ingredients for varied eruptions.
- Prep Time: 10 minutes
- Cook Time: 5 minutes
- Category: Craft
- Method: Crafting
- Cuisine: Non-Culinary
Nutrition
- Serving Size: N/A
- Calories: N/A
- Sugar: N/A
- Sodium: N/A
- Fat: N/A
- Saturated Fat: N/A
- Unsaturated Fat: N/A
- Trans Fat: N/A
- Carbohydrates: N/A
- Fiber: N/A
- Protein: N/A
- Cholesterol: N/A

