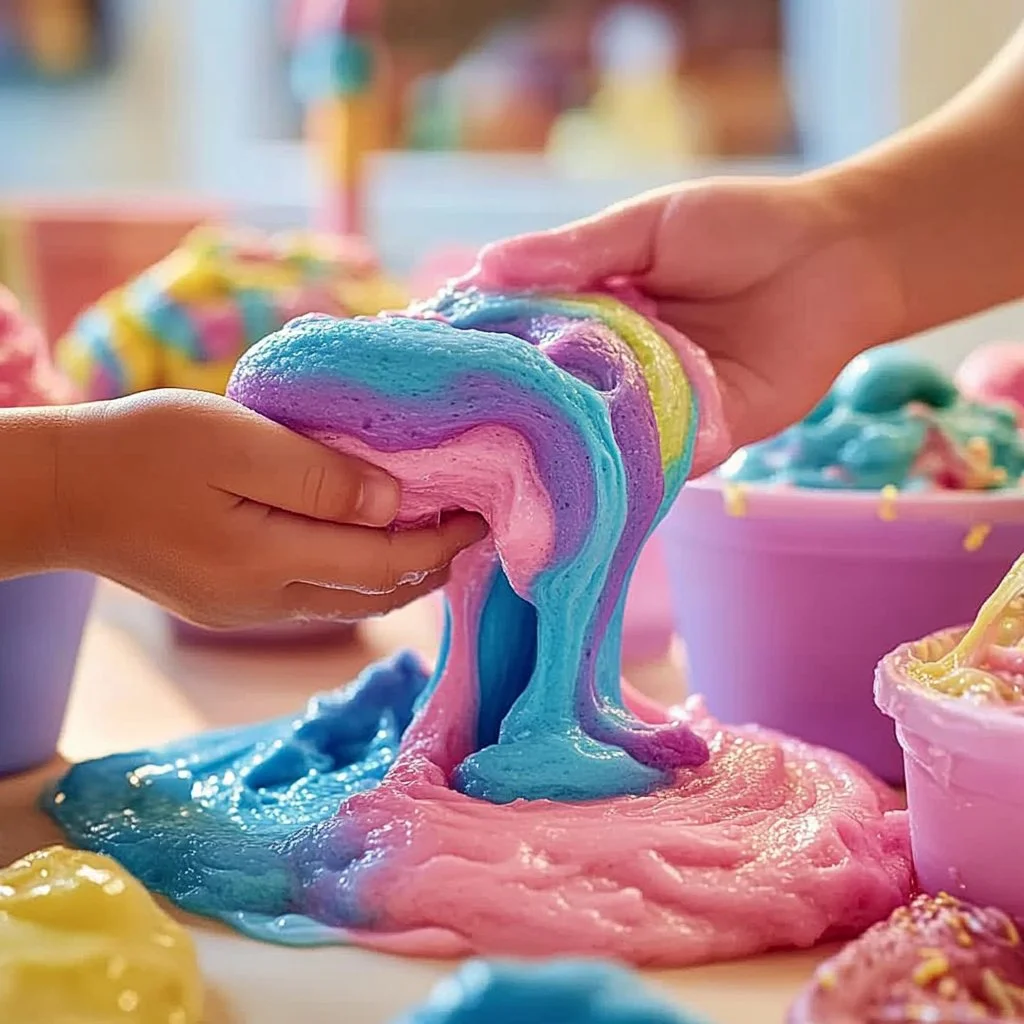
Here’s a fun guide on creating Silly Putty for sensory play!
Introduction
Silly Putty has entertained and engaged children and adults alike for decades, serving as a hands-on tool for creativity and discovery. This versatile material is not only fun to squish and mold but also offers a world of sensory exploration. Whether you’re looking for a relaxing activity, an educational experience, or simply a way to get creative with the kids, making your own Silly Putty is an excellent choice.
As you mix the ingredients and feel the texture transform, you’ll experience the satisfaction of crafting something uniquely yours. Beyond the fun factor, this DIY project encourages fine motor skills, enhances sensory awareness, and provides an affordable alternative to store-bought options.
So, roll up your sleeves, gather your materials, and let’s dive into the delightful, squishy world of Silly Putty!
Why You’ll Love This Silly Putty Sensory Play:
- Easy to make: Simple ingredients and quick instructions.
- Customizable: Add colors or scents to suit your preference.
- Sensory benefits: Great for calming anxiety and improving focus.
- Creative outlet: Unlimited possibilities for shapes and designs.
- Educational: Teaches measurements and mixing in a fun way.
Materials:
- 1/2 cup white school glue
- 1/2 cup liquid starch (or solution)
- Food coloring (optional)
- Mixing bowl
- Spoon or spatula
- Airtight container for storage
Full Step-by-Step:
Step 1: Gather Your Materials
Make sure you have all your ingredients and tools ready. This preparation will make the process smooth and enjoyable.
Step 2: Mix the Glue and Food Coloring
- In a mixing bowl, pour in the 1/2 cup of white school glue.
- If you’d like to add color, mix in a few drops of food coloring now. Stir until evenly combined.
Step 3: Add the Liquid Starch
- Gradually incorporate 1/2 cup of liquid starch into the glue mixture.
- Stir well with a spoon or spatula. You’ll notice the mixture will start to come together.
Step 4: Knead Your Putty
- As the mixture thickens, use your hands to knead it. This is where the fun starts!
- Knead until you reach a pliable, elastic texture. Enjoy the squishy feel as you work.
Step 5: Store Properly
- Once you are happy with your Silly Putty, store it in an airtight container to preserve its freshness.
Tips & Variations:
- Color Variations: Experiment with different food coloring to create unique pastel or vibrant hues.
- Scent Options: Add a few drops of essential oils for a scented Silly Putty.
- Texture Tweaks: Substitute some white glue with clear glue for a different feel.
- Glitter Boost: Add glitter for a sparkly effect that adds visual excitement.
Frequently Asked Questions:
Q1: Can I use clear glue instead of white school glue?
A1: Yes! Clear glue will give a different texture and a more translucent appearance.
Q2: What can I use instead of liquid starch?
A2: You can try a contact lens solution mixed with baking soda as a possible substitute, but the texture may vary.
Q3: How long does homemade Silly Putty last?
A3: When stored in an airtight container, it can last several months.
Q4: Is this recipe safe for young children?
A4: Yes, it’s non-toxic but supervise young children to prevent accidental ingestion.
Suggestions:
- Host a Silly Putty playdate and let kids experiment with colors and textures together.
- Use your Silly Putty to create homemade stamps or imprint fun designs.
- Incorporate educational games by measuring the ingredients together.
Final Thoughts
Creating your own Silly Putty is not just a fun activity; it’s an opportunity for sensory exploration and creativity! We’d love to hear about your experiences or variations. Share your versions by leaving a comment below! Happy crafting!
Print
Homemade Silly Putty
- Total Time: 10 minutes
- Yield: 1 batch 1x
- Diet: N/A
Description
Make your own Silly Putty with simple ingredients for a fun and sensory-rich experience!
Ingredients
- 1/2 cup white school glue
- 1/2 cup liquid starch (or solution)
- Food coloring (optional)
- Mixing bowl
- Spoon or spatula
- Airtight container for storage
Instructions
- Gather Your Materials: Make sure you have all your ingredients and tools ready.
- Mix the Glue and Food Coloring: In a mixing bowl, pour in the 1/2 cup of white school glue, add food coloring if desired, and stir until evenly combined.
- Add the Liquid Starch: Gradually incorporate 1/2 cup of liquid starch into the glue mixture and stir well.
- Knead Your Putty: As the mixture thickens, use your hands to knead it until you reach a pliable, elastic texture.
- Store Properly: Store your Silly Putty in an airtight container to preserve its freshness.
Notes
Experiment with different food coloring, scents, or even add glitter for a fun twist!
- Prep Time: 10 minutes
- Cook Time: 0 minutes
- Category: Crafts
- Method: Mixing
- Cuisine: N/A
Nutrition
- Serving Size: 1 batch
- Calories: 50
- Sugar: 0g
- Sodium: 10mg
- Fat: 0g
- Saturated Fat: 0g
- Unsaturated Fat: 0g
- Trans Fat: 0g
- Carbohydrates: 10g
- Fiber: 0g
- Protein: 0g
- Cholesterol: 0mg

