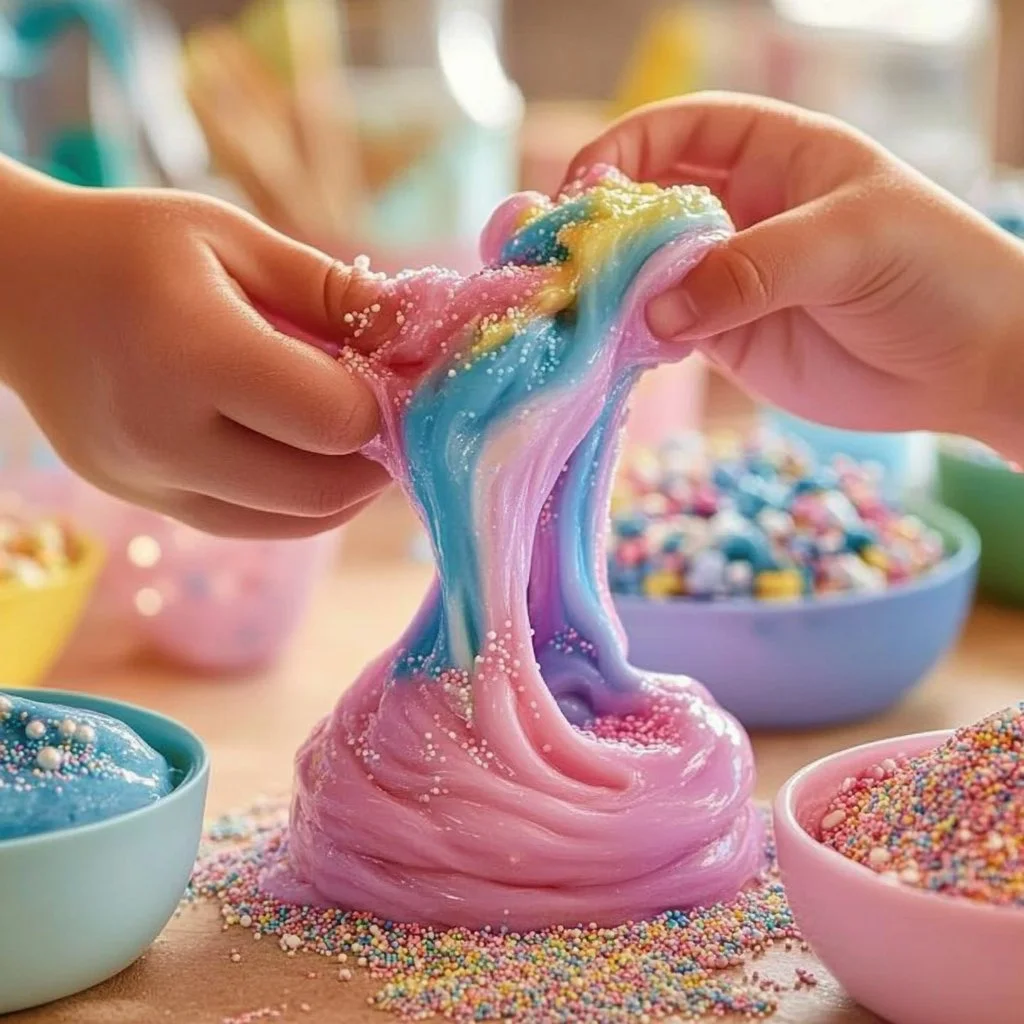
Silly Putty Sensory Play
Growing up, one of my favorite memories during the summer was crafting homemade playthings with my grandmother. She had a special gift for turning ordinary moments into magical ones, particularly in the kitchen. One of the best stops on our artisanal adventure was creating sensory activities that combined creativity and laughter. Silly Putty was an instant favorite! It engaged my cousins and me in experimentation, whether we were making funny shapes or stretching it into different forms.
This Silly Putty Sensory Play is not just a fun activity; it’s a trip down memory lane that evokes the joy of childhood exploration. Perfect for family gatherings or days when the weather keeps you indoors, this hands-on experience is sure to spark laughter and creativity in your little ones. Plus, it’s easy to whip up using common ingredients, making it an appealing project for any season!
Why You’ll Love This Silly Putty Sensory Play
- Completely Non-Toxic: Safe for little hands and mouths!
- Customizable: Add colors or scents for a unique twist.
- One-Bowl Wonder: Simple cleanup with no mess.
- Stimulates Creativity: Encourages imaginative play.
- Perfect for All Ages: Fun for toddlers to teens!
Ingredients
- 1 cup white school glue
- 1 cup water
- 1 teaspoon baking soda
- 2 teaspoons contact lens solution (contains boric acid and sodium borate)
- Optional: Food coloring or glitter for extra fun!
Step-by-Step Instructions
Step 1: Prepare Your Mixture
- In a mixing bowl, combine 1 cup of white school glue with 1 cup of water. Stir well until fully blended.
Step 2: Add Baking Soda
- Mix in 1 teaspoon of baking soda and stir until it dissolves completely. This is key for making the putty stretchy!
Step 3: Create the Silly Putty
- Slowly add 2 teaspoons of contact lens solution while stirring continuously. You’ll see the mixture start to clump and turn into putty.
Step 4: Knead it
- Once combined, let the putty sit for a minute. Then, using your hands, start kneading it. It might be a little sticky at first, but keep kneading until it reaches a desired consistency.
Step 5: Add Color
- If you want colored or sparkly Silly Putty, add a few drops of food coloring or glitter as you knead!
Tips & Variations
- Additional Scents: Add a few drops of essential oils for a delightful scent experience.
- Eco-Friendly Option: Substitute with natural ingredients like cornstarch and water for a less traditional but fun variation.
- Make it Glow: Add glow-in-the-dark paint for nighttime play.
- Kid-Friendly: Allow little hands to help mix and knead for sensory development.
Storage Instructions
- Store your Silly Putty in an airtight container at room temperature. For extended shelf life, keep it in the refrigerator; it should last for 1-2 weeks.
Nutritional Information
- Prep time: 10 minutes
- Total time: 30 minutes (includes kneading)
- Calories: N/A (non-food item)
- Servings: Plenty for multiple kids to enjoy!
Frequently Asked Questions
1. Can I use something other than school glue?
- Yes! Clear glue or even certain recipes using cornstarch can work as alternatives.
2. What if my Silly Putty is too sticky?
- Knead in more contact lens solution, a little at a time, until it reaches your preferred consistency.
3. Can we play with it outside?
- Yes, just be cautious about dirt and grass getting in it.
4. Is there a way to make it last longer?
- Store it in an airtight container and keep it in a cool place to extend its playtime!
Serving Suggestions or Pairings
- Pair this activity with classic family drinks like homemade lemonade or iced tea for a nice summer feel. Create a cozy ambiance with some soft music to enhance the playful experience.
Final Thoughts
There’s something magical about engaging in creative play, and making your own Silly Putty allows you to bond with your children while reminiscing about simpler, joyful times from your childhood. I’d love to hear how your Silly Putty turned out or if you added your special twist to the recipe! Please share your versions in the comments, and let’s keep the magic alive!

