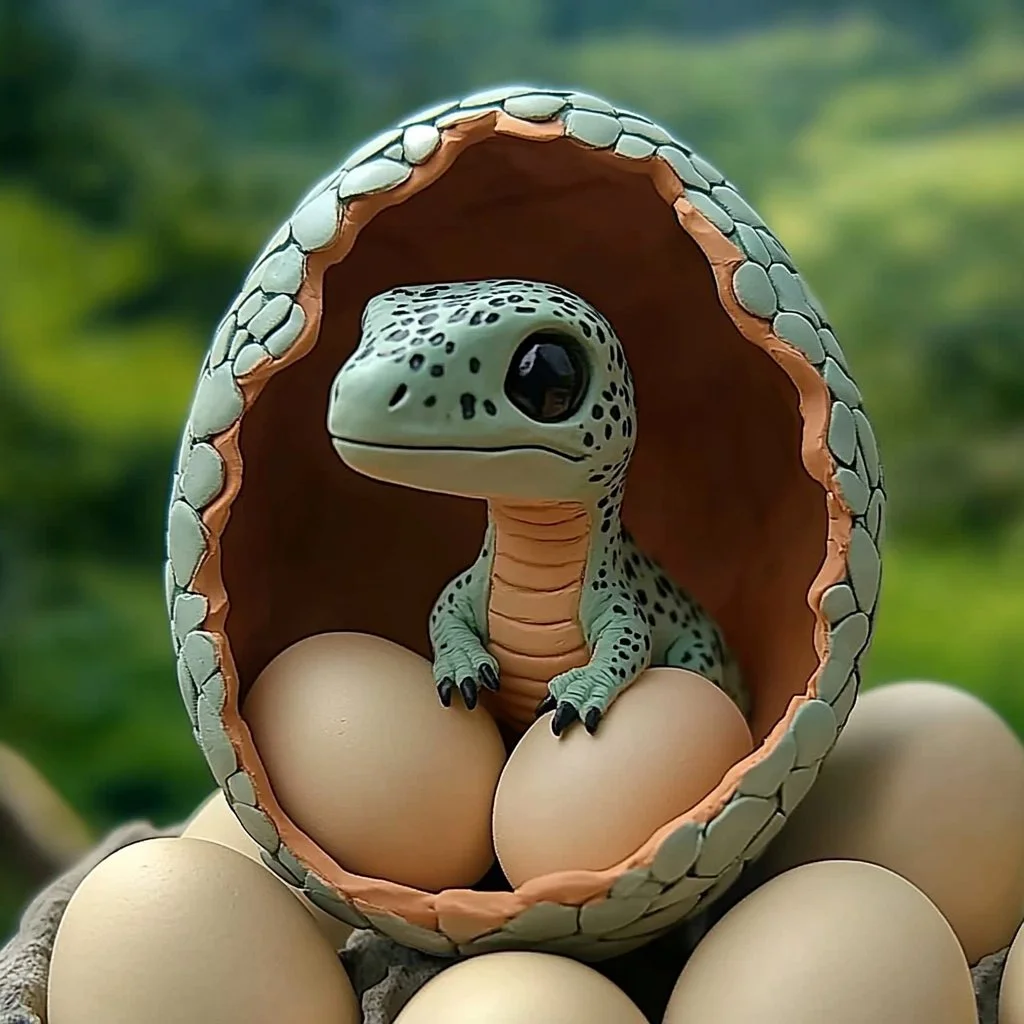
Creating special moments often involves a bit of creativity, and these Secret Surprise Clay Eggs are no exception! This delightful DIY project is perfect for adding a unique touch to your celebrations, whether for Easter, birthday parties, or simply as an engaging activity with family and friends. These charming eggs not only provide a fun crafting experience but also reveal hidden treasures that can be personalized for any occasion. Get ready to embark on an imaginative journey that excites both young and old alike!
Why You’ll Love This Secret Surprise Clay Eggs
- Creative Expression: Unleash your artistic side by customizing your eggs with colors and designs.
- Surprise Element: Each egg hides a fun surprise, making them perfect for games and gifts.
- Family Fun: A fantastic way to bond with loved ones through a shared crafting activity.
- Eco-Friendly: Use non-toxic clay, making it a safe and environmentally conscious choice.
- Versatile: Perfect for various occasions and adaptable to different themes.
Materials
- Air-dry clay or polymer clay
- Food-safe paint or markers
- Small surprise items (toys, candy, trinkets)
- Crafting tools (rolling pin, cookie cutters)
- Paintbrushes (optional)
- Clear sealant (optional, for finished eggs)
- Plastic wrap or a box for storage
Step-by-Step Instructions
1. Prepare Your Clay
- Start by kneading the air-dry or polymer clay until it becomes soft and pliable.
- Roll it out into a flat sheet with a rolling pin to about 1/4 inch thickness.
2. Shape Your Eggs
- Use a cookie cutter or your hands to cut out egg shapes from the clay.
- You can also create different sizes to add variety!
3. Create the Surprise Layer
- Take one of the egg shapes and make a small indentation in the center.
- Fill this space with your chosen surprise items.
4. Seal the Egg
- Place another egg shape on top of the filled one.
- Gently press the edges to seal them together, ensuring the surprise stays hidden.
5. Decorate
- Once sealed, use food-safe paint or markers to create your designs.
- Feel free to mix colors and patterns for a vibrant look!
6. Dry or Bake
- If using air-dry clay, let your eggs dry according to the package instructions.
- For polymer clay, bake them in the oven following the manufacturer’s directions.
7. Finishing Touches
- If desired, apply a clear sealant to protect your designs and make them shine.
Tips & Variations
- Color Options: Mix acrylic paints to create custom colors for your eggs.
- Surprise Swaps: Use themed items such as stickers, mini toys, or holiday treats based on the occasion.
- Gifting: Package your eggs in colorful baskets or boxes for a delightful surprise gift.
- Theme Ideas: Consider seasonal designs like floral patterns for spring or holiday colors for festive occasions.
Frequently Asked Questions
1. Can I use regular clay for this project?
Yes, but air-dry or polymer clay is recommended for better results and easier handling.
2. What can I use for surprises inside the eggs?
Small toys, candy, or even personalized messages work wonderfully as hidden surprises.
3. How should I store the finished eggs?
Keep them in a cool, dry place, preferably in a box or wrapped in plastic wrap to prevent damage.
4. Is it safe for young children?
Ensure to use non-toxic materials and supervise younger kids during the crafting process.
Serving Suggestions or Pairings
Consider serving your Secret Surprise Clay Eggs alongside festive drinks like fruity punch or hot cocoa. Pair them with sweet treats such as cookies or cupcakes to create a charming dessert table. They can also be placed as unique decor elements at gatherings!
Final Thoughts
The Secret Surprise Clay Eggs provide wonderful opportunities for creativity and joy. Each egg is not just a delightful piece of art but a hidden treasure waiting to be discovered. We encourage you to try this recipe and make it your own! Feel free to share your versions or leave a comment below with your ideas and experiences. Happy crafting!
Print
Secret Surprise Clay Eggs
- Total Time: 75 minutes
- Yield: Multiple eggs
- Diet: N/A
Description
A delightful DIY project to create personalized clay eggs that hide surprises, perfect for celebrations.
Ingredients
- Air-dry clay or polymer clay
- Food-safe paint or markers
- Small surprise items (toys, candy, trinkets)
- Crafting tools (rolling pin, cookie cutters)
- Paintbrushes (optional)
- Clear sealant (optional, for finished eggs)
- Plastic wrap or a box for storage
Instructions
- Prepare Your Clay: Knead the clay until soft and pliable, then roll into a flat sheet about 1/4 inch thick.
- Shape Your Eggs: Cut out egg shapes using a cookie cutter or your hands.
- Create the Surprise Layer: Make an indentation in one egg shape and fill it with surprise items.
- Seal the Egg: Place another egg shape on top and press the edges to seal.
- Decorate: Use food-safe paint or markers to create designs.
- Dry or Bake: Follow the drying instructions for air-dry clay or bake polymer clay as per manufacturer’s directions.
- Finishing Touches: If desired, apply a clear sealant for protection and shine.
Notes
Mix colors and patterns for vibrant designs, and consider packaging in colorful baskets for gifting.
- Prep Time: 15 minutes
- Cook Time: 60 minutes
- Category: Craft
- Method: Crafting
- Cuisine: DIY
Nutrition
- Serving Size: 1 egg
- Calories: 0
- Sugar: 0g
- Sodium: 0mg
- Fat: 0g
- Saturated Fat: 0g
- Unsaturated Fat: 0g
- Trans Fat: 0g
- Carbohydrates: 0g
- Fiber: 0g
- Protein: 0g
- Cholesterol: 0mg

