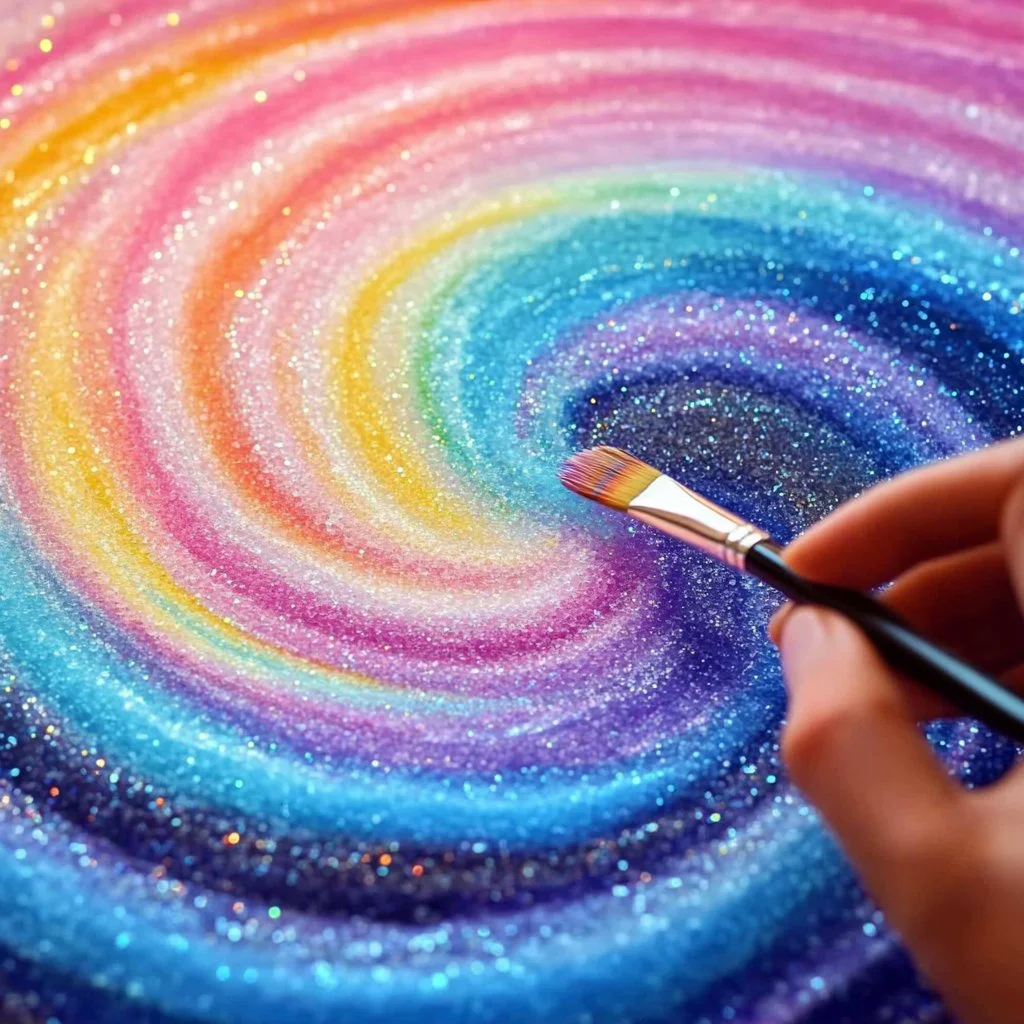
Creating art isn’t just for the professionals; anyone can tap into their creative side with simple and fun crafts! One such delightful project is salt crystal painting—an innovative technique that combines the beauty of art with a scientific twist. This craft is perfect for all ages, allowing you to explore both vibrant colors and fascinating crystal formations. By using a few basic materials, including salt, water, and food coloring, you can create stunning masterpieces that capture the eye and spark the imagination. The process is not only enjoyable but also educational, providing insights into the properties of salt and evaporation. So, roll up your sleeves, grab your materials, and let’s dive into this exciting craft recipe!
Why You’ll Love This Salt Crystal Painting:
- Unique Art Form: Create stunning masterpieces that are one-of-a-kind.
- Educational Fun: Learn about crystallization and evaporation in a hands-on way.
- Accessible: Simple materials make it easy for all ages to participate.
- Customizable: Adjust colors and patterns to suit your personality.
- Sensory Experience: Engage your senses with textures, colors, and smells.
Materials:
- Table salt
- Water
- Liquid food coloring (various colors)
- Paintbrushes or dropper
- White paper or canvas
- Shallow trays or plates
Full Step-by-Step:
Step 1: Prepare Your Solution
- Mix Salt and Water: In a bowl, mix 1 cup of salt with 1 cup of warm water. Stir until the salt dissolves completely.
- Add Color: Choose your favorite liquid food coloring and add a few drops to the saltwater solution. Mix well to create vibrant colors.
Step 2: Set Up Your Surface
- Prepare Your Paper: Lay a sheet of white paper or canvas in a shallow tray or plate to catch any spills.
- Choose Your Design: Brainstorm a simple design or pattern to create with the salt crystal mixture—this could be abstract or a specific shape.
Step 3: Painting with Salt Solution
- Apply the Mixture: Use a paintbrush or dropper to apply the colored saltwater onto the paper.
- Observe the Drip: Notice how the solution drips and spreads—this is where the excitement lies!
Step 4: Dry and Crystallize
- Let it Dry: Place the artwork in a warm, dry area and allow it to dry completely. Over time, you’ll see beautiful salt crystals form.
- Check Daily: Keep an eye on the evolution of your artwork as it dries.
Tips & Variations:
- Color Mixing: Combine different food colors for unique hues.
- Use Different Papers: Experiment with textured papers for different effects.
- Create Layers: Apply multiple layers of salt solution in different colors for depth.
Frequently Asked Questions:
Q1: Can I use other types of salt?
A1: Yes, you can experiment with kosher salt or sea salt, but table salt dissolves more easily.
Q2: How long will it take to dry?
A2: Typical drying time is 24-48 hours, depending on humidity.
Q3: What can I do if the crystals don’t form?
A3: Ensure your mixture has enough salt, or try placing it in a warmer environment.
Q4: Can I use this technique with other materials?
A4: Absolutely! Try using various surfaces like glass or wood to see different results.
Suggestions:
- Share your results with friends or family to inspire them.
- Host a craft night where everyone can create their own salt crystal paintings.
- Combine this craft with a science lesson about evaporation and crystals.
Final Thoughts
Salt crystal painting is a fun and engaging way to explore artistic expression while learning about science. We encourage you to try it out and share your creations! Have you made your own version of this craft? Please leave a comment with your experience or any tips you’d like to share!
Print
Salt Crystal Painting
- Total Time: 1455 minutes
- Yield: 1 stunning masterpiece 1x
- Diet: N/A
Description
An innovative craft project that combines art and science using salt crystal painting technique.
Ingredients
- 1 cup table salt
- 1 cup water
- Liquid food coloring (various colors)
- Paintbrushes or dropper
- White paper or canvas
- Shallow trays or plates
Instructions
- Mix Salt and Water: In a bowl, mix 1 cup of salt with 1 cup of warm water until fully dissolved.
- Add Color: Incorporate a few drops of your favorite liquid food coloring into the saltwater solution and mix well.
- Prepare Your Paper: Lay a sheet of white paper or canvas in a shallow tray or plate to catch spills.
- Choose Your Design: Brainstorm a simple design or pattern for your salt crystal mixture.
- Apply the Mixture: Use a paintbrush or dropper to apply the colored saltwater onto the paper.
- Let it Dry: Place the artwork in a warm, dry area and allow it to dry completely, observing how beautiful salt crystals form over time.
- Check Daily: Monitor the evolution of your artwork as it dries.
Notes
Experiment with different food colors and papers for unique effects and textures.
- Prep Time: 15 minutes
- Cook Time: 1440 minutes
- Category: Crafts
- Method: Crafting
- Cuisine: N/A
Nutrition
- Serving Size: 1 artwork
- Calories: 0
- Sugar: 0g
- Sodium: 0mg
- Fat: 0g
- Saturated Fat: 0g
- Unsaturated Fat: 0g
- Trans Fat: 0g
- Carbohydrates: 0g
- Fiber: 0g
- Protein: 0g
- Cholesterol: 0mg

