

Clear plastic wings and beaded wire bodies turn recycled bottles into delicate dragonflies that shimmer beautifully in the garden sunlight. Imagine a warm afternoon, with a soft breeze carrying the sweet scent of blooming flowers. You step outside and notice how the light dances upon glistening wings, casting a kaleidoscope of colors in your garden. You feel an instant connection to nature and creativity. The sight of handmade dragonflies, crafted from simple materials, brings a sense of calm and joy. It offers a gentle reminder of how the act of creating something beautiful can transform ordinary moments into something truly special.
The Heart Behind This DIY
This project allows us to slow down and appreciate the beauty around us. Making dragonflies from recycled bottles encourages focus and mindfulness. As you collect your materials, your mind quiets, aligning with the rhythm of nature. The tactile experience of working with clear wings and shimmering beads invites you to engage fully, fostering a sense of presence in each moment.
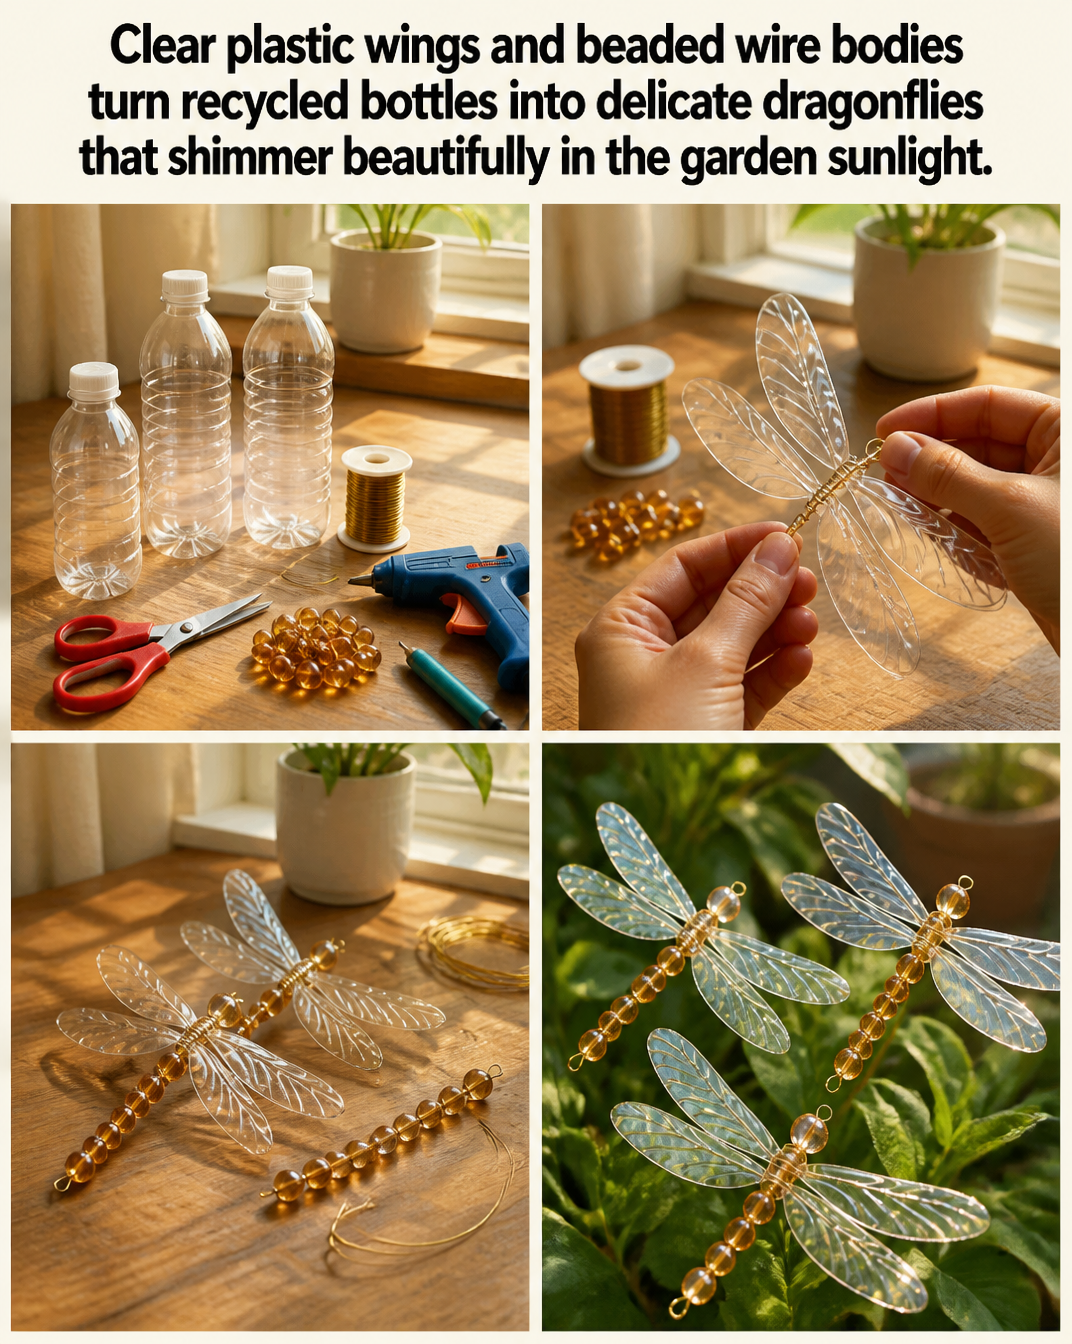
Crafting becomes more than just a means to an end; it’s a way to express creativity while finding peace. The gentle repetition of bending wire to shape the dragonfly’s body and the soft sound of cutting plastic brings a meditative quality to the process. This DIY project offers a cozy, grounding space for your thoughts, allowing worries to drift away with the breeze as you create something beautiful.
A Gentle Look at the Process
Creating these charming dragonflies is a soothing experience. The journey begins with finding inspiration in everyday materials. You visualize how the finished pieces will flutter joyfully in the sunlight, catching glimmers of light. The act of transforming recycled bottles into art offers a gratifying sense of purpose.
Gathering, preparing, and assembling the components becomes a gentle ritual. Every step unfolds thoughtfully, inviting you to savor the textures and motions. As you work, you might hear the soft clink of beads or feel the cool plastic gliding through your fingers. Each moment is an opportunity to find tranquility, bringing warmth and joy to your space.
Materials You’ll Need
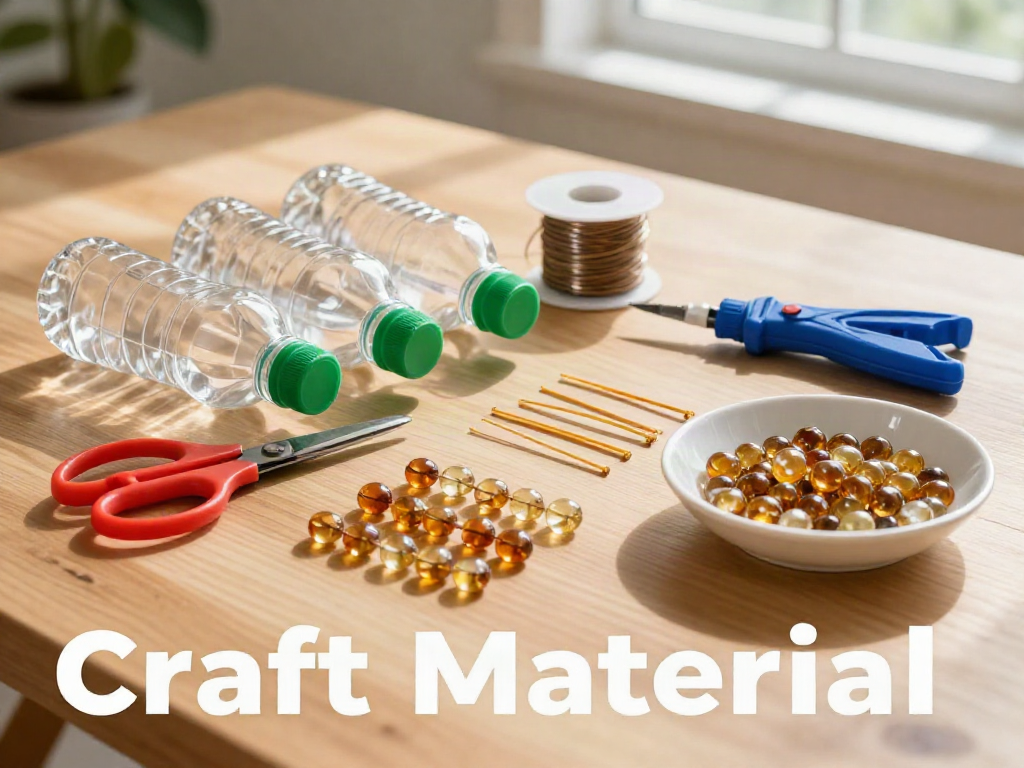
- Recycled plastic bottles (any clear bottle will do)
- Floral or beaded wire (flexible and easy to shape)
- Clear tape or glue (to secure the wings)
- Scissors (for cutting the bottles)
- Acrylic paint or permanent markers (optional, for decoration)
- Beads (to decorate the wire bodies)
- Wire cutters (if needed)
Gathering your materials can be a delightful experience. As you search through your craft supplies or kitchen recycling, allow yourself the space to appreciate each item. If you don’t have everything on hand, try enjoying the hunt for new treasures.
Step-by-Step Directions
-
Prepare the Bottles
Rinse and dry your plastic bottles. Cut off the top third to create a flat section for the wings. Enjoy the smoothness of the plastic in your hands as you work. -
Shape the Wings
Gently cut the flat sections into wing shapes. Think of delicate, sweeping designs that mimic real dragonfly wings. As you cut, listen to the subtle snip of the scissors.
-
Create the Body
Cut a length of wire, about 12 inches. Bend it in half and twist it to form the dragonfly’s body. The wire feels flexible yet strong in your hands. -
Attach the Wings
Position the wings on either side of the body. Use clear tape or a dab of glue to secure them. Notice how the wings catch the light beautifully as they attach. -
Add Beads for Decoration
Thread beads onto the wire to create eyes and decorative elements. The beads add a gentle sparkle and rhythm to your creation as you slide them down the wire. -
Final Touches
Adjust the wings and body as desired. If you wished to add color, use acrylic paint or markers for detailed designs. Enjoy the way the colors blend into the clear plastic, creating vivid imagery. -
Set Your Dragonfly Free
Once assembled, find a cozy spot for your dragonflies in your garden or home. Observe how they catch the sunlight, bringing your creative efforts to life.
Enjoying the Finished Piece
Your finished dragonflies carry a piece of your spirit. They are not just decorative, but symbols of creativity and connection to nature. Placing them in your garden enliven your outdoor space, inviting calm moments as they dance in the wind.
Each time you glance at your delicate creations, you might feel a rush of joy, reminding you of the time spent making them. Perhaps they will inspire you or others who behold them, serving as a gentle reminder that beauty can emerge from simple materials.
Find comfort in the knowledge that your dragonflies celebrate the beauty of everyday life, sparking joy not just for you but for anyone who crosses their shimmering paths.
Caring for Your Finished DIY
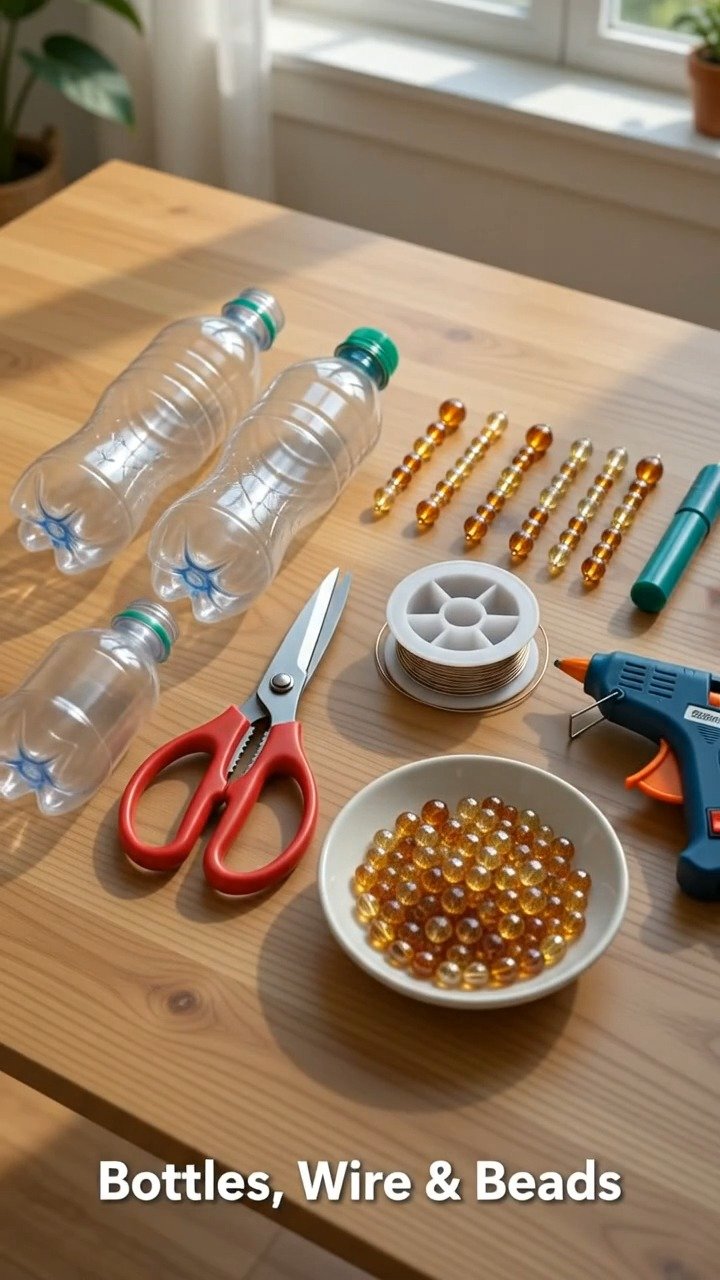
Your dragonflies will appreciate gentle handling for longevity. Keep them out of harsh weather or extreme sunlight to avoid fading. If you notice dust collecting on their wings, a soft, dry cloth will lovingly restore their shine.
For storage, find a cozy spot to display them indoors. If you need to pack them away, wrap them in a soft cloth or bubble wrap, ensuring they remain safe and untangled. Delicate as they are, each dragonfly can carry warmth and creativity with care.
Gentle Tips & Variations
-
Diverse Designs
Consider trying different wing shapes or sizes. Larger wings can create breathtaking effects, allowing you to play with proportion and design. -
Color Play
Use colorful paints or permanent markers to personalize each dragonfly. Experiment with patterns, polka dots, or stripes that reflect your style. -
Attach More Beads
Try adding sparkly or brightly colored beads to the antennae or along the body. This little touch enhances the shimmer, catching your eye from afar. -
Make a Family
Craft several dragonflies at once. Vary their sizes and colors to create a lively display that brings your garden to life.
This gentle approach offers you the freedom to make these creations truly your own. Each adaptation enriches the process, inviting you to pour your personality into every piece.
FAQs About Clear plastic wings and beaded wire bodies turn recycled bottles into delicate dragonflies that shimmer beautifully in the garden sunlight.
Can I use any type of plastic bottle?
Yes, feel free to use any clear plastic bottle you have on hand, like soda bottles or water bottles. Just make sure they are clean and dry before starting.
What if I don’t have beads?
That’s perfectly okay! You can use small buttons, seeds, or even pieces of colorful paper rolled into shapes. Get creative with what you have available.
Is it safe to make this project with children?
With some supervision, this project can be very child-friendly. Just be cautious with scissors or any sharp tools, and let the little ones enjoy the tactile aspects of crafting.
Could I hang these dragonflies indoors?
Absolutely! Hanging them indoors can add a delightful touch of whimsy to your space. Consider using fishing line to suspend them, allowing them to flutter gently from the ceiling.
A Gentle Note Before You Go
As you wrap up your time creating delicate dragonflies, take a moment to ground yourself. Reflect on the joy of crafting and the soothing rhythm it brings. The process is just as valuable as the final piece, teaching us patience, focus, and self-expression.
Allow yourself to enjoy these moments, feeling connected to your surroundings and your creativity. Each handmade dragonfly carries not just your effort but a piece of your heart, fluttering elegantly through the garden of your life. Breathe deeply, let go of any lingering tension, and embrace the beauty you’ve created.
Print
DIY Recycled Bottle Dragonflies
- Total Time: 15 minutes
- Yield: 5 dragonflies
- Diet: N/A
Description
Transform recycled plastic bottles into enchanting dragonflies that add beauty to your garden.
Ingredients
- Recycled plastic bottles (clear)
- Floral or beaded wire
- Clear tape or glue
- Scissors
- Acrylic paint or permanent markers (optional)
- Beads
- Wire cutters (if needed)
Instructions
- Prepare the bottles by rinsing and drying them. Cut off the top third to create a flat section for the wings.
- Shape the flat sections into wing designs.
- Create the body using a 12-inch piece of wire, bending and twisting it.
- Attach the wings to either side of the wire body using tape or glue.
- Add beads for decoration and to create eyes.
- Finalize by adjusting the wings and body as desired, decorating with paint if you wish.
- Set your dragonflies in a cozy spot to enjoy their beauty.
Notes
Gentle handling will prolong their life. Keep out of harsh weather to avoid fading.
- Prep Time: 15 minutes
- Cook Time: 0 minutes
- Category: Craft
- Method: DIY Crafting
- Cuisine: N/A