

Creating a small bouquet of Rainbow Color Pencil Flowers can be a blissful and deeply satisfying experience. Imagine the subtle joy of arranging colorful pencil tips, where the gentle weight of the materials invites your hands to linger. As the sun filters softly through a nearby window, illuminating these vibrant hues, each piece radiates the warmth of creativity. You become part of the process, feeling the textures and tones — it’s about the journey, where each motion and each thought carry you deeper into a calm, mindful space.
The Heart Behind This DIY
Crafting these Rainbow Color Pencil Flowers is not simply an engaging way to spend an afternoon; it embodies a gentle philosophy of slowing down and embracing creativity. Each flower you create represents a moment of intentional focus, guiding you to pause and immerse yourself in color, shape, and texture. The array of rainbow hues embodies happiness and cheer, while the simple act of arranging them can melt away the day’s worries.
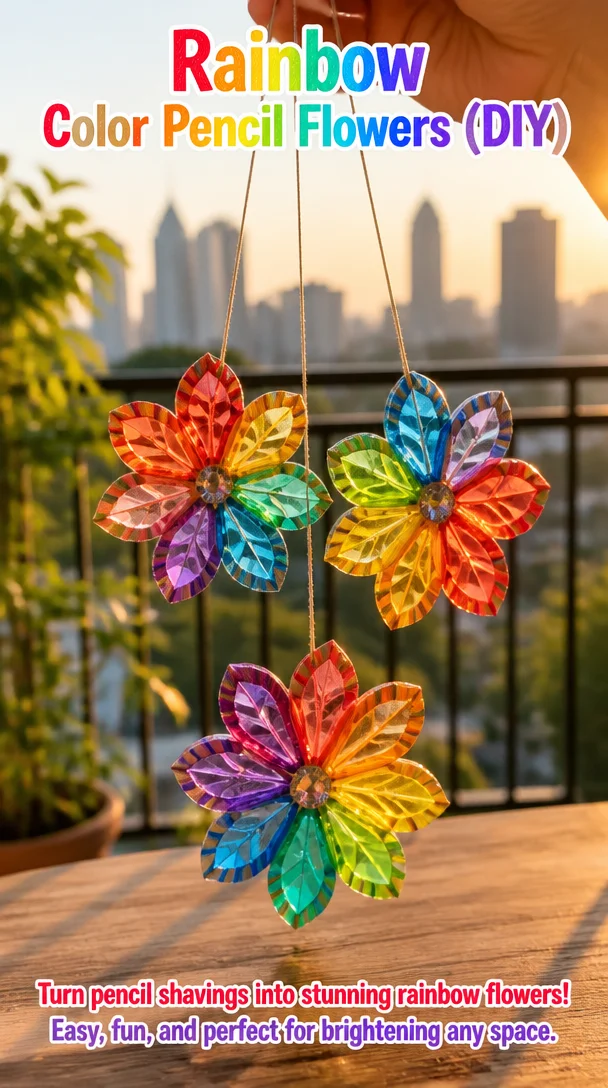
Creating these blooms transforms ordinary materials into something special. You begin to notice how each pencil feels, the smoothness of its finish, the weight of it resting in your palm, and the delicate click as you sharpen it. The envisioning of where each flower might sit — on a desk, in a sunny window, or as a gift for someone special — adds depth to the making process. This practice offers a sweet escape, inviting you to focus on the present moment, to breathe deeply, and to let your creativity flow.
A Gentle Look at the Process
When you start making your Rainbow Color Pencil Flowers, imagine the gentle rhythm you will discover. Think about the soft sounds of pencils being sharpened, the satisfying crunch as paper gets cut, and the subtle aroma of wood as you work. This delicate flow between movement and creation brings a sense of peace that extends beyond the final piece.
Each step unfolds naturally, encouraging you to observe how colors blend and shapes transform. The tactile sensations prompt you to engage wholly, whether you’re creating a stem from washi tape or clustering flowers into an eye-catching bouquet. There’s no rush in this journey; it’s about enjoying each gentle moment until your creation comes to life.
Materials You’ll Need
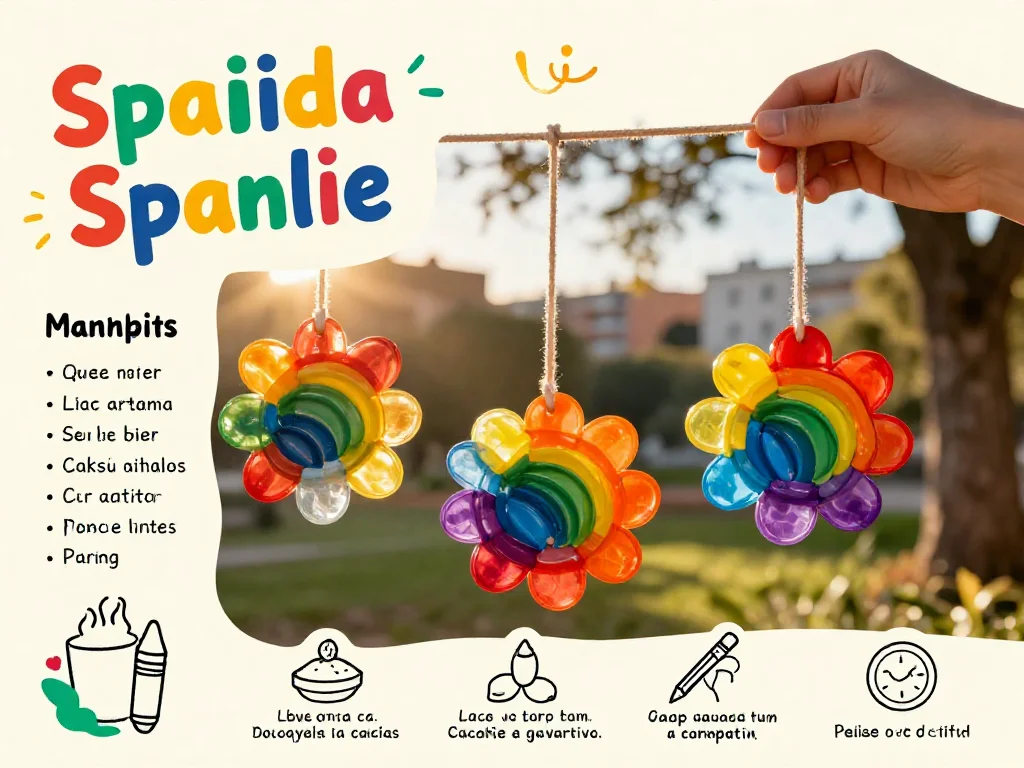
- Colored pencils (every shade of the rainbow is perfect)
- Green paper or cardstock (for leaves and stems)
- Scissors (for clean cuts)
- Hot glue gun (for secure bonding, but you can use craft glue if careful)
- Washi tape (to create stems — optional but charming)
- Floral wire (for support, if preferred)
- Optional embellishments (like beads or ribbons for added detail)
Gather these materials from your favorite craft supplies. If you’re low on some items, remember that creativity often flourishes through substitution.
Step-by-Step Directions
-
Begin by sharpening your colored pencils. Enjoy the sound as the shavings fall, and see the vibrant colors emerge. Allow yourself to feel each pencil’s texture.
-
Select a few pencils to serve as the base for your flowers. Remove any erasers and cut the pencils to your desired lengths, around 4 to 6 inches. They will become the flower stems.

-
Take a piece of green paper or cardstock and cut out leaf shapes. You may want a variety of sizes and forms. This step invites you to feel the paper in your hands, its weight and texture.
-
With the hot glue gun (or craft glue), attach the leaves where you feel they fit best onto the flower stems. Watch the glue cool and harden, solidifying your vision into reality.
-
Now, take the top of each pencil and begin to create the flower shapes. You can layer the tip of one pencil’s shade over another, allowing the colors to blend harmoniously.
-
Attach the pencil tips together with a small amount of glue, forming petals. Feel free to create as many flowers as you like, savoring each combination as you go.
-
When you have assembled your flowers, consider wrapping the base of the stems with washi tape or floral wire for stability. The pattern and colors of this tape can add lovely detail.
-
Display your flowers in a small vase or arrange them on a shelf. Allow the colors to draw you in further as you admire your creation.
Enjoying the Finished Piece
Once your Rainbow Color Pencil Flowers have nestled into their new home, take a moment to appreciate their joyfulness. They can brighten a room, create a festive atmosphere, or become a cherished gift. Imagine placing them on a desk where you work, allowing their vibrant hues to inspire creativity throughout your day.
These flowers can also serve as a reminder to pause and appreciate beauty in everyday life. They may evoke memories of childhood, chasing rainbows, or sharing laughter with friends. Each glance can bring tranquility, prompting a smile or a moment of gratitude.
How to Store or Reuse Rainbow Color Pencil Flowers (DIY)
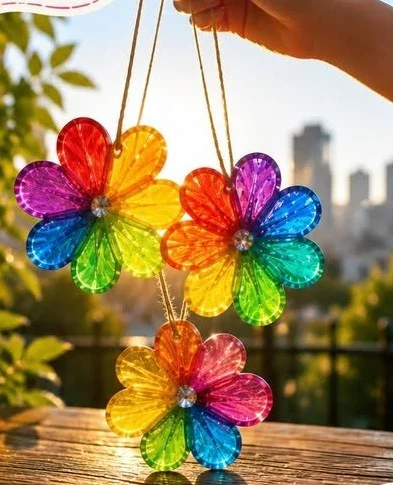
If you wish to preserve your creation, consider storing your flowers in a cool, dry place to maintain their appearance. You could place them in a decorative box lined with soft fabric to protect their vibrancy or showcase them in a clear glass jar that allows anyone to admire their charm.
When the time comes for a refresh, you can easily rearrange the flowers or even add new ones to your collection. Perhaps you would like to create a seasonal display, changing the colors as the seasons shift. It’s a comforting thought — your flowers can evolve with your inspiration and with nature’s cycles.
Gentle Tips & Variations
- Feel free to experiment with different shapes for the flowers. Try making daisy-like blooms or creating a more abstract flower shape. Let your imagination guide you.
- Mix in some natural elements, like dried leaves or twigs, to bring additional texture to your arrangement.
- Use vibrant washi tape not just for the stems but also to layer petals in fun patterns and colors, giving each flower a character of its own.
- Consider painting the tips of the colored pencils with acrylic paint to add some additional flair or a unique sheen.
- Create a small bouquet to give as a thoughtful gift, allowing a friend to enjoy the same calming experience you had while making it.
FAQs About Rainbow Color Pencil Flowers (DIY)
What if I don’t have colored pencils?
You can use markers or even strips of colorful paper. The essence of the DIY lies in creating something beautiful, so let your creativity lead the way.
How long does this DIY take?
The time varies depending on how many flowers you wish to create. It can be a quiet afternoon project or a quiet moment shared with a friend.
Can these flowers be used outdoors?
While these flowers can be lovely inside, they aren’t waterproof and may fade in sunlight. It’s best to keep them for interior decoration or sheltered places.
What if I make a mistake during the process?
Mistakes can lead to beautiful discoveries. If a petal doesn’t hold or the shape doesn’t turn out as planned, embrace it and try again. Each piece carries a bit of your unique journey.
Do you need to make every flower the same?
Not at all! Each flower can have its own personality. Vary the sizes, shapes, and colors, and embrace what feels right to you. This is about personal expression.
A Gentle Note Before You Go
As you conclude this delightful journey of making your Rainbow Color Pencil Flowers, allow yourself a moment to reflect on the experience. Embrace the feelings of calm and accomplishment, and appreciate the colors and textures that filled your hands. Remember that creativity is not just about the end result but about the moments spent in quiet engagement. No matter how many flowers you create, each one holds the potential to bring a smile, to spark joy, and to remind you of the beauty in slowing down. Enjoy the journey, and let your creativity flourish in its own gentle way.
Print
Rainbow Color Pencil Flowers
- Total Time: 40 minutes
- Yield: 1 bouquet
- Diet: N/A
Description
Create a vibrant bouquet of flowers using colored pencils for a joyful and creative experience.
Ingredients
- Colored pencils (every shade of the rainbow)
- Green paper or cardstock (for leaves and stems)
- Scissors (for clean cuts)
- Hot glue gun (for secure bonding, or craft glue)
- Washi tape (to create stems, optional)
- Floral wire (for support, if preferred)
- Optional embellishments (like beads or ribbons)
Instructions
- Begin by sharpening your colored pencils.
- Select a few pencils to serve as the base for your flowers.
- Take a piece of green paper or cardstock and cut out leaf shapes.
- With the hot glue gun (or craft glue), attach the leaves onto the flower stems.
- Now, take the top of each pencil and begin to create the flower shapes.
- Attach the pencil tips together with a small amount of glue.
- When you have assembled your flowers, consider wrapping the base of the stems with washi tape or floral wire.
- Display your flowers in a small vase or arrange them on a shelf.
Notes
Feel free to experiment with different flower shapes and colors. You can also use natural elements for added texture.
- Prep Time: 10 minutes
- Cook Time: 30 minutes
- Category: Craft
- Method: DIY
- Cuisine: Art & Crafts