Introduction
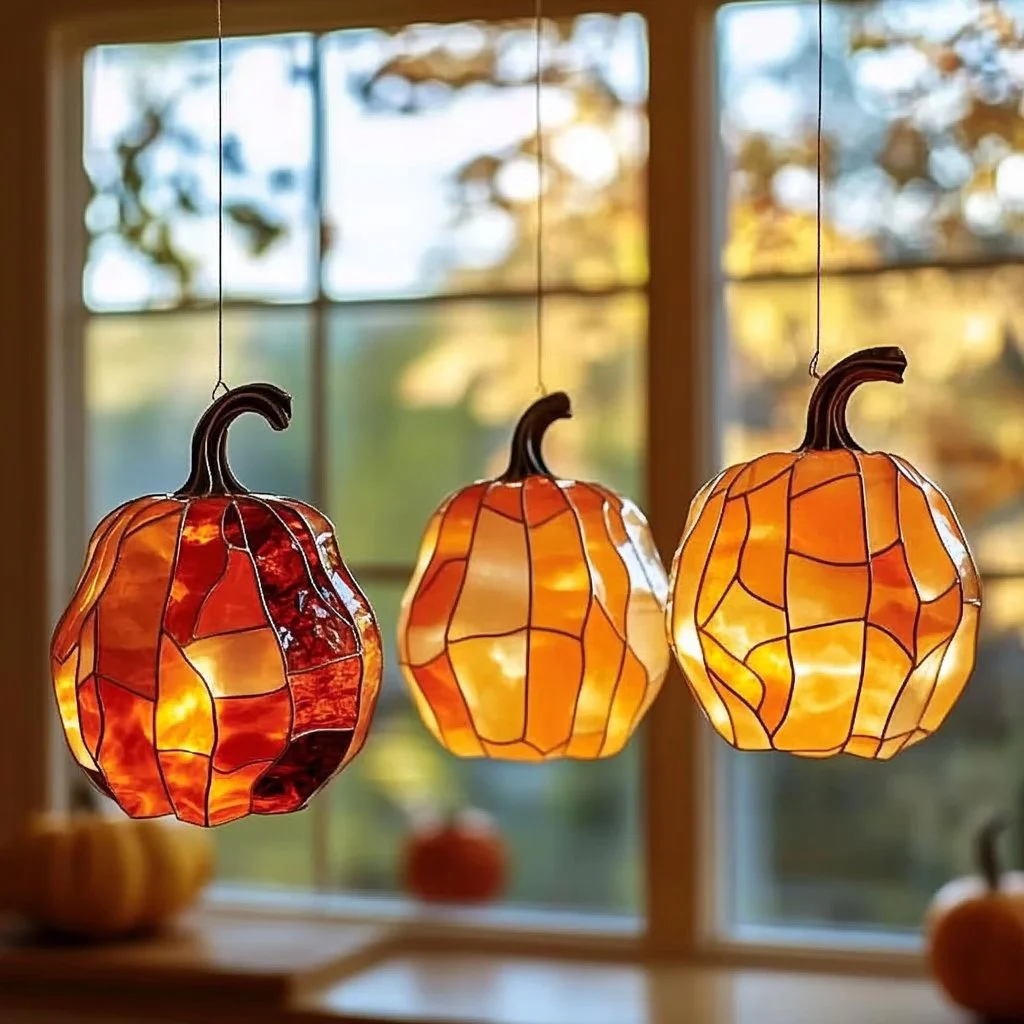
As the leaves turn and the days grow shorter, there’s nothing quite like the warmth and cheer of autumn. One delightful way to embrace the season is by creating DIY pumpkin suncatchers. These charming decorations not only brighten up your windows with a splash of color but also bring a sense of artistry and creativity into your home. Ideal for children and adults alike, this craft is uncomplicated yet captivating, making it a perfect weekend project. Dive into this festive activity and transform your space into a cozy autumn escape, all while enjoying the process of making beautiful, sunlit pumpkins that dance and shimmer in the light.
Why You’ll Love This Pumpkin Suncatchers
- Easy and Fun: A simple craft suitable for all ages!
- Customizable: Get creative with colors, shapes, and designs.
- Educational: A wonderful way to engage kids in art and science through light.
- Seasonal Charm: Perfect decorative accent for fall festivities.
- Low-Cost Materials: Most supplies can be found around the house or at local stores.
Materials
- Translucent contact paper
- Orange, green, and brown tissue paper
- Scissors
- Black marker
- String or ribbon (optional)
- Cotton balls (optional for texture)
Step-by-Step Instructions
Prepare Your Workspace
- Clear a flat surface and gather all your materials.
- Lay down some newspaper or a plastic tablecloth for easy cleanup.
Create the Pumpkin Shape
- On a piece of cardboard or thick paper, draw a pumpkin shape.
- Use scissors to carefully cut out the pumpkin outline; this will serve as your template.
Cut Tissue Paper
- Tear or cut the orange tissue paper into small squares or shapes.
- Cut green tissue paper into leaf shapes and tiny brown pieces for the stem.
Assemble the Suncatcher
- Layering: Stick one piece of contact paper on the flat surface, sticky side up.
- Add Color: Place the orange tissue pieces onto the contact paper, filling the pumpkin shape while leaving some gaps for light to shine through.
- Decorate: Add the green leaves and brown stem to finish your design.
Seal and Hang
- Place another layer of contact paper on top of the decorated pumpkin, sealing it in.
- Trim any excess paper, leaving a small border for sticking.
- Use string or ribbon to hang your suncatcher if desired.
Tips & Variations
- Add Texture: Use cotton balls to create a three-dimensional effect for added fun.
- Color Variations: Try making ghosts or other fall-themed shapes using different colors.
- Layering Styles: Experiment with layering different colors of tissue paper for a stained-glass effect.
- Size Options: Customize the size of your suncatcher by adjusting the pumpkin template, creating a stunning display of varying sizes.
Frequently Asked Questions
Q1: Can I use regular paper instead of tissue paper?
A1: While tissue paper works best for transparency, you can use regular colored paper for a more opaque look, but it won’t have the same light-catching effect.
Q2: How do I hang my suncatcher without damaging my window?
A2: Use removable adhesive or suction cup hooks; they won’t damage the glass and can be easily removed later.
Q3: What if I don’t have contact paper?
A3: Clear plastic sheets (like laminating sheets) can be an effective substitute, or you can create a DIY version with clear glue between two sheets of thin plastic.
Q4: Can this activity be done outdoors?
A4: Yes! Just ensure you have a clean, flat workspace and take precautions to protect any craft materials from wind and moisture.
Serving Suggestions or Pairings
Serve your pumpkin suncatchers with a warm cup of apple cider or hot cocoa for a cozy crafting afternoon. Add some homemade pumpkin bread or ginger snaps as a sweet treat to enjoy while you create.
Final Thoughts
Making pumpkin suncatchers is a delightful craft that brings the spirit of fall into your home. They are not only visually appealing but also provide a great opportunity for creative bonding with family and friends. Once you complete your suncatchers, we’d love to see your creations! Share your versions, variations, or any tips you discover along the way in the comments below! Happy crafting!
Print
DIY Pumpkin Suncatchers
- Total Time: 15 minutes
- Yield: Multiple suncatchers
- Diet: N/A
Description
Create charming pumpkin suncatchers that brighten your windows and embrace the spirit of autumn with an easy and fun craft.
Ingredients
- Translucent contact paper
- Orange tissue paper
- Green tissue paper
- Brown tissue paper
- Scissors
- Black marker
- String or ribbon (optional)
- Cotton balls (optional for texture)
Instructions
- Prepare Your Workspace: Clear a flat surface and gather all materials. Lay down some newspaper or a plastic tablecloth.
- Create the Pumpkin Shape: Draw a pumpkin shape on cardboard or thick paper and cut it out to use as a template.
- Cut Tissue Paper: Tear or cut orange tissue paper into small squares. Cut green tissue paper into leaf shapes and small brown pieces for the stem.
- Assemble the Suncatcher: Layer contact paper sticky side up, add orange tissue pieces for the pumpkin, then decorate with green leaves and a brown stem.
- Seal and Hang: Place another layer of contact paper on top to seal it in, trim excess paper, and hang with string or ribbon if desired.
Notes
Experiment with colors and shapes. Use cotton balls for texture and customize the size of your suncatcher with the pumpkin template.
- Prep Time: 15 minutes
- Cook Time: 0 minutes
- Category: Craft
- Method: Crafting
- Cuisine: N/A
Nutrition
- Serving Size: 1 suncatcher
- Calories: 0
- Sugar: 0g
- Sodium: 0mg
- Fat: 0g
- Saturated Fat: 0g
- Unsaturated Fat: 0g
- Trans Fat: 0g
- Carbohydrates: 0g
- Fiber: 0g
- Protein: 0g
- Cholesterol: 0mg

