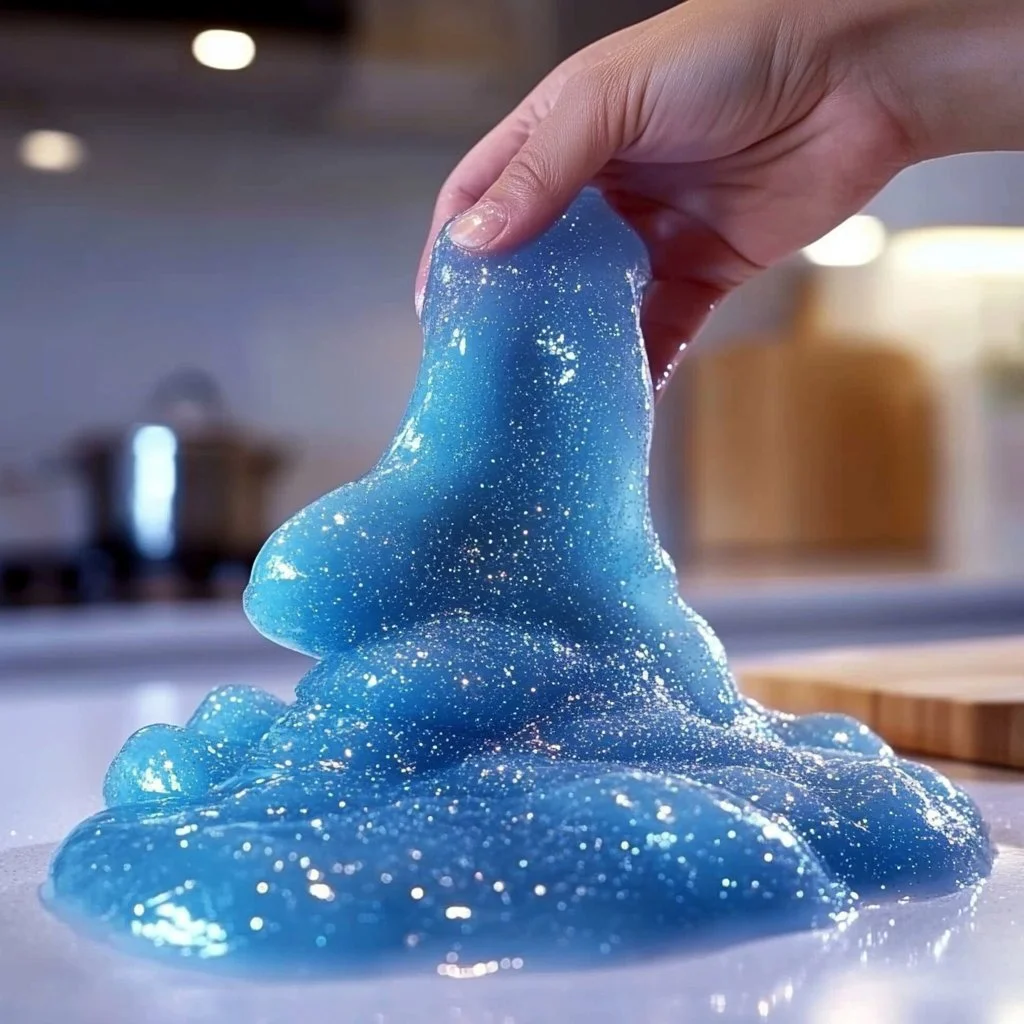
Make way for a magical sensory experience with this DIY Princess Elsa Slime! Inspired by the beloved character from Disney’s "Frozen," this slime recipe embodies the enchanting world of ice and snow. It’s perfect for imaginative play, sensory exploration, or simply as a fun craft project for kids and adults alike. With its vibrant blue color and sparkling shimmer, this slime will transport you to Elsa’s frozen kingdom. Plus, it’s easy to make and can be customized for your personal touch. Gather your materials and get ready to create a delightful, squishy masterpiece that’s as enjoyable to make as it is to play with!
Why You’ll Love This Princess Elsa Slime
- Engaging Sensory Play: Perfect for tactile exploration and stress relief.
- Customizable Colors & Textures: Add your flair with different pigments or decorations.
- Easy to Make: Simple ingredients and straightforward steps that anyone can follow.
- Educational Fun: Helps develop motor skills and encourages creativity.
- Perfect for Themed Parties: Great addition for Frozen-themed events or playdates.
- Reusable: Store properly, and it’s good for multiple play sessions.
Materials
- 1 cup white school glue
- 1 cup water
- 1 tsp baking soda
- 2-3 tbsp contact lens solution
- Blue food coloring
- Glitter (fine or chunky)
- Mixing bowl
- Spoon or spatula
- Airtight container for storage
Step-by-Step Instructions
Step 1: Mix Glue and Water
- In a mixing bowl, combine 1 cup of white school glue with 1 cup of water.
- Stir thoroughly until the mixture is well combined.
Step 2: Add Color and Glitter
- Add a few drops of blue food coloring, adjusting to your preference for a vibrant hue.
- Mix in 2 tablespoons of glitter for that magical sparkle, stirring until evenly distributed.
Step 3: Activate the Slime
- Sprinkle 1 teaspoon of baking soda into the mixture, stirring well.
- Gradually add 2 to 3 tablespoons of contact lens solution, mixing continuously until the slime begins to form.
Step 4: Knead the Slime
- Once the mixture starts pulling away from the bowl, take it out and start kneading it with your hands.
- Knead for about 2-3 minutes until it reaches your desired consistency.
Step 5: Store Properly
- Place your Elsa slime in an airtight container to keep it fresh and ready for play!
Tips & Variations
- Color Customization: Use various colors of food coloring to create different shades of blue or icy hues.
- Textural Boost: Mix in foam beads for added texture or use glow-in-the-dark paint for nighttime fun.
- Fragrance: Add a few drops of essential oils for a pleasant scent that enhances the play experience.
- DIY Containers: Use small mason jars or plastic containers for storage or gifting.
Frequently Asked Questions
Q1: Can I use liquid starch instead of contact lens solution?
A1: Yes, liquid starch can be an effective substitute for the contact lens solution for activation.
Q2: What if my slime is too sticky?
A2: If sticky, add a bit more contact lens solution until you achieve the right consistency.
Q3: How do I store the slime?
A3: Always keep your slime in an airtight container to prevent it from drying out.
Q4: Is this slime safe for children?
A4: Yes, the ingredients are generally safe for children, but adult supervision is recommended, especially for younger kids.
Serving Suggestions or Pairings
- Snack Options: Pair your slime playtime with popcorn or gummy bears for a fun snack.
- Drink Choices: Enjoy a refreshing blueberry lemonade or sparkling water to match the icy theme.
- Activity Ideas: Host a Frozen-themed party with ice-themed crafts or movies to enhance the experience.
Final Thoughts
Creating your own Princess Elsa Slime is not just a delightful craft but an experience that fosters imaginative play and creativity. Whether you’re making it for a special occasion or just for fun, it’s sure to be a hit among fans of all ages. We would love to see your creations! Share your versions or leave a comment with your thoughts and any variations you tried. Happy slime-making!
Print
DIY Princess Elsa Slime
- Total Time: 10 minutes
- Yield: 1 batch of slime 1x
- Diet: N/A
Description
Create your own magical Princess Elsa Slime inspired by Disney’s ‘Frozen’. Perfect for imaginative play and sensory exploration.
Ingredients
- 1 cup white school glue
- 1 cup water
- 1 tsp baking soda
- 2–3 tbsp contact lens solution
- Blue food coloring
- Glitter (fine or chunky)
- Mixing bowl
- Spoon or spatula
- Airtight container for storage
Instructions
- In a mixing bowl, combine 1 cup of white school glue with 1 cup of water. Stir thoroughly until the mixture is well combined.
- Add a few drops of blue food coloring, adjusting to your preference for a vibrant hue. Mix in 2 tablespoons of glitter for that magical sparkle, stirring until evenly distributed.
- Sprinkle 1 teaspoon of baking soda into the mixture, stirring well. Gradually add 2 to 3 tablespoons of contact lens solution, mixing continuously until the slime begins to form.
- Once the mixture starts pulling away from the bowl, take it out and start kneading it with your hands. Knead for about 2-3 minutes until it reaches your desired consistency.
- Place your Elsa slime in an airtight container to keep it fresh and ready for play!
Notes
Color customization and textural variations can enhance the play experience. Store properly for reuse.
- Prep Time: 10 minutes
- Cook Time: 0 minutes
- Category: Craft
- Method: Mixing
- Cuisine: N/A
Nutrition
- Serving Size: 1 batch
- Calories: N/A
- Sugar: N/A
- Sodium: N/A
- Fat: N/A
- Saturated Fat: N/A
- Unsaturated Fat: N/A
- Trans Fat: N/A
- Carbohydrates: N/A
- Fiber: N/A
- Protein: N/A
- Cholesterol: N/A

