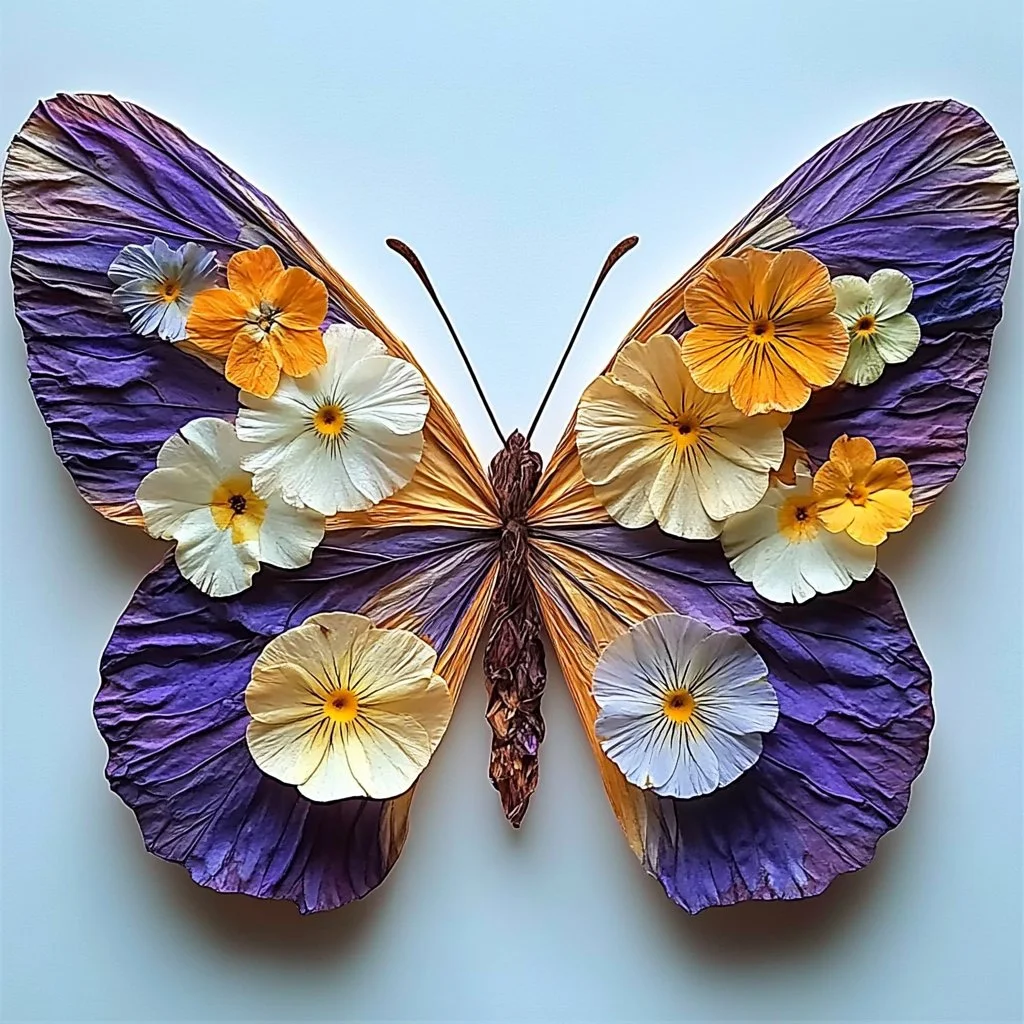
Creating pressed flower butterfly crafts is a delightful way to embrace nature’s beauty while enjoying a hands-on artistic experience. This craft allows you to preserve colorful flowers and transform them into stunning, ethereal decorations. Ideal for all ages, this project encourages creativity, patience, and an appreciation for the delicate intricacies of flowers. Whether you’re embellishing a greeting card, framing artwork, or decorating a journal, pressed flower butterflies add a touch of elegance to any creation. With a few simple materials and steps, you’ll find this craft not only rewarding but also a wonderful way to connect with the beauty around us.
Why You’ll Love This Pressed Flower Butterfly Craft:
- Eco-Friendly: Make use of natural materials, reducing waste.
- Creative Expression: Let your artistic side shine as you choose and arrange your flowers.
- Perfect for All Ages: Simple enough for kids, yet complex enough for adults to enjoy.
- Versatile Uses: Ideal for cardmaking, scrapbooking, or home decor.
- Meditative Process: Engaging in crafting can be a calming and mindful activity.
Materials:
- Fresh flowers (flat, non-twig varieties – e.g., daisies, violets, and pansies)
- Heavy books or a flower press
- Craft paper or cardstock
- Scissors
- Glue
- Pencil
- Butterfly template (optional)
Full Step-by-Step:
1. Collect Your Flowers
- Choose fresh, colorful flowers from your garden or local park. Look for ones that lay flat.
2. Press the Flowers
- Place the flowers between two sheets of absorbent paper.
- Either place them in a heavy book and close it tightly or use a flower press.
- Leave them for 1-2 weeks to dry completely.
3. Prepare Your Butterfly Template
- Print or draw a butterfly outline on craft paper or cardstock.
- Cut out the butterfly shape, leaving a bit of an edge for gluing.
4. Arrange the Flowers
- Once the flowers are pressed, carefully remove them from the paper.
- Arrange the dry flowers onto the butterfly shape, creating your desired design.
5. Glue the Flowers
- Use a glue stick or craft glue to affix the flowers to the butterfly base.
- Press down gently and let dry.
6. Finishing Touches
- Add details with a fine-point marker if desired.
- Once done, display your pressed flower butterflies in frames or use them in crafts.
Tips & Variations:
- Customize: Try using leaves or other natural elements for more texture.
- Swapping Materials: Use foam sheets or colored cardstock instead of standard paper to add thickness.
- Alternative Shapes: Experiment with different insect shapes like dragonflies or ladybugs.
- Dyeing Flowers: Consider dyeing your white flowers beforehand for a unique palette.
Frequently Asked Questions:
1. Can I use dried flowers?
Yes, dried flowers can be used, but they may be more fragile than freshly pressed flowers. Choose thicker dried flowers for better results.
2. How do I know when my flowers are fully pressed?
They should be completely flat and dry to the touch. Test them by carefully removing them from the press; they should not be sticky.
3. What kinds of flowers work best for this craft?
Flowers with flat petals, such as pansies, daisies, and violets, work best. Avoid thick, bulky flowers.
4. Can kids participate in this craft?
Absolutely! Just ensure adult supervision, especially when handling scissors and glue.
Suggestions:
- Turn your pressed butterflies into bookmarks by adding tassels.
- Use them as decorative pieces in gift wrapping for special occasions.
- Create a mobile by stringing several butterflies together.
- Incorporate into handmade gift tags for a personal touch.
Final Thoughts
Pressed flower butterfly crafts are not just a fun activity; they’re a bridge connecting us with nature’s beauty while allowing for creativity and expression. We encourage you to try this craft and share your unique versions with us! Leave a comment below to let us know how your butterflies turned out or any variations you implemented. Happy crafting!
Print
Pressed Flower Butterfly Crafts
- Total Time: 10080 minutes
- Yield: Varies
- Diet: N/A
Description
Create stunning pressed flower butterflies for decorations, cards, and more.
Ingredients
- Fresh flowers (e.g., daisies, violets, pansies)
- Heavy books or a flower press
- Craft paper or cardstock
- Scissors
- Glue
- Pencil
- Butterfly template (optional)
Instructions
- Collect your flowers from your garden or local park ensuring they are flat.
- Press the flowers between sheets of absorbent paper and place them in a heavy book or flower press for 1-2 weeks.
- Prepare your butterfly template by printing or drawing it on craft paper and cut it out.
- Once the flowers are pressed, arrange them on the butterfly shape.
- Glue the flowers in place and let it dry.
- Add details with a fine-point marker and display your butterflies or use them in crafts.
Notes
Customize your butterflies with leaves or try different insect shapes. Adult supervision is recommended for children.
- Prep Time: 10 minutes
- Cook Time: 0 minutes
- Category: Crafts
- Method: Handcrafting
- Cuisine: N/A
Nutrition
- Serving Size: 1 butterfly
- Calories: 0
- Sugar: 0g
- Sodium: 0mg
- Fat: 0g
- Saturated Fat: 0g
- Unsaturated Fat: 0g
- Trans Fat: 0g
- Carbohydrates: 0g
- Fiber: 0g
- Protein: 0g
- Cholesterol: 0mg

