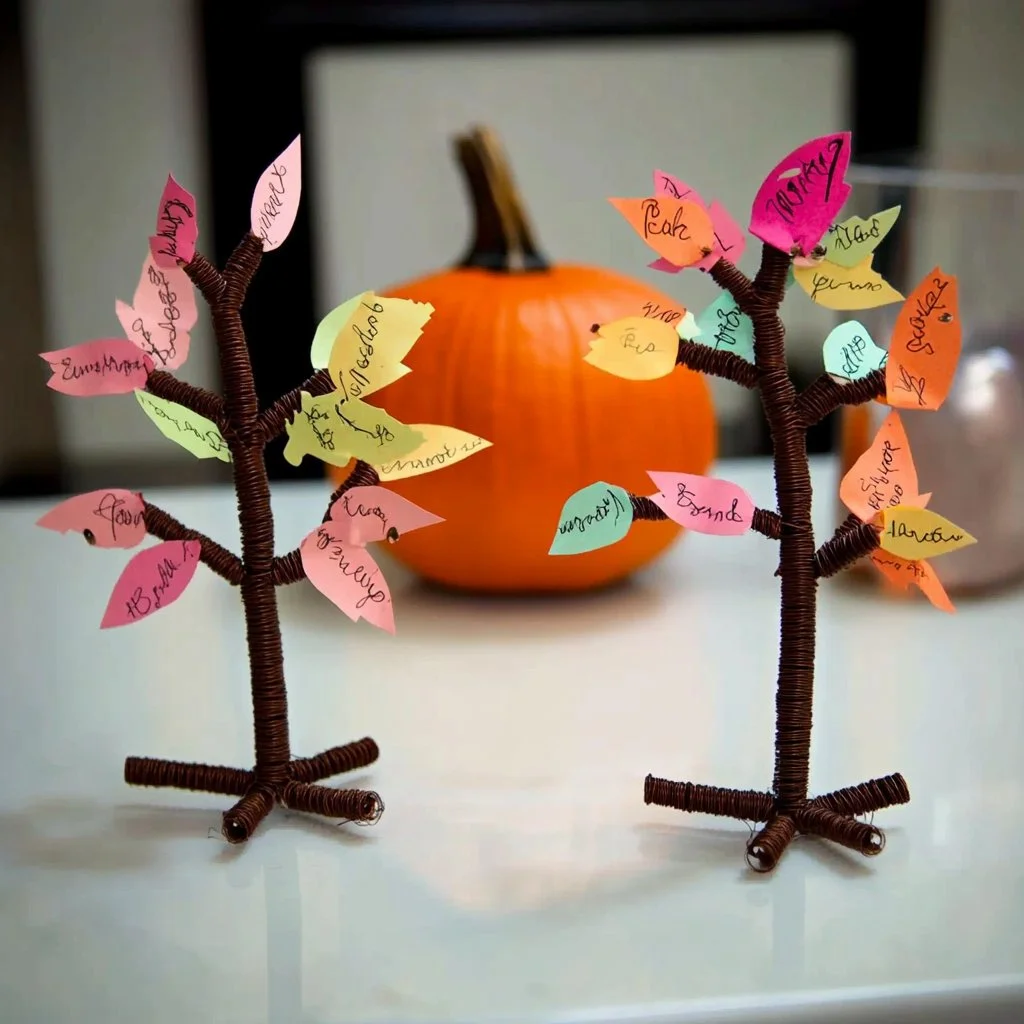
Creating a pipe cleaner family tree is a delightful and engaging craft project that combines creativity with family bonding. Ideal for both children and adults, this activity not only allows you to express artistic flair but also serves as a wonderful way to explore and celebrate family history. Each colorful pipe cleaner represents a different family member, making it a visual testament to your family’s unique lineage. As you twist and turn the vibrant pipe cleaners into branches and leaves, you’ll not only hone your crafting skills but also spark meaningful conversations about your family’s stories and connections. This easy-to-follow guide will lead you through crafting your own family tree — perfect for display at family gatherings or as a cherished keepsake.
Why You’ll Love This Pipe Cleaner Family Tree
- Creative Expression: Unleash your artistic side with bright colors and imaginative designs.
- Family Bonding: Engage family members in crafting and storytelling together.
- Educational: Learn about family history and relationships while crafting.
- Customizable: Easily adapt the design to fit any familial structure or theme.
- Decorative: Make a unique piece of art to decorate your home or office space.
- Eco-friendly: Use reusable materials or upcycle items from around your home.
Ingredients
- Assorted pipe cleaners (various colors)
- Scissors
- Beads or buttons (optional for decoration)
- Cardboard or a sturdy base for support
- Craft glue (optional)
- Markers or pens (for labeling)
Step-by-Step Instructions
Prepare Your Base
- Start by cutting a piece of cardboard into your desired shape, like a circle or rectangle, to provide a solid foundation for your tree.
Create the Trunk and Branches
- Take a long pipe cleaner and twist it to form the trunk of the tree.
- From the trunk, cut and attach additional pipe cleaners to form branches. Bend them at different angles for a realistic look.
Add Family Members
- Use different colored pipe cleaners for each family member.
- Twist or loop each colored pipe cleaner to represent individuals and attach them to the branches.
Decoration
- Add beads or buttons to the pipe cleaners for a unique touch.
- Use markers to write names on small pieces of paper and attach them to corresponding branches.
Final Assembly
- Ensure all elements are securely attached. If needed, apply a small amount of craft glue to reinforce the structure.
Tips & Variations
- Color Coding: Assign colors to represent different generations or branches of the family.
- Leaves: Use green pipe cleaners for leaves to add a more realistic touch.
- Labels: Instead of paper labels, consider using small charms that can be attached to represent names or important dates.
- Size Options: Create mini family trees for a keychain or larger ones as table centerpieces.
Frequently Asked Questions
Q1: Can I use other materials instead of pipe cleaners?
A1: Yes! You can use yarn, string, or even sticks. Just ensure they are sturdy enough for your design.
Q2: What if I have a large family?
A2: For larger families, consider creating a multi-layered tree, with multiple trunks or separate trees for different branches.
Q3: How can I display the finished product?
A3: You can place your family tree in a frame, on a shelf, or even on a wall hook for a colorful display.
Q4: Is this project suitable for young children?
A4: Yes! It’s a great activity for kids, but adult supervision may be needed for using scissors and attaching smaller pieces.
Serving Suggestions or Pairings
Pair your pipe cleaner family tree craft session with some refreshing drinks like lemonade or iced tea. For a snack, consider light finger foods such as fruit skewers or popcorn to keep everyone energized. Sharing stories or memories while crafting can make the experience even more enjoyable!
Final Thoughts
Creating a pipe cleaner family tree is a fun, interactive way to celebrate your family’s history while tapping into your creative side. This craft isn’t just about the final product; it’s about the moments shared and the stories told while making it. We’d love to see your versions! Share your own family tree creations or leave a comment below to inspire others with your design ideas. Happy crafting!
Print
Pipe Cleaner Family Tree
- Total Time: 30 minutes
- Yield: 1 family tree
- Diet: N/A
Description
A delightful craft project that celebrates family history through a colorful pipe cleaner family tree.
Ingredients
- Assorted pipe cleaners (various colors)
- Scissors
- Beads or buttons (optional for decoration)
- Cardboard or a sturdy base for support
- Craft glue (optional)
- Markers or pens (for labeling)
Instructions
- Prepare Your Base: Cut a piece of cardboard into your desired shape to provide a solid foundation for your tree.
- Create the Trunk and Branches: Take a long pipe cleaner and twist it to form the trunk. Attach additional pipe cleaners to form branches, bending them at different angles.
- Add Family Members: Use different colored pipe cleaners for each family member, twisting or looping them to represent individuals and attaching them to the branches.
- Decoration: Add beads or buttons for a unique touch. Use markers to write names on small pieces of paper and attach them to corresponding branches.
- Final Assembly: Ensure all elements are securely attached and apply craft glue to reinforce the structure if needed.
Notes
Consider color coding for generations and using charms for labels instead of paper.
- Prep Time: 30 minutes
- Cook Time: 0 minutes
- Category: Craft
- Method: Crafting
- Cuisine: N/A
Nutrition
- Serving Size: 1 tree
- Calories: 0
- Sugar: 0g
- Sodium: 0mg
- Fat: 0g
- Saturated Fat: 0g
- Unsaturated Fat: 0g
- Trans Fat: 0g
- Carbohydrates: 0g
- Fiber: 0g
- Protein: 0g
- Cholesterol: 0mg

