- Introduction
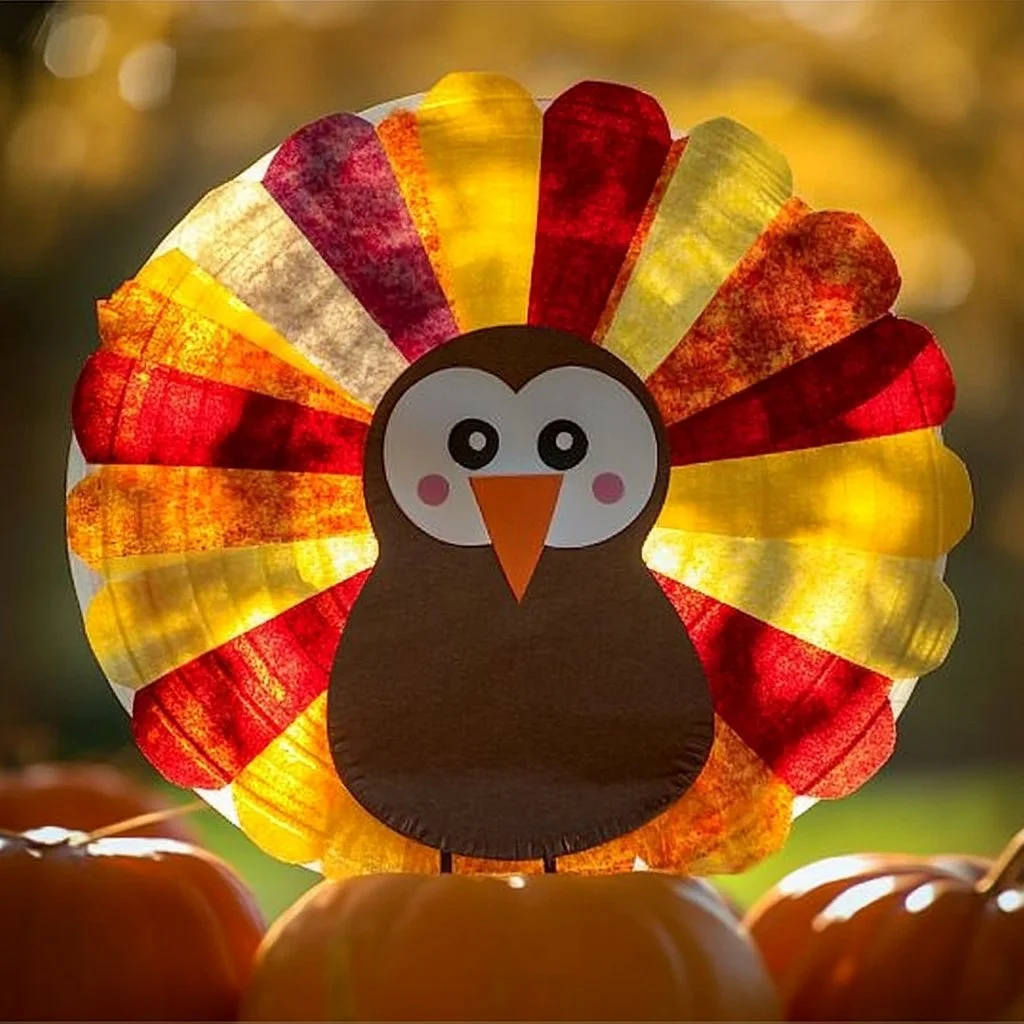
Crafting is a great way to celebrate the beauty of the changing seasons, and what better way to do so than with a cheerful Paper Plate Turkey Suncatcher? This delightful activity not only brings festive spirit to your home but also offers a wonderful opportunity for creativity and family bonding. As sunlight filters through these colorful turkeys, they brighten up any window, creating a warm and inviting atmosphere. Easy enough for kids yet enjoyable for adults, this craft can serve as a delightful centerpiece for Thanksgiving or simply a way to embrace the fall season. Plus, it provides an excellent chance to discuss gratitude and the spirit of Thanksgiving with little ones while they craft. Let’s dive into the reasons why you’ll love making this Paper Plate Turkey Suncatcher!
- Why You’ll Love This Paper Plate Turkey Suncatcher:
- Engaging and fun for all ages
- Brightens up your home with colorful decorations
- Encourages creativity and fine motor skills
- Simple materials make it easy to prepare
- A perfect activity for Thanksgiving celebrations
- Materials:
- Paper plates (one per turkey)
- Tissue paper in assorted colors (red, yellow, orange, brown)
- Clear contact paper or plastic wrap
- Scissors
- Glue (optional)
- Markers or crayons (for details)
- Googly eyes (optional)
- String or yarn (for hanging)
- Full Step-by-Step:
Step 1: Prepare the Plates
- Start by taking a paper plate and flipping it over; we’ll create the turkey on the back side for a clean finish.
Step 2: Cut the Tissue Paper
- Cut the tissue paper into small squares or shapes. Encourage kids to experiment with different sizes and colors to create a vibrant look.
Step 3: Apply Contact Paper
- Next, cut a piece of clear contact paper or plastic wrap larger than the paper plate.
- Peel back the backing and lay it sticky-side up on the table.
Step 4: Create the Turkey Design
- Start placing the colored tissue paper squares on the adhesive side of the contact paper. Mix different colors to resemble turkey feathers—let creativity flow!
Step 5: Seal the Design
- Once satisfied with your arrangement, carefully place the paper plate over the tissue paper design, pressing down gently to seal.
Step 6: Add Features
- Use markers or crayons to draw the turkey’s head and body, and glue on googly eyes if you have them.
Step 7: Hang Your Creation
- Lastly, attach a piece of string or yarn to the plate for hanging. Choose a sunny spot in your home to showcase your masterpiece!
- Tips & Variations:
- Customize Colors: Feel free to switch out tissue paper colors based on personal preference or seasonal themes.
- Add Bling: Use glitter or sequins for an extra festive touch.
- Different Shapes: Instead of a traditional turkey, make other fall-themed shapes like pumpkins or leaves.
- Use Natural Elements: Incorporate dried leaves or small twigs for a unique touch.
- Frequently Asked Questions:
Q1: Can I use regular paper instead of tissue paper?
A1: While tissue paper is best for light to shine through, you can use colored construction paper as an alternative. Just remember that it won’t be as translucent.
Q2: How do I hang my suncatcher if I don’t have string?
A2: You can use a pushpin to pin it to the wall or tape it securely to a window frame as a temporary solution.
Q3: What age group is this craft suitable for?
A3: This craft is suitable for all ages, but adult supervision might be necessary for younger children when using scissors.
Q4: Can we store the suncatcher for next year?
A4: Yes, ensure it’s kept flat and away from direct sunlight to preserve its colors, and you can enjoy it for years to come!
- Suggestions:
- Pair this craft with a storytime session around Thanksgiving themes or nature-related tales.
- Host a mini-craft competition with friends or family to see who can create the most unique turkey suncatcher.
- Use this as an opportunity to teach children about the significance of Thanksgiving and the importance of gratitude.
- Final Thoughts
Crafting this Paper Plate Turkey Suncatcher is not just an enjoyable activity; it’s also a way to foster creativity and meaningful conversations. We hope you’re inspired to make your own suncatcher and fill your home with warmth and joy. We’d love to see your creative twists on this project! Please share your versions or leave a comment below about your experience with this craft!
Print
Paper Plate Turkey Suncatcher
- Total Time: 15 minutes
- Yield: 1 suncatcher
- Diet: N/A
Description
A delightful crafting activity that brings festive spirit and creativity to your home with colorful turkey suncatchers.
Ingredients
- Paper plates (one per turkey)
- Tissue paper in assorted colors (red, yellow, orange, brown)
- Clear contact paper or plastic wrap
- Scissors
- Glue (optional)
- Markers or crayons (for details)
- Googly eyes (optional)
- String or yarn (for hanging)
Instructions
- Prepare the Plates: Flip the paper plate over; we’ll create the turkey on the back side.
- Cut the Tissue Paper: Cut the tissue paper into small squares or shapes.
- Apply Contact Paper: Cut a piece of contact paper larger than the plate and lay it sticky-side up.
- Create the Turkey Design: Place the colored tissue paper squares on the adhesive side.
- Seal the Design: Press the paper plate over the tissue paper design, sealing the arrangement.
- Add Features: Use markers to draw the turkey’s head and glue on googly eyes.
- Hang Your Creation: Attach a piece of string or yarn for hanging in a sunny spot.
Notes
Customize colors, add glitter, or use natural elements for variations.
- Prep Time: 15 minutes
- Cook Time: 0 minutes
- Category: Craft
- Method: Crafting
- Cuisine: N/A
Nutrition
- Serving Size: 1 suncatcher
- Calories: 0
- Sugar: 0g
- Sodium: 0mg
- Fat: 0g
- Saturated Fat: 0g
- Unsaturated Fat: 0g
- Trans Fat: 0g
- Carbohydrates: 0g
- Fiber: 0g
- Protein: 0g
- Cholesterol: 0mg

