

The gentle sound of wind chimes plays softly in the background as I rest outside in my garden. The warm sunshine brushes against my skin, and I am surrounded by the fresh scent of blooming flowers. Each time the breeze sways the chimes, it invites me to pause and breathe deeply, feeling the moment settle. In my hands, a painted wooden spoon hangs gracefully, catching the light just right. This simple yet delightful creation, a painted wooden spoon garden chime, brings a touch of joy to my space and my mind, encouraging me to connect with nature and creativity.
The Quiet Joy of Making Painted Wooden Spoon Garden Chimes
Creating painted wooden spoon garden chimes is more than just a project; it’s a beautiful, sensory experience. This DIY invites you to take each step slowly. As you handle the smooth wood and paint vibrant colors, you engage your hands and heart, finding a calm rhythm in the act of making. Embracing the process allows you to focus, helping to slow down the whirlwind of daily life. The soft clinks and tinkles of the chimes remind you of nature’s gentle presence, creating an oasis of tranquility in your home or garden.
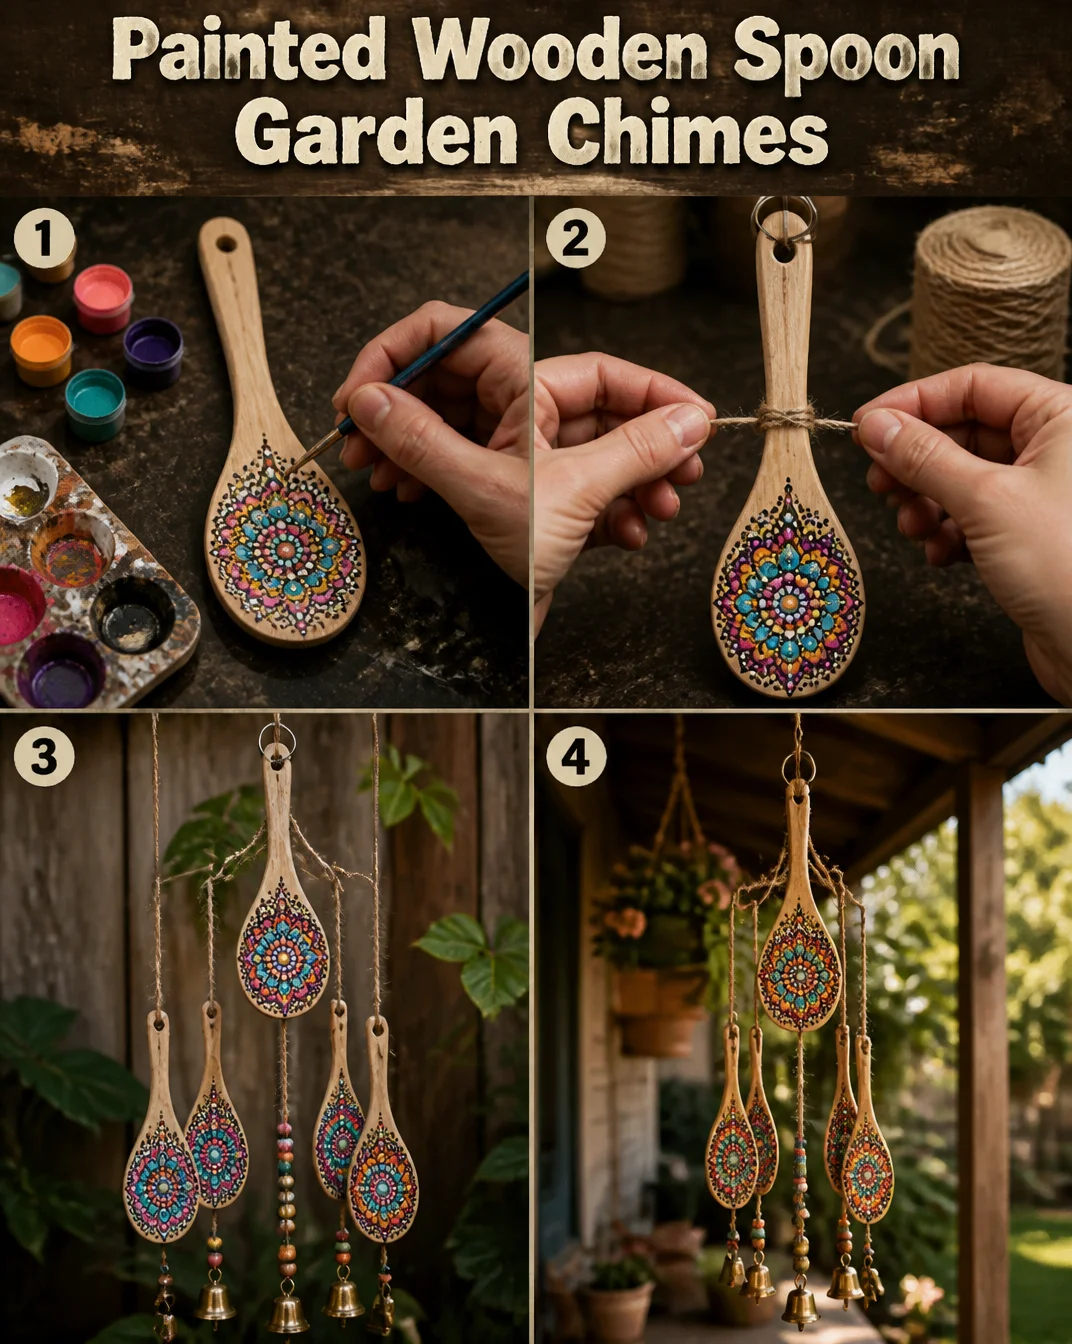
Working with your hands in this way often guides you to a mindful state. You might find joy in the colors you choose, the patterns you create, or simply in the act of painting itself. With each stroke, you blend your thoughts and emotions into the spoons, as if creating an echo of your inner calm. This makes the finished chimes not just items to decorate with, but cherished pieces of art that hold meaning and memories.
A Gentle Look at the Process
As we explore how to make these charming garden chimes, let yourself imagine the soothing journey ahead. Picture the soft brushes gliding over the wooden surface, leaving behind swirls of color. Feel the tickle of the breeze as it begins to stir, encouraging you to move and engage. You will hang these spoons with simple twine and listen as they dance together, creating music with the wind. The ease of this project allows for creativity while offering a rhythm that feels steady and grounding.
Now, let us gently gather the materials we need for this calming endeavor.
Materials You’ll Need
- Wooden spoons (easy to find at craft stores or even your kitchen)
- Acrylic paint in colors of your choice (non-toxic options are available)
- Paintbrushes (choose soft-bristled brushes for smooth application)
- Twine or string (natural fibers feel warm and grounding)
- Scissors (for cutting twine to length)
- Small metal bells (optional for added sound)
- Clear sealant spray (optional for weatherproofing)
- A gentle spirit (essential for a cozy atmosphere)
As you gather these materials, let each item reflect your personal style. Choosing colors that resonate with you will infuse your creation with character and heart.
Step-by-Step Directions
-
Start by laying out your materials on a clean surface. Take a moment to feel the textures around you. Notice how the wood feels against your fingertips.
-
Select a few wooden spoons and begin painting them in your chosen colors. Let your brush glide softly, taking care to add layers as you wish. Feel the paint transform the spoon as it absorbs the color.

-
Allow the spoons to dry completely before moving forward. This is a delightful time to pause and enjoy the scents and sights around you. Perhaps breathe deeply and reflect on your creative process.
-
While the spoons dry, cut lengths of twine that will hang your chimes. The length can vary, allowing for multiple spoons to dangle freely if you like.
-
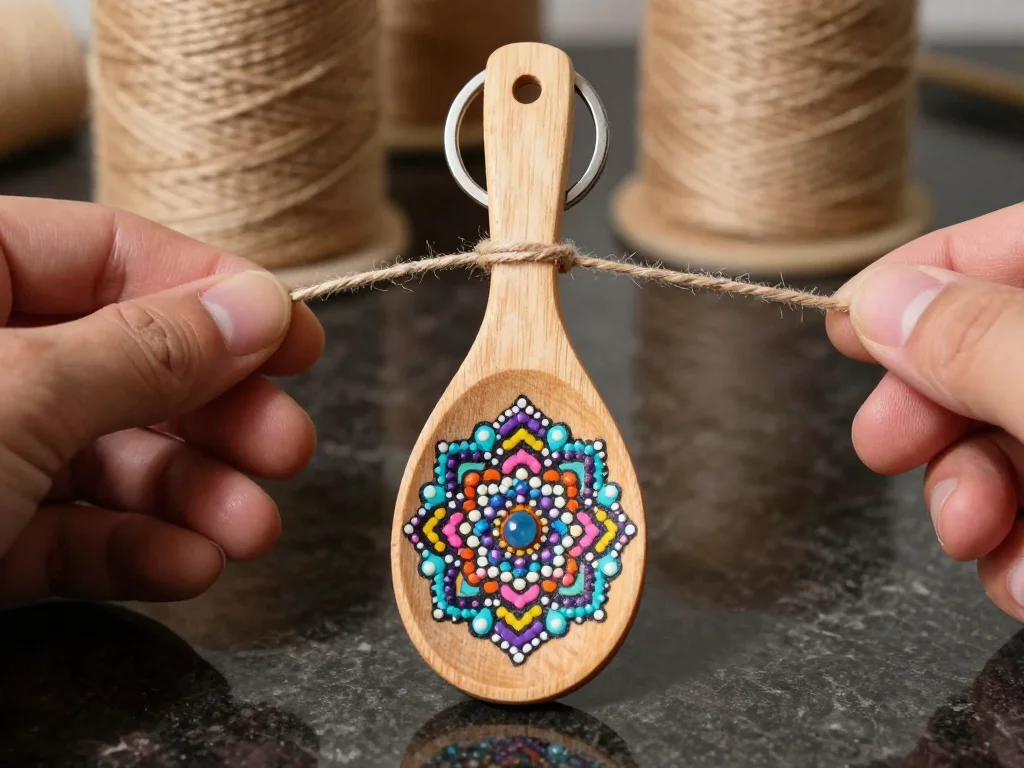
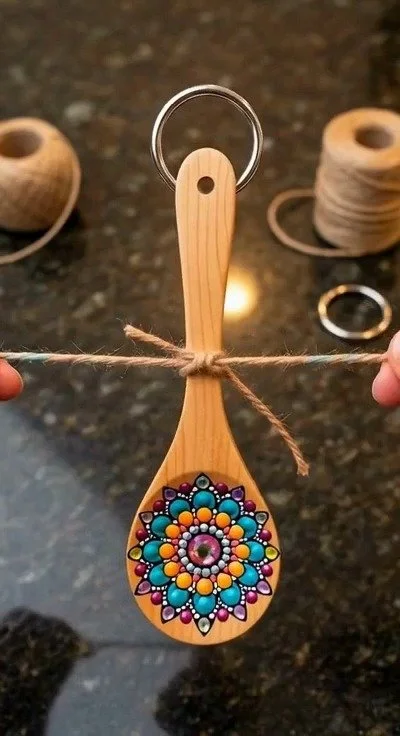
Once dry, take the twine and thread it through the loop end of each spoon. Tie securely so they feel snug yet able to move gracefully.
-
If you’re adding bells, thread them onto the twine before securing each spoon. The delicate jingle will blend beautifully with the soft breeze.
-
Create a larger loop with the twine at the top for hanging. Ensure it is sturdy, so your chimes can sway gently in the wind.
-
Optionally, spray a clear sealant over the painted spoons to protect them from the elements. Just as you finish this step, take a moment to feel proud of your calm creation.
Enjoying the Finished Piece
Now that you’ve crafted these painted wooden spoon garden chimes, it’s time to find the perfect spot for them. Hang them in your garden, patio, or even a cozy corner of your home. As the wind dances with your creation, listen closely to the sweet sounds of the spoons knocking together. Every gentle chime reconnects you with the Earth, reminding you of simple pleasures.
Let them adorn your space, inviting you to pause and breathe whenever you hear their song. They can also serve as delightful gifts for friends, sharing a piece of your calm creativity with loved ones. The thought and care placed in each spoon shine through, creating not just a craft but a heartfelt connection.
Making This DIY Last
Your painted wooden spoon garden chimes will likely endure through various seasons when cared for gently. If you choose to hang them outside, consider bringing them in during harsh weather to further protect the paint. If they do get weathered, embrace this as part of their charm and character.
Store them safely in a cool, dry place when not in use, perhaps in a charming basket or box that you love to look at. This can become a special spot for your creative tools and finished projects. They are not just chimes but pieces of your journey in crafting joy and tranquility.
Calm Customization Ideas
The beauty of this DIY lies in its flexibility. Here are some gentle invitations to help you make it your own:
- Experiment with patterns: You can create stripes, polka dots, or even intricate designs with stencils for an added touch of creativity.
- Use different materials: Consider swapping out the twine for thin chains or colorful yarn for a fresh feel.
- Include nature: Attach small twigs, leaves, or dried flowers to your wooden spoons for an organic touch that embodies the beauty of the outdoors.
- Personalize with words: Using a fine brush or a permanent marker, you might inscribe small affirmations or your favorite quotes on the spoons for a kind reminder each time you pass by.
- Create a theme: Center your colors and designs around the seasons, making variations of your chimes to celebrate spring blossoms or autumn hues.
Allow these options to inspire you, but remember: your creative journey is uniquely yours.
FAQs About Painted Wooden Spoon Garden Chimes
Can I use the chimes indoors?
Yes, these chimes can bring joy indoors as well. They can brighten up a kitchen, living room, or any space where you want to feel more connected with nature.
What paint is best for outdoor use?
Acrylic paint works well, but for better weather resistance, look for paints specifically labeled for outdoor or craft use. Sealant can also enhance durability.
How do I clean the chimes?
Keep them dust-free with a soft, dry cloth. If they get wet, gently pat them dry and place them in a well-ventilated area to avoid moisture build-up.
Can children partake in this project?
Yes, this project can be delightful for children with supervision. Ensure that they use safe, non-toxic materials and help with paint application as appropriate.
What if I don’t have wooden spoons?
Feel free to substitute with other wooden items like sticks or any upcycled wooden utensils. Embrace creativity in the materials you choose.
A Gentle Note Before You Go
As you wrap up your journey of creating painted wooden spoon garden chimes, take a moment to appreciate the mindful act of crafting. Each step along the way has contributed to this cozy creation; embrace its beauty and the memories made in the process. Invite calmness into your space with every soft chime that dances in the wind. Whether displayed proudly in your garden or gifted to someone special, let them serve as a gentle reminder of your own creative spirit.
Print
Painted Wooden Spoon Garden Chimes
- Total Time: 45 minutes
- Yield: 4 chimes
- Diet: N/A
Description
Craft delightful painted wooden spoon garden chimes that bring joy and tranquility to your home and garden.
Ingredients
- Wooden spoons
- Acrylic paint in colors of your choice
- Paintbrushes (soft-bristled)
- Twine or string
- Scissors
- Small metal bells (optional)
- Clear sealant spray (optional)
- A gentle spirit
Instructions
- Start by laying out your materials on a clean surface.
- Select a few wooden spoons and begin painting them in your chosen colors.
- Allow the spoons to dry completely before moving forward.
- While the spoons dry, cut lengths of twine that will hang your chimes.
- Once dry, take the twine and thread it through the loop end of each spoon.
- If you’re adding bells, thread them onto the twine before securing each spoon.
- Create a larger loop with the twine at the top for hanging.
- Optionally, spray a clear sealant over the painted spoons to protect them from the elements.
Notes
Engaging with your creation can bring a sense of calm and connect you closer to nature.
- Prep Time: 15 minutes
- Cook Time: 0 minutes
- Category: Craft
- Method: DIY Crafting
- Cuisine: N/A