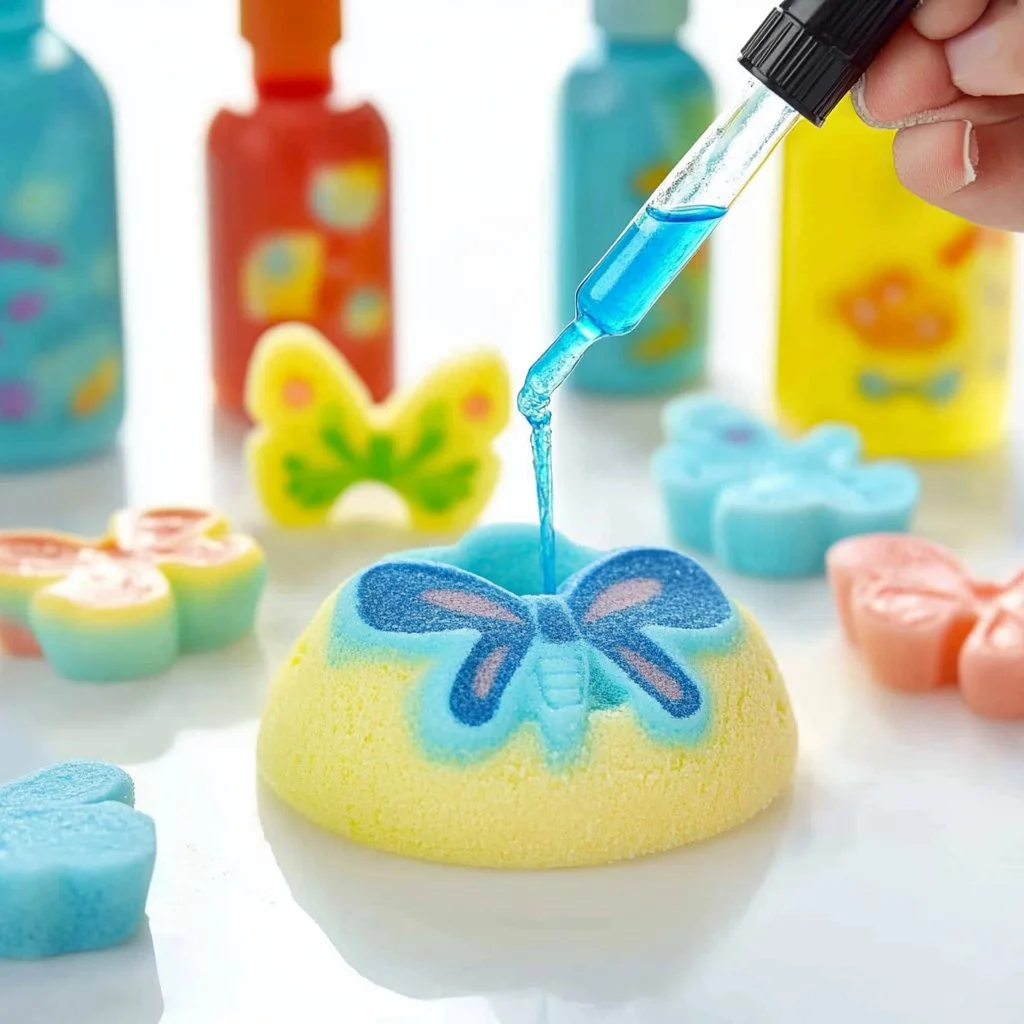
Creating painted salt sculptures is a delightful and imaginative DIY project that seamlessly combines art and science. This captivating activity offers both children and adults a chance to explore their creative sides while enjoying the tactile experience of sculpting with salt dough. The process is not only fun but also educational, as it teaches basic principles of texture, color mixing, and three-dimensional design. Whether you want to decorate your home or simply engage in a hands-on craft, painted salt sculptures provide a unique opportunity to create something beautiful and lasting. The colorful end result is sure to captivate and inspire, making it a perfect project for rainy days, parties, or classroom activities.
Why You’ll Love This Painted Salt Sculptures
- Easy to Make: Simple ingredients that you probably already have at home.
- Customizable: Change colors and shapes to suit your personal style.
- Family-Friendly: Great activity for all ages, promoting creativity and bonding.
- Educational: Teaches kids about texture, color, and sculpting techniques.
- Decorative: Handmade sculptures make charming home decor gifts.
- Durable: Once dried and painted, sculptures hold up well over time.
Materials
- 2 cups all-purpose flour
- 1 cup salt
- 1 cup water
- 1 tablespoon vegetable oil
- Food coloring or acrylic paint
- Mixing bowl
- Baking sheet
- Parchment paper (optional)
- Paintbrushes
- Sealer (optional for durability)
Step-by-Step Instructions
Step 1: Prepare the Salt Dough
- In a mixing bowl, combine 2 cups of flour and 1 cup of salt.
- Gradually add 1 cup of water and 1 tablespoon of vegetable oil.
- Mix until the dough forms a ball that is smooth and pliable.
Step 2: Sculpt Your Creations
- Preheat your oven to 200°F (93°C).
- Divide the salt dough into smaller portions for individual sculptures.
- Use your hands to shape the dough into your desired forms – think animals, vases, or abstract shapes!
- Feel the texture as you mold the dough; it should be soft but not sticky.
Step 3: Bake the Sculptures
- Line a baking sheet with parchment paper.
- Place your creations on the sheet and bake for 1-2 hours, or until completely hard.
- Keep an eye on them to prevent burning, as baking times may vary.
Step 4: Paint Your Sculptures
- Once cooled, use food coloring or acrylic paint to decorate your sculptures.
- Apply the paint using brushes, enjoying the vibrant colors and textures.
- Allow the paint to dry completely.
Step 5: Seal (Optional)
- If desired, apply a coat of sealer to make your sculptures more durable.
- This step is particularly useful if you plan to display them outdoors.
Tips & Variations
- Custom Colors: Mix food coloring into the dough for vibrant color throughout.
- Textured Effects: Use tools like forks or stamps to create patterns.
- Swap Ingredients: You can substitute flour with whole wheat flour or experiment with different types of salt.
- Create Miniatures: Make smaller sculptures for fun keychains or fridge magnets.
Frequently Asked Questions
Q1: Can I use other types of paint besides acrylic?
Yes, you can use tempera paint or craft paint, but acrylic is recommended for durability.
Q2: What if I don’t have vegetable oil?
You can omit the oil, but adding it helps improve the dough’s texture.
Q3: How long will the sculptures last?
Once dried and sealed, they can last for many years if kept in a dry place.
Q4: Can I make this project gluten-free?
Yes, you can use gluten-free flour as a substitute for regular flour.
Serving Suggestions or Pairings
While this project is a standalone crafting activity, pairing it with refreshments such as hot cocoa or a refreshing lemonade makes for a cozy crafting afternoon. Enjoy snacks like popcorn or fruit to keep the creativity flowing!
Final Thoughts
Creating painted salt sculptures is not only an enjoyable process but also results in charming pieces of art that can brighten up any space. We encourage you to share your masterpieces or variations of this project. Leave a comment below sharing your experiences, and let’s inspire each other through creativity!
Print
Painted Salt Sculptures
- Total Time: 135 minutes
- Yield: Multiple sculptures
- Diet: N/A
Description
A fun and educational DIY project for all ages to create beautiful painted salt sculptures using simple ingredients.
Ingredients
- 2 cups all-purpose flour
- 1 cup salt
- 1 cup water
- 1 tablespoon vegetable oil
- Food coloring or acrylic paint
- Mixing bowl
- Baking sheet
- Parchment paper (optional)
- Paintbrushes
- Sealer (optional for durability)
Instructions
- In a mixing bowl, combine flour and salt. Gradually add water and vegetable oil, mixing until a smooth dough forms.
- Preheat your oven to 200°F (93°C). Divide dough for individual sculptures and shape as desired.
- Line a baking sheet with parchment paper, place sculptures on it, and bake for 1-2 hours until hard.
- Once cooled, decorate with food coloring or acrylic paint and allow to dry completely.
- If desired, apply a coat of sealer for durability, especially for outdoor display.
Notes
You can customize colors by mixing food coloring into the dough and create textured effects using stamps or tools. Substitute flour with whole wheat or gluten-free flour as needed.
- Prep Time: 15 minutes
- Cook Time: 120 minutes
- Category: Craft
- Method: Baking
- Cuisine: N/A
Nutrition
- Serving Size: Varies
- Calories: 150 (per sculpture, approximate)
- Sugar: 0g
- Sodium: 1340mg
- Fat: 2g
- Saturated Fat: 0g
- Unsaturated Fat: 2g
- Trans Fat: 0g
- Carbohydrates: 36g
- Fiber: 2g
- Protein: 4g
- Cholesterol: 0mg

