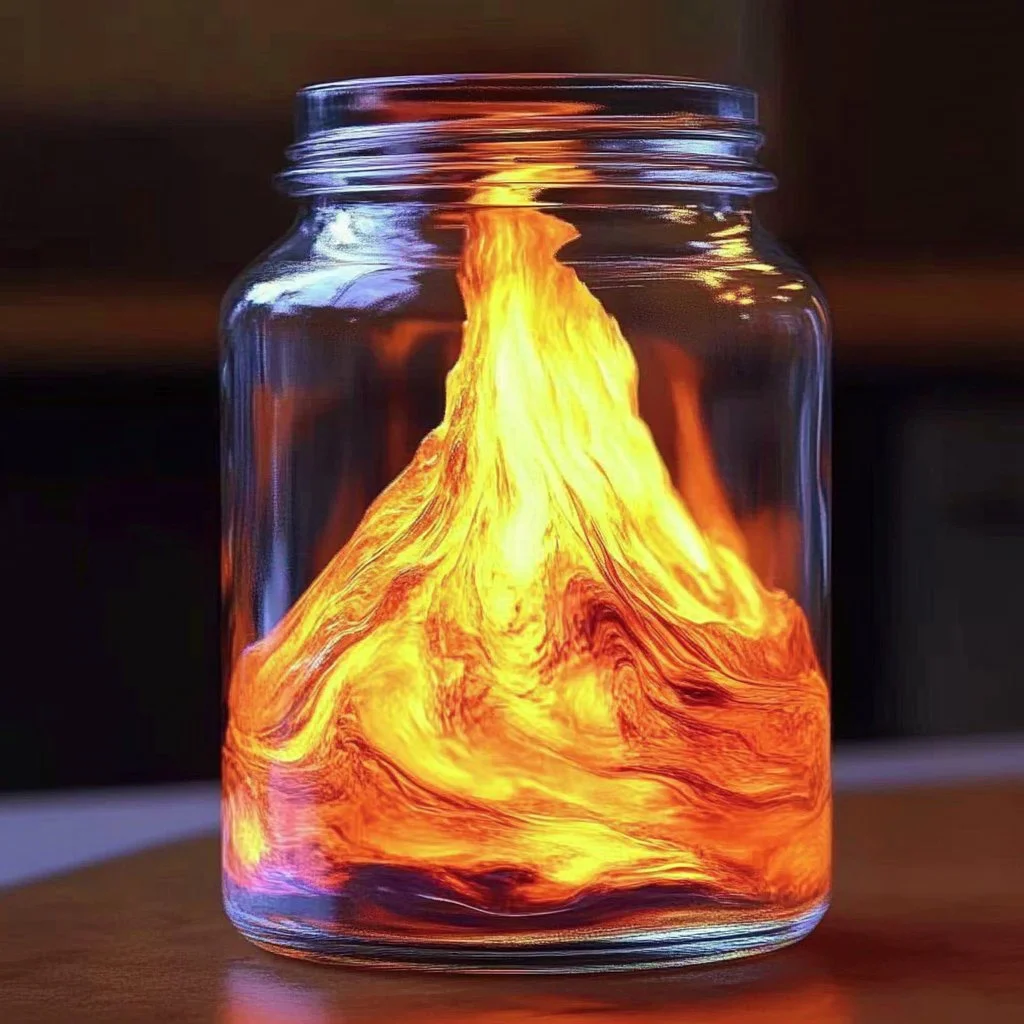
Creating a mini volcano in a jar is not only a fantastic science project but also a fun craft that can be enjoyed by people of all ages! With simple ingredients and minimal cleanup, this engaging activity sparks curiosity and creativity. As you watch the eruption unfold, you’ll not only delight in the colorful display but also learn about chemical reactions in a hands-on way. This project encourages exploration and experimentation, perfect for a rainy day, a science fair event, or even as a unique centerpiece for a party. Let’s dive into this exciting volcanic adventure!
Why You’ll Love This Mini Volcano in a Jar:
- It’s an easy and fun activity for all ages.
- Demonstrates basic scientific principles effectively.
- Minimal materials required, making it budget-friendly.
- Can be customized with colors and scents for a personal touch.
- Great for parties, educational demonstrations, or family bonding time.
Materials:
- Empty glass jar or plastic container with a lid
- Baking soda (1-2 tablespoons)
- Vinegar (1/2 cup)
- Food coloring (optional)
- Dish soap (1-2 teaspoons)
- Tray or large dish (to catch spills)
- Water (for diluting if desired)
Full Step-by-Step:
1. Prepare Your Workspace
- Find a flat surface and cover it with a tray or large dish to catch any overflow.
- Gather all materials close to your workspace for easy access.
2. Assemble Your Volcano
- Place the empty jar or container in the center of the tray. This will be your volcano’s “chamber.”
3. Add the Baking Soda
- Measure 1-2 tablespoons of baking soda and add it to the jar. This will serve as the base for your eruption.
4. Create Lava Color
- If desired, add a few drops of food coloring to the baking soda in the jar for a vibrant lava effect!
5. Mix the Ingredients
- Add 1-2 teaspoons of dish soap to the jar. This helps to create a foamy eruption.
6. Prepare for Eruption
- In a separate container, mix 1/2 cup of vinegar with a bit of water if you’d like a milder reaction.
7. The Grand Eruption
- Pour the vinegar mixture into the jar with the baking soda. Stand back and watch your mini volcano erupt as the fizzing and bubbling begins!
Tips & Variations:
- Try Different Colors: Use various food coloring combinations for a rainbow effect.
- Add Glitter: For a magical touch, mix in glitter before the eruption.
- Scented Lava: Add a few drops of essential oils to the vinegar for a delightful aroma.
- Experiment with Ratios: Change the amounts of baking soda and vinegar to see how the reaction varies.
Frequently Asked Questions:
Q1: Can I use a different container?
A: Yes! Any glass or plastic container can work, but make sure it’s stable to avoid spills.
Q2: What if I don’t have food coloring?
A: You can skip it or even use fruit juices or colored liquids as alternatives.
Q3: How can I store leftovers?
A: This volcano should be made fresh for best results. Discard any leftovers safely.
Q4: Will this make a mess?
A: Yes, it can get a bit messy, so be sure to do this project in an easy-to-clean area!
Suggestions:
- Consider making multiple volcanoes for a “Volcano Day” and compare the eruptions.
- Integrate more science by discussing the science behind chemical reactions or the concept of viscosity.
- Use this activity as part of a lesson on natural volcanoes and tectonic movements.
Final Thoughts
Making a mini volcano in a jar is a fantastic way to blend science and creativity. This easy and entertaining craft allows for personal customization, ensuring every participant can express their unique style. We’d love to hear about your experiences, variations, and any tips you may discover along the way! Please share your versions or leave a comment below!
Print
Mini Volcano in a Jar
- Total Time: 15 minutes
- Yield: 1 volcano 1x
- Diet: General
Description
Engage in a fun and educational activity by creating a mini volcano in a jar, demonstrating a colorful chemical reaction.
Ingredients
- Empty glass jar or plastic container with a lid
- 1–2 tablespoons baking soda
- 1/2 cup vinegar
- Food coloring (optional)
- 1–2 teaspoons dish soap
- Tray or large dish (to catch spills)
- Water (for diluting if desired)
Instructions
- Prepare Your Workspace: Find a flat surface and cover it with a tray or large dish to catch any overflow. Gather all materials close to your workspace for easy access.
- Assemble Your Volcano: Place the empty jar or container in the center of the tray. This will be your volcano’s “chamber.”
- Add the Baking Soda: Measure 1-2 tablespoons of baking soda and add it to the jar.
- Create Lava Color: If desired, add a few drops of food coloring to the baking soda in the jar.
- Mix the Ingredients: Add 1-2 teaspoons of dish soap to the jar.
- Prepare for Eruption: In a separate container, mix 1/2 cup of vinegar.
- The Grand Eruption: Pour the vinegar mixture into the jar with the baking soda and stand back to watch your mini volcano erupt!
Notes
Try using different food coloring combinations for unique effects. Experiment with added scents or glitter for an extra exciting eruption.
- Prep Time: 10 minutes
- Cook Time: 5 minutes
- Category: Crafts
- Method: Demonstration
- Cuisine: Educational
Nutrition
- Serving Size: 1 eruption
- Calories: 0
- Sugar: 0g
- Sodium: 0mg
- Fat: 0g
- Saturated Fat: 0g
- Unsaturated Fat: 0g
- Trans Fat: 0g
- Carbohydrates: 0g
- Fiber: 0g
- Protein: 0g
- Cholesterol: 0mg

