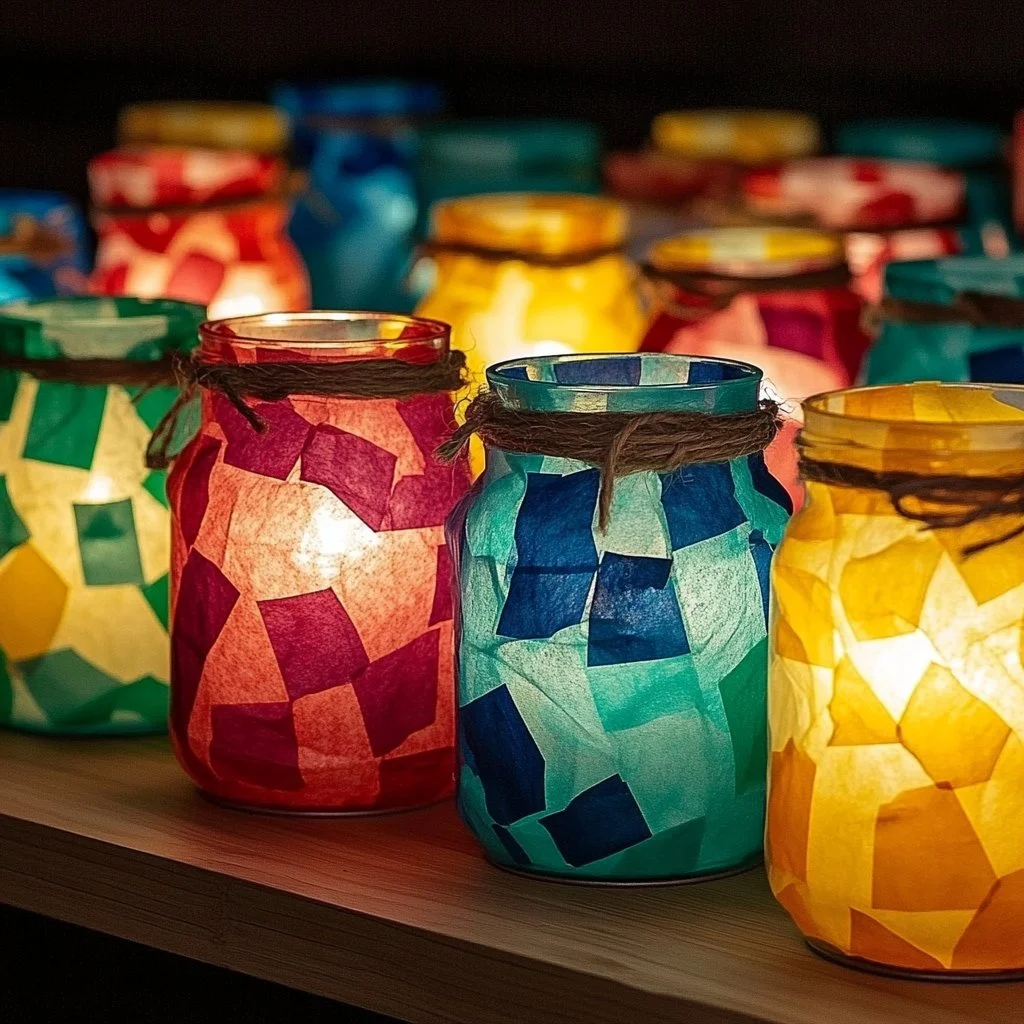
Transform your outdoor space into a magical retreat with DIY Mason Jar Lanterns. These charming lanterns are not only a festive decoration but also a wonderful way to add ambiance for gatherings, cozy evenings, or even just relaxing in your backyard. With minimal materials and simple steps, you can create stunning lanterns that glow warmly and add a personal touch to your decor. They also serve as a delightful weekend craft project that both kids and adults can enjoy. Embrace your creativity and brighten up your evenings with these easy-to-make lanterns that are bound to impress!
Why You’ll Love This Mason Jar Lanterns
- Easy to Make: With straightforward instructions, even beginners can create beautiful lanterns.
- Customizable: Personalize every lantern with colors, patterns, and embellishments to suit any occasion.
- Versatile Lighting: Perfect for indoor and outdoor use, adding a warm glow to any setting.
- Budget-Friendly: Utilize materials that are commonly found at home or can be purchased inexpensively.
- Eco-Friendly: Repurpose jars that may otherwise go to waste, promoting sustainability.
Materials
- Mason jars (various sizes)
- Tea lights or LED tealight candles
- Twine or ribbon
- Paint (glass or acrylic)
- Paintbrushes or sponges
- Scissors
- Optional: Craft embellishments (glitter, stickers, etc.)
Step-by-Step Instructions
1. Prepare the Jars
- Clean and dry your Mason jars thoroughly.
- Remove any labels to create a smooth surface. This ensures paint adheres well.
2. Add Color
- Using your paintbrush or sponge, apply a layer of paint to the exterior of the jar.
- Feel free to create patterns or leave sections unpainted for a rustic look. Allow the paint to dry completely.
3. Install the Light Source
- Place a tealight or LED candle inside each jar.
- For outdoor use, LED candles are recommended to ensure safety.
4. Decorate the Jars
- Tie twine or ribbon around the neck of the jar, securing it with a bow for added flair.
- If desired, embellish with craft decorations like glitter or stickers.
5. Final Touches
- Arrange the finished lanterns on patios, along walkways, or on tables to create a lovely ambiance.
Tips & Variations
- Customize Colors: Use colors that match your seasonal decor or theme.
- Variations in Light Source: Experiment with different types of lights, like fairy lights in larger jars.
- Layering Techniques: Try layering paint colors for unique effects.
- Personalized Messages: Use stencils to paint or write messages on the jars.
Frequently Asked Questions
Q: Can I use real candles instead of LED lights?
A: While you can use real candles, we recommend LED to ensure safety and avoid fire hazards, especially outdoors.
Q: How do I clean the jars after the party?
A: Simply rinse with warm soapy water. If paint is applied, small bits may come off, adding to the rustic charm!
Q: Can I use any type of paint?
A: It’s best to use paint specifically designed for glass or acrylics to ensure durability and ease of cleaning.
Q: How long will the lanterns last?
A: If properly cared for, your Mason Jar Lanterns can last for many gatherings and seasons!
Serving Suggestions or Pairings
Pair your Mason Jar Lanterns with refreshing drinks like lemonade, iced tea, or even cozy hot chocolate on chilly nights. These lanterns also work wonderfully for outdoor barbecues or garden parties, accenting savory grilled dishes and light snacks beautifully!
Final Thoughts
Creating Mason Jar Lanterns is not just a craft—it’s a way to infuse warmth and creativity into your space. Once you make your own, share your unique designs or variations in the comments below! We would love to see your creations and hear your suggestions! Happy crafting!
Print
DIY Mason Jar Lanterns
- Total Time: 15 minutes
- Yield: Multiple lanterns
- Diet: N/A
Description
Transform your outdoor space with charming DIY Mason Jar Lanterns, perfect for adding ambiance to gatherings and cozy evenings.
Ingredients
- Mason jars (various sizes)
- Tea lights or LED tealight candles
- Twine or ribbon
- Paint (glass or acrylic)
- Paintbrushes or sponges
- Scissors
- Optional: Craft embellishments (glitter, stickers, etc.)
Instructions
- Prepare the Jars: Clean and dry your Mason jars thoroughly. Remove any labels to ensure paint adheres well.
- Add Color: Apply a layer of paint to the exterior of the jar. Create patterns or leave sections unpainted for a rustic look. Allow to dry completely.
- Install the Light Source: Place a tealight or LED candle inside each jar. Use LED candles for outdoor safety.
- Decorate the Jars: Tie twine or ribbon around the neck of the jar and secure it with a bow. Embellish with craft decorations if desired.
- Final Touches: Arrange the finished lanterns on patios, walkways, or tables for a lovely ambiance.
Notes
Customize colors to match your seasonal decor and experiment with different types of lights. Use stencils for personalized messages.
- Prep Time: 15 minutes
- Cook Time: 0 minutes
- Category: DIY Craft
- Method: Crafting
- Cuisine: N/A
Nutrition
- Serving Size: 1 lantern
- Calories: 0
- Sugar: 0g
- Sodium: 0mg
- Fat: 0g
- Saturated Fat: 0g
- Unsaturated Fat: 0g
- Trans Fat: 0g
- Carbohydrates: 0g
- Fiber: 0g
- Protein: 0g
- Cholesterol: 0mg

