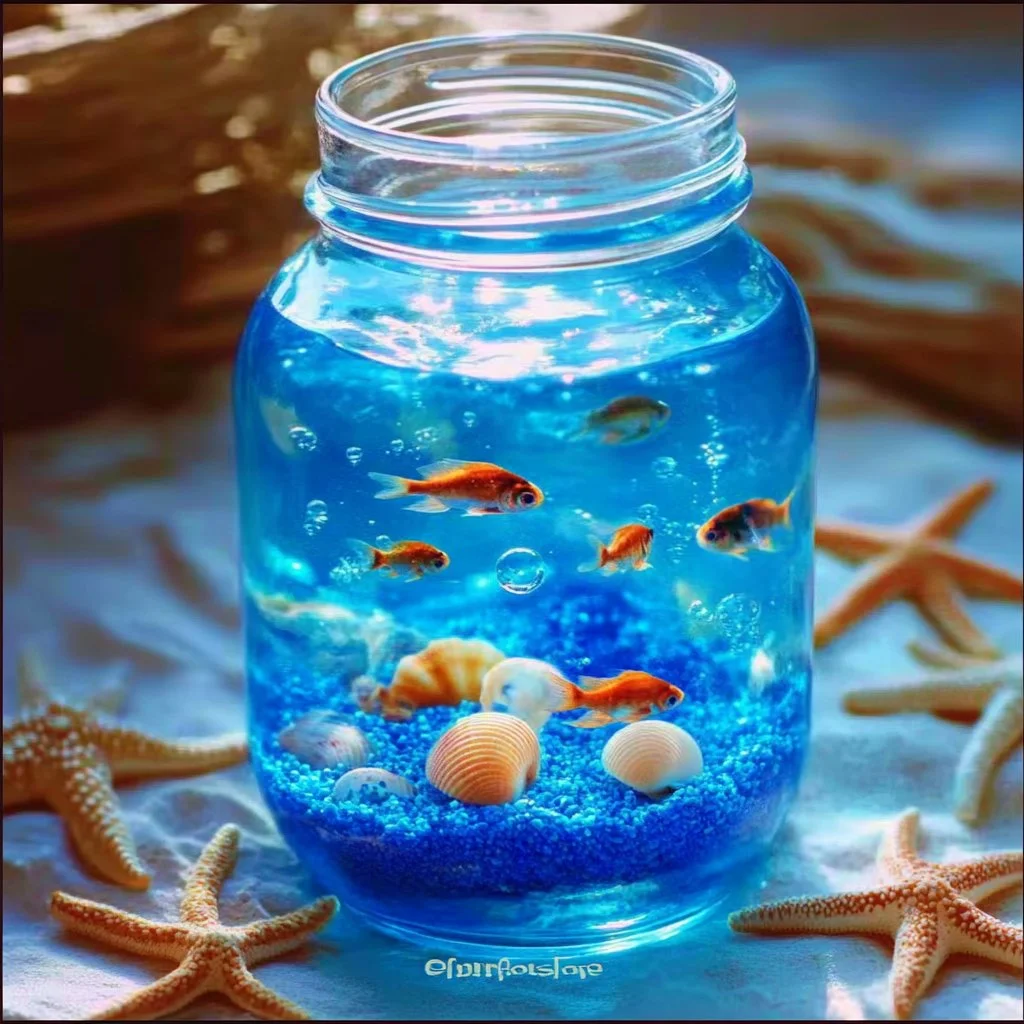
Creating a mason jar aquarium is a delightful way to bring a piece of nature into your home! This simple yet charming craft project allows anyone, regardless of skill level, to design a miniature underwater world. Not only is it visually appealing, but it also provides a calming presence in your space. The beauty of this project lies in its versatility; you can customize your aquarium with various plants and decorations to reflect your personal style. Plus, since you’re working with small elements, it’s a fantastic activity to engage in as a family or with friends. Grab your materials and let’s dive into the world of mason jar aquariums!
Why You’ll Love This Mason Jar Aquarium:
- Easy to Assemble: Requires minimal materials and simple steps.
- Customizable: Personalize your aquarium with your favorite plants, colors, and decorations.
- Great for All Ages: Fun for children and adults alike, promoting creativity and crafting skills.
- Educational: A wonderful way to learn about aquatic ecosystems.
- Decorative: Adds a unique touch to your home or office décor.
Materials:
- Mason jar (quart size recommended)
- Small pebbles or aquarium gravel
- Activated charcoal (optional, for water clarity)
- Aquarium-safe plants (e.g., java moss, anubias)
- Small decorative items (like mini rocks or figurines)
- Distilled water
- Long tweezers or chopsticks (for arrangement)
- Scissors (if needed for plant trimming)
Full Step-by-Step:
Prepare Your Jar
- Clean Thoroughly: Ensure your mason jar is clean and free from contaminants.
- Add Drainage Layer: Pour a layer of small pebbles or gravel at the bottom (around 1 inch deep). This helps with drainage and keeps plants healthy.
Add Charcoal (Optional)
- Charcoal Layer: If using activated charcoal, sprinkle a thin layer over the gravel to help prevent odors and keep water fresh.
Place Plants
- Arrange Plants: Use tweezers or chopsticks for precision. Start by placing the larger plants at the back and smaller ones at the front for depth.
- Secure in Place: Gently tuck plants into the gravel, ensuring their roots make good contact with the substrate.
Add Decorations
- Decorative Touches: Place any mini figurines or decorative rocks to enhance the look of your aquarium.
Fill with Water
- Slowly Add Water: Pour distilled water into the jar slowly to avoid disturbing the gravel. Fill to about an inch from the top.
Final Touches
- Check Clarity: Observe for any cloudiness, which may dissipate after a few hours.
- Position the Aquarium: Place your mason jar aquarium in a spot with indirect sunlight to promote healthy plant growth.
Tips & Variations:
- Customize with Colors: Use colored gravel or add small shells for a unique look.
- Swap Plants: Experiment with different varieties of aquatic plants or even small, pet-safe aquatic animals if desired.
- Change Decoration Themes: Create seasonal themes by swapping out decorations for holidays.
- Add Lighting: Incorporate a small LED light for a magical evening glow.
Frequently Asked Questions:
Q1: Can I use tap water for my aquarium?
A1: It’s better to use distilled water, as tap water may contain chemicals harmful to plants and aquatic life.
Q2: How do I maintain the aquarium?
A2: Replace the water every 2-3 weeks and check for algae growth or any signs of plant distress.
Q3: What types of plants are best for a mason jar aquarium?
A3: Low-light aquatic plants, such as java fern, anubias, or marimo moss balls, thrive well in smaller environments.
Q4: Can I add fish to my mason jar aquarium?
A4: It’s discouraged due to the small volume of water. If you want to include fish, ensure your space allows for proper care and conditions.
Suggestions:
- Create an aquarium themed around a favorite story or movie.
- Host a crafting day with friends where each person designs a unique aquarium.
- Pair your mason jar with a themed book about aquatic life to enhance the educational aspect.
Final Thoughts
The mason jar aquarium is not just a craft; it’s a journey into the art of creating your own miniature ecosystem. Share your versions of this project or leave comments on your experiences. We’d love to hear how you personalized your aquariums! Happy crafting!
Print
Mason Jar Aquarium
- Total Time: 15 minutes
- Yield: 1 aquarium
Description
Create your own miniature underwater world with this customizable mason jar aquarium project, perfect for home decoration and educational fun.
Ingredients
- Mason jar (quart size recommended)
- Small pebbles or aquarium gravel
- Activated charcoal (optional, for water clarity)
- Aquarium-safe plants (e.g., java moss, anubias)
- Small decorative items (like mini rocks or figurines)
- Distilled water
- Long tweezers or chopsticks (for arrangement)
- Scissors (if needed for plant trimming)
Instructions
- Clean the mason jar thoroughly to ensure it is free from contaminants.
- Pour a layer of small pebbles or gravel at the bottom (about 1 inch deep) for drainage.
- If using activated charcoal, sprinkle a thin layer over the gravel to prevent odors.
- Using tweezers or chopsticks, arrange larger plants at the back and smaller ones at the front.
- Gently tuck plants into the gravel to secure their roots.
- Enhance the aquarium by adding mini figurines or decorative rocks.
- Slowly pour distilled water into the jar, stopping about an inch from the top.
- Check the clarity and observe for cloudiness.
- Position the aquarium in a spot with indirect sunlight.
Notes
Replace water every 2-3 weeks and monitor for algae growth.
- Prep Time: 15 minutes
- Cook Time: 0 minutes
- Category: Craft
- Method: Crafting
Nutrition
- Serving Size: 1 aquarium
- Calories: 10
- Sugar: 0g
- Sodium: 0mg
- Fat: 0g
- Saturated Fat: 0g
- Unsaturated Fat: 0g
- Trans Fat: 0g
- Carbohydrates: 2g
- Fiber: 0g
- Protein: 0g
- Cholesterol: 0mg

