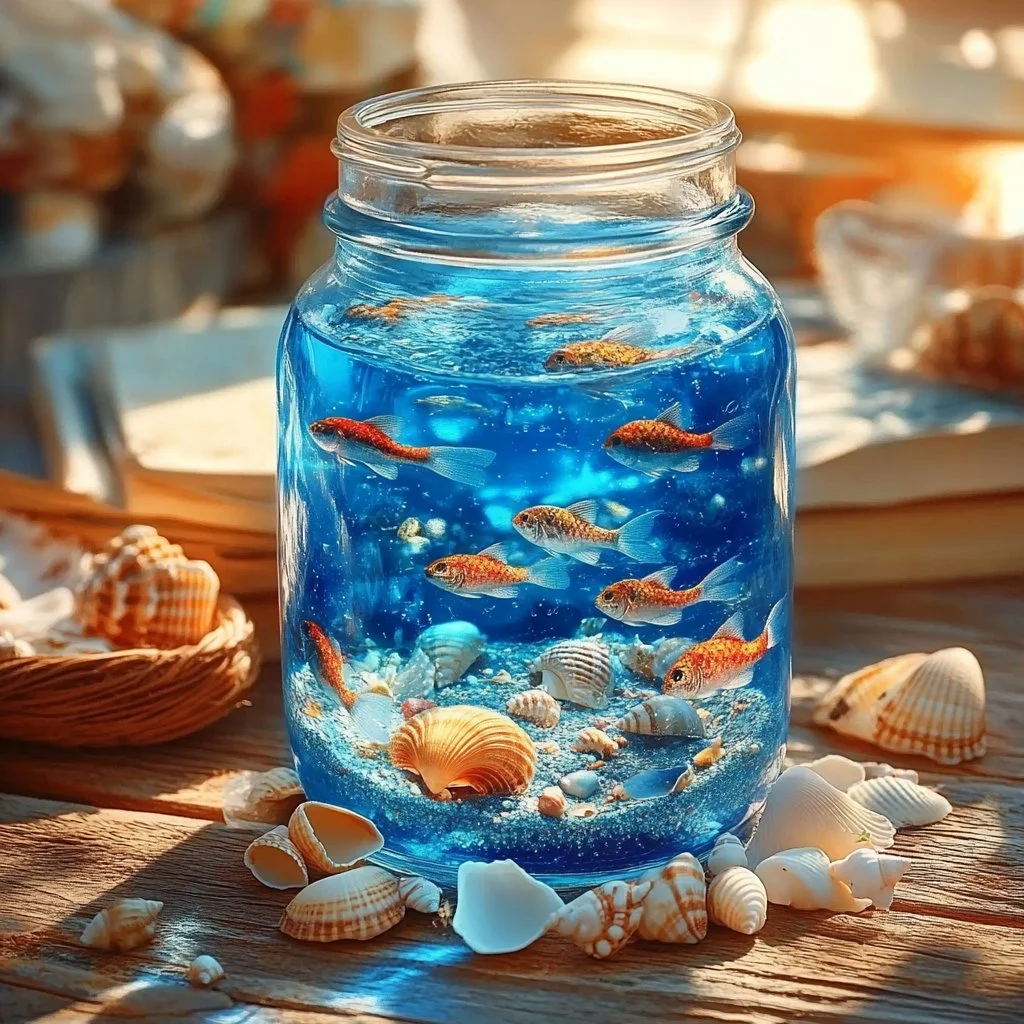
Creating a mason jar aquarium is a delightful craft that brings the calming beauty of aquatic life right into your home. This simple and enjoyable project allows you to design a miniature underwater world using just a few materials. Not only is it visually appealing, but it also serves as a perfect decorative piece for any room. Whether you want to spark the imagination of children or simply add a touch of greenery to your space, this craft offers endless opportunities for creativity. Best of all, you can customize each aquarium to reflect your personal style, making it a unique expression of art and nature. Dive into this engaging activity and discover the joy of crafting your very own aqua-sphere!
Why You’ll Love This Mason Jar Aquarium:
- Easy and Fun: Perfect for both beginners and experienced crafters.
- Customizable: Each creation is unique to your personality and style.
- Low Maintenance: Unlike real aquariums, these require no feeding or cleaning.
- Educational: It’s a great way to teach children about ecosystems and responsibility.
- Great Gift Idea: A thoughtful and personal gift for friends and family.
- Relaxing Activity: Engaging in craft projects helps reduce stress and boosts creativity.
Materials:
- Mason jar (any size)
- Small pebbles or gravel
- Activated charcoal (for water filtration)
- Potting soil (a thin layer)
- Aquatic plants (e.g., moss, small ferns)
- Decorative elements (miniature fish, seashells, or figurines)
- Water (dechlorinated is best)
- Spoon or tweezers (for arranging)
- Liquid glue (optional)
Full Step-by-Step:
1. Prepare the Jar
- Begin by cleaning the mason jar thoroughly to ensure there are no residues.
- Remove the lid for easier access.
2. Create the Base Layers
- Add Pebbles: Pour about an inch of small pebbles or gravel at the bottom of the jar. This allows for drainage and creates a natural look.
- Layer Activated Charcoal: Sprinkle a thin layer of activated charcoal over the pebbles to filter the water and keep it clear.
- Soil Layer: Gently add a layer of potting soil on top of the charcoal. This layer should be thin, approximately half an inch.
3. Plant the Greens
- Select Your Plants: Choose your aquatic plants and prepare them for planting.
- Planting: Use the spoon or tweezers to create holes in the soil for the plants. Carefully place the plants in the soil, ensuring their roots are embedded.
4. Add Decorative Elements
- Personal Touch: Place decorative items like seashells, mini figurines, or pebbles among the plants to create an interesting landscape.
- Arrange Aesthetically: Take a step back to observe the arrangement and make adjustments as necessary.
5. Watering
- Gently add dechlorinated water to the jar, filling it to just above the soil but not drowning the plants.
- Observe the water level and adjust if necessary.
6. Final Touches
- Optionally, secure any loose decorative items with liquid glue to maintain the arrangement.
- Place the jar in a location with indirect sunlight.
Tips & Variations:
- Swap Plants: Experiment with different types of aquatic plants such as anubias or water lettuce.
- Seasonal Decor: Change the decorations based on the season or holidays for a festive touch.
- Size Matters: Try using different sized jars to create an aquarium collection.
- Lighting: Consider adding LED lights for enhancing the ambiance of your jar aquarium.
Frequently Asked Questions:
1. Can I use tap water for my aquarium?
- It’s best to use dechlorinated water to prevent harm to the plants. Allow tap water to sit out for 24 hours before use to let chlorine dissipate.
2. How long will the plants last in the jar?
- With proper care, your plants can thrive for several weeks to months. However, they may need replanting or care if they start to die.
3. Do I need to fertilize the plants?
- No additional fertilizers are usually required, but you can use diluted plant food if the plants appear to need a boost.
4. Can I add fish to my mason jar aquarium?
- It’s not recommended as the small size may not provide enough space or a suitable environment for fish.
Suggestions:
- Encourage friends or family to join you in crafting their mason jar aquariums to make it a fun group activity.
- Consider hosting a themed aquarium night where each person creates a specific style, like a tropical or a forest biome.
Final Thoughts
Creating a mason jar aquarium is not only a fun craft but also an innovative way to bring nature indoors. We encourage you to share your unique versions and variations! Have you tried making one? Leave a comment below with your creation or any tips you found helpful during your crafting journey!
Print
Mason Jar Aquarium
- Total Time: 15 minutes
- Yield: 1 aquarium
- Diet: N/A
Description
Create a beautiful and calming mason jar aquarium that brings the beauty of aquatic life into your home with this simple craft.
Ingredients
- Mason jar (any size)
- Small pebbles or gravel
- Activated charcoal (for water filtration)
- Potting soil (a thin layer)
- Aquatic plants (e.g., moss, small ferns)
- Decorative elements (miniature fish, seashells, or figurines)
- Water (dechlorinated is best)
- Spoon or tweezers (for arranging)
- Liquid glue (optional)
Instructions
- Prepare the Jar: Clean the mason jar thoroughly and remove the lid.
- Create the Base Layers: Add about an inch of pebbles, sprinkle activated charcoal, and gently add a thin layer of potting soil.
- Plant the Greens: Select and plant your aquatic plants in the soil.
- Add Decorative Elements: Place decorative items among the plants to create an aesthetic layout.
- Watering: Gently add dechlorinated water, ensuring not to drown the plants.
- Final Touches: Optionally secure items with glue and place the jar in indirect sunlight.
Notes
Ensure to use dechlorinated water for the best results. Experiment with different aquatic plants and decoration themes.
- Prep Time: 15 minutes
- Cook Time: 0 minutes
- Category: Craft
- Method: Crafting
- Cuisine: N/A
Nutrition
- Serving Size: 1 aquarium
- Calories: N/A
- Sugar: N/A
- Sodium: N/A
- Fat: N/A
- Saturated Fat: N/A
- Unsaturated Fat: N/A
- Trans Fat: N/A
- Carbohydrates: N/A
- Fiber: N/A
- Protein: N/A
- Cholesterol: N/A

