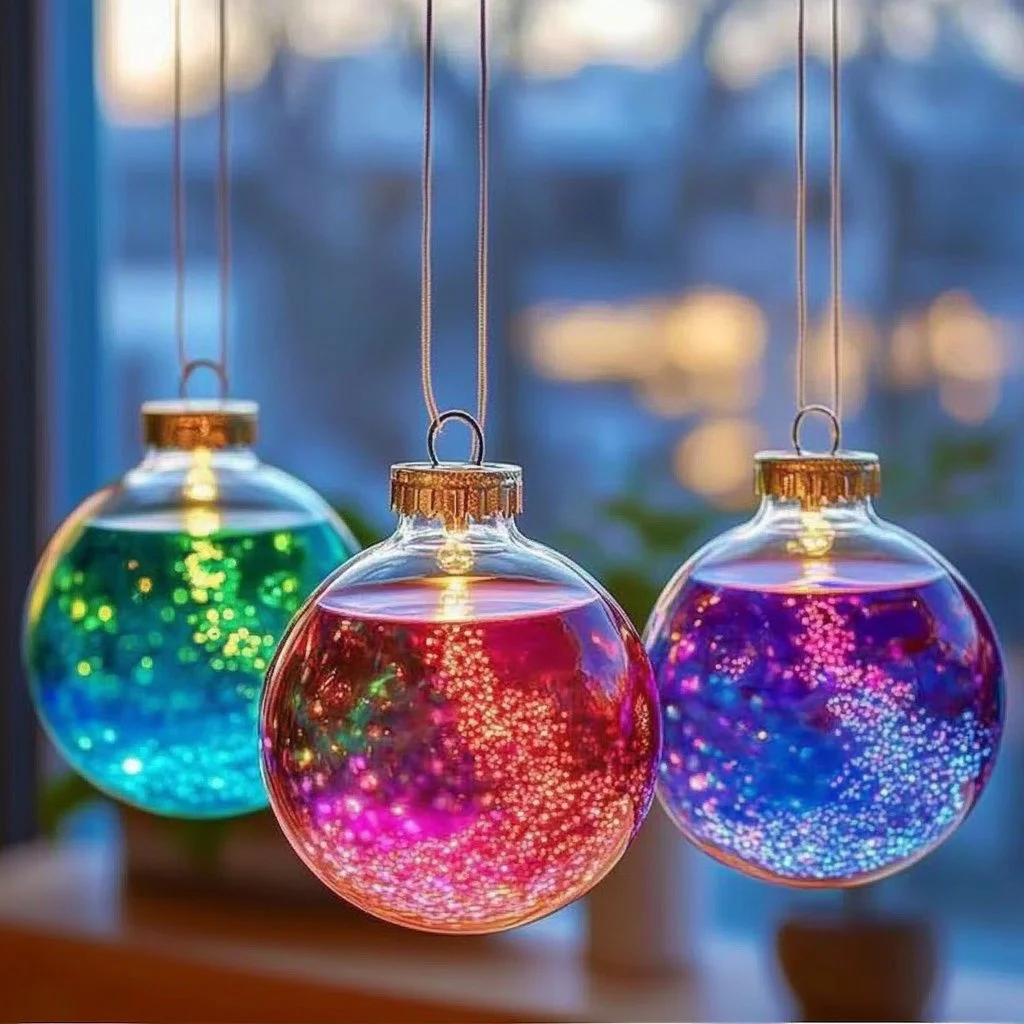
Lava lamps have long held a special place in our hearts, mesmerizing us with their slow, flowing patterns of colorful wax. They evoke a sense of nostalgia and whimsy that can brighten any room. But why limit this enchanting aesthetic to just lamps? With this craft recipe, you can create your very own Lava Lamp Style Suncatchers! These delightful sun catchers not only capture the spirit of lava lamps but also add a splash of color and charm to your windows. As sunlight streams through, the vibrant hues dance and shimmer, filling your space with a kaleidoscope of colors. This project is perfect for crafters of all ages and makes for a fun, family-friendly activity that allows for creativity and personalization! Grab your materials, and let’s dive into this exciting and easy crafting adventure.
Why You’ll Love This Lava Lamp Style Suncatchers:
- Vibrant Colors: Make your windows pop with bright, cheerful shades.
- Easy to Make: Simple steps make this project fun for everyone.
- Customizable: Personalize your suncatcher to match your decor.
- Great Gift Idea: Perfect for birthdays, holidays, or just because.
- Family Fun: A wonderful activity to do with kids or friends.
Materials:
- Clear plastic sheets or transparency film
- Permanent markers in various colors
- Clear glue or liquid school glue
- Glitter (optional)
- Scissors
- Hole punch
- String or fishing line for hanging
Full Step-by-Step:
Prepare Your Workspace
- Clear a flat, clean area to work on your project.
- Have all materials organized for easy access.
Design Your Suncatcher
- Using the permanent markers, draw fun, swirling shapes and patterns on the clear plastic sheet.
- Feel free to layer colors and add glitter for extra flair!
Assemble the Suncatcher
- Once your design is complete, allow the ink to dry for about 5-10 minutes.
- Apply a thin layer of clear glue over the design to seal it and add a glossy finish.
- Allow the glue to dry completely.
Cut and Punch
- After the glue is dry, cut the plastic sheet into your desired shape (circle, star, heart, etc.).
- Use the hole punch to create a hole at the top for hanging.
Hang Your Creation
- Thread string or fishing line through the hole and secure it.
- Hang your suncatcher in a sunny window and enjoy the vibrant colors!
Tips & Variations:
- Color Swaps: Substitute permanent markers with paints or colored pencils for different effects.
- Layered Designs: Create multiple layers of designs by gluing several shapes together.
- Nature Touch: Incorporate pressed flowers or leaves into your suncatcher for an organic look.
Frequently Asked Questions:
-
Can I use regular markers instead of permanent ones?
- Regular markers may run when wet, so it’s best to stick to permanent markers for vibrant, durable designs.
-
What if I don’t have clear plastic sheets?
- You can use any transparent packaging or even old CDs as a base for your suncatcher.
-
How can I make my suncatcher waterproof?
- Consider sealing it with clear acrylic spray once the glue dries to add extra durability.
-
Can I use glitter?
- Absolutely! Glitter can be added to your design for a sparkling effect. Just mix it in with the glue before applying!
Suggestions:
- Pair this craft with a themed family day, such as a DIY home decor day or a rainy afternoon activity.
- Encourage creativity by having everyone make their suncatchers with a specific theme (e.g., ocean-inspired, celestial, etc.).
Final Thoughts
Creating Lava Lamp Style Suncatchers is a delightful way to bring warmth and color into your home. Whether you choose to display them yourself or gift them to loved ones, these craft projects are sure to put a smile on anyone’s face. We’d love to see your creations! Share your finished suncatcher or leave a comment below with your thoughts or any variations you’ve tried! Happy crafting!
Print
Lava Lamp Style Suncatchers
- Total Time: 40 minutes
- Yield: 1 suncatcher
- Diet: N/A
Description
Create vibrant Lava Lamp Style Suncatchers that add charm and color to your windows with simple materials and creative designs.
Ingredients
- Clear plastic sheets or transparency film
- Permanent markers in various colors
- Clear glue or liquid school glue
- Glitter (optional)
- Scissors
- Hole punch
- String or fishing line for hanging
Instructions
- Prepare your workspace by clearing a flat area and organizing materials.
- Design your suncatcher using permanent markers to draw patterns on the plastic sheet.
- Allow the ink to dry for 5-10 minutes and apply a thin layer of glue over the design to seal it.
- Once the glue is dry, cut the plastic into your desired shape.
- Use a hole punch to create a hole at the top for hanging.
- Thread string or fishing line through the hole and hang your suncatcher in a sunny window.
Notes
For a waterproof option, consider sealing the suncatcher with clear acrylic spray once dry. You can also use paints or colored pencils for different effects.
- Prep Time: 10 minutes
- Cook Time: 30 minutes
- Category: Craft
- Method: Crafting
- Cuisine: N/A
Nutrition
- Serving Size: 1 suncatcher
- Calories: 0
- Sugar: 0g
- Sodium: 0mg
- Fat: 0g
- Saturated Fat: 0g
- Unsaturated Fat: 0g
- Trans Fat: 0g
- Carbohydrates: 0g
- Fiber: 0g
- Protein: 0g
- Cholesterol: 0mg

