1. Introduction
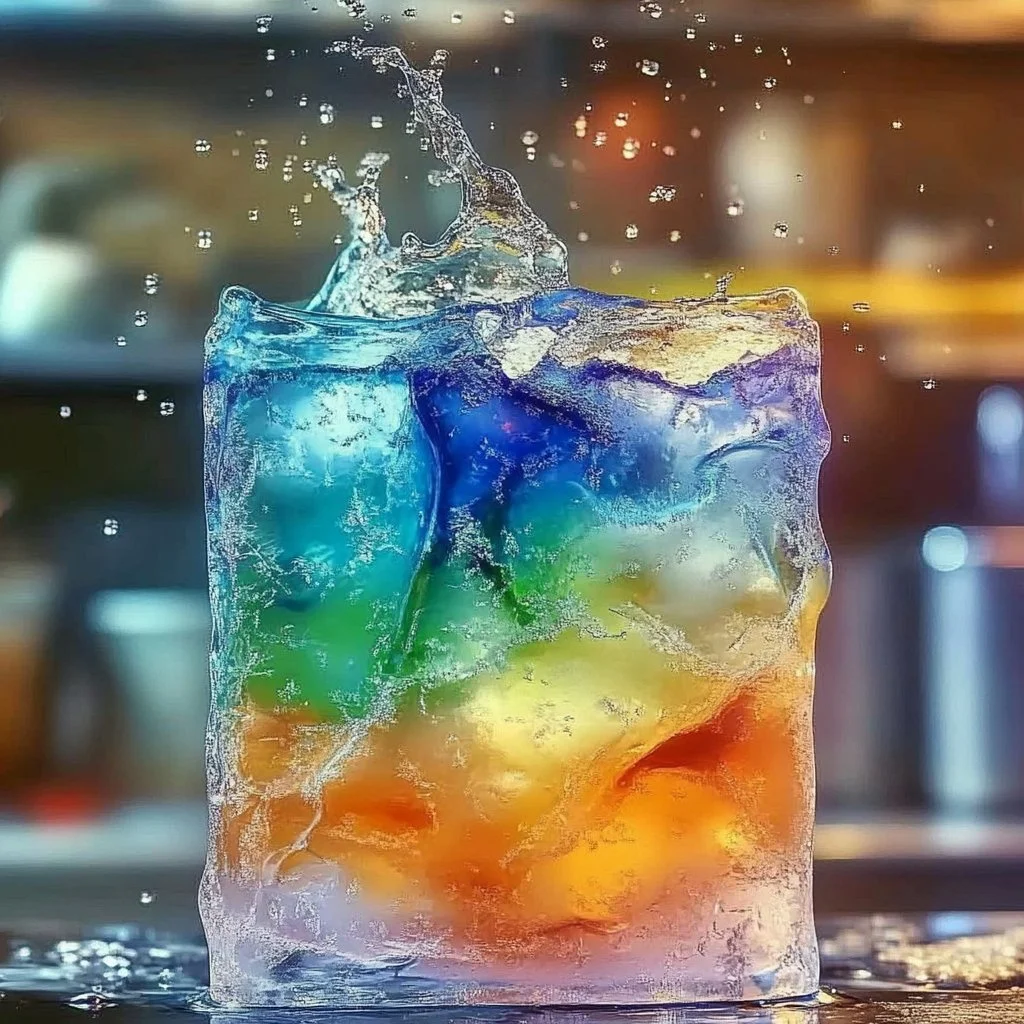
Ice painting is an incredibly fun and engaging activity for kids and adults alike. It combines the joy of art with the thrill of learning about the properties of ice and color mixing. As the ice melts, it creates vibrant patterns and swirls that capture the imagination. This experiment not only provides a creative outlet but also offers a sensory experience that involves sight, touch, and even smell. Whether it’s a warm summer day or a chilly winter afternoon, ice painting can be adapted to fit any occasion, making it a versatile project that’s easy to set up. Grab your supplies, embrace your inner artist, and get ready to splash some color on your canvas!
2. Why You’ll Love This Ice Painting Experiment
- Sensory Exploration: Engage with various textures and temperatures as the ice melts.
- Color Mixing: Witness vibrant colors blend together to create new hues.
- Educational: Teach kids about melting, freezing, and the science of color.
- Creative Expression: Encourage free-form art that lets everyone express themselves.
- Easy Setup: Requires minimal materials and can be done indoors or outdoors.
- Seasonal Fun: Adaptable for summer or winter, making it a year-round activity.
3. Materials
- Ice cubes (made in a tray)
- Water
- Food coloring or liquid washable paints
- Paper (watercolor or heavy cardstock works best)
- Craft tray or shallow container (to catch drips)
- Paintbrushes (optional)
- Plastic dropper or squeeze bottles (for more precise color application)
4. Step-by-Step Instructions
Prepare the Ice Cubes
- Make Ice: Fill an ice cube tray with water. If you’re using food coloring, you can add a few drops directly into the water before freezing for colored ice cubes.
- Freeze: Allow the cubes to freeze completely, typically 4-6 hours or overnight.
Set Up Your Workspace
- Choose a Surface: Find a flat area indoors or outdoors to work on.
- Lay Down Paper: Place your paper on the selected surface, ensuring it’s secure and won’t blow away if it’s outside.
Start Painting
- Add Color: Use droppers or squeeze bottles to apply food coloring or paint onto the ice cubes.
- Watch the Magic: Place the colored ice cubes on the paper and observe how they melt, leaving behind beautiful splashes of color.
- Experiment: Move the cubes around to create different shapes and patterns as colors blend and flow.
Let It Dry
- Finish Up: Once the ice has melted, allow the artwork to dry completely before displaying it.
5. Tips & Variations
- Color Schemes: Plan a specific color palette for your ice painting or experiment with complementary colors for a more dynamic effect.
- Add Natural Elements: Incorporate flowers or leaves into your design by placing them on the paper before the ice melts.
- Layering: Create layers by applying additional colors or ice cubes on top once the first layer has partially dried.
- Use Different Papers: Experiment with various paper types to see how they absorb color differently.
6. Frequently Asked Questions
1. Can I use regular paint instead of food coloring?
Yes, you can use liquid washable paints, but make sure they are water-based to ensure easy cleanup and safety for kids.
2. What happens if the ice melts before I finish painting?
If the ice melts too fast, simply add a few more cubes. You can also chill your workspace, or do this activity on a cooler day.
3. Is this activity safe for young children?
Absolutely! Just supervise young kids, especially to prevent swallowing any materials.
4. Can I reuse the paper after it dries?
Once the paper has dried, it may be quite delicate and heavily colored; however, you could cut it into smaller pieces for unique bookmarks or crafts.
7. Serving Suggestions or Pairings
- Drinks: Serve with cold lemonade or iced tea for a refreshing summer vibe.
- Sides: Pair with fruit salads, fresh veggies, or snacks that can be enjoyed while creating art.
- Sauces: For a fun twist, try a homemade fruit sauce to dip fruit bites in while painting.
8. Final Thoughts
Ice painting is not just an art project; it’s a delightful experience that fosters creativity and curiosity. We encourage you to try this experiment and see how you can personalize it with your own ideas. We’d love to hear about your creations! Please share your versions or leave a comment below to inspire others. Happy painting!
Print
Ice Painting Experiment
- Total Time: 4-6 hours
- Yield: 1 artwork
Description
An engaging and fun ice painting experiment that combines art and sensory exploration. Perfect for kids and adults alike!
Ingredients
- Ice cubes (made in a tray)
- Water
- Food coloring or liquid washable paints
- Paper (watercolor or heavy cardstock works best)
- Craft tray or shallow container (to catch drips)
- Paintbrushes (optional)
- Plastic dropper or squeeze bottles (for more precise color application)
Instructions
- Prepare the Ice Cubes: Fill an ice cube tray with water, adding food coloring if desired. Freeze for 4-6 hours or overnight.
- Set Up Your Workspace: Find a flat area indoors or outdoors, and lay down your paper securely.
- Start Painting: Use droppers or squeeze bottles to apply food coloring or paint onto the ice cubes. Place the colored ice cubes on the paper.
- Watch the Magic: Observe how the ice melts and creates beautiful splashes of color. Move the cubes to design shapes and patterns.
- Let It Dry: Once the ice has melted, allow the artwork to dry completely before displaying.
Notes
Experiment with different color schemes and paper types. Supervise young children to ensure safety.
- Prep Time: 15 minutes
- Cook Time: 0 minutes
- Category: Arts & Crafts
- Method: Art Experiment
Nutrition
- Serving Size: 1 artwork
- Calories: 0
- Sugar: 0g
- Sodium: 0mg
- Fat: 0g
- Saturated Fat: 0g
- Unsaturated Fat: 0g
- Trans Fat: 0g
- Carbohydrates: 0g
- Fiber: 0g
- Protein: 0g
- Cholesterol: 0mg

