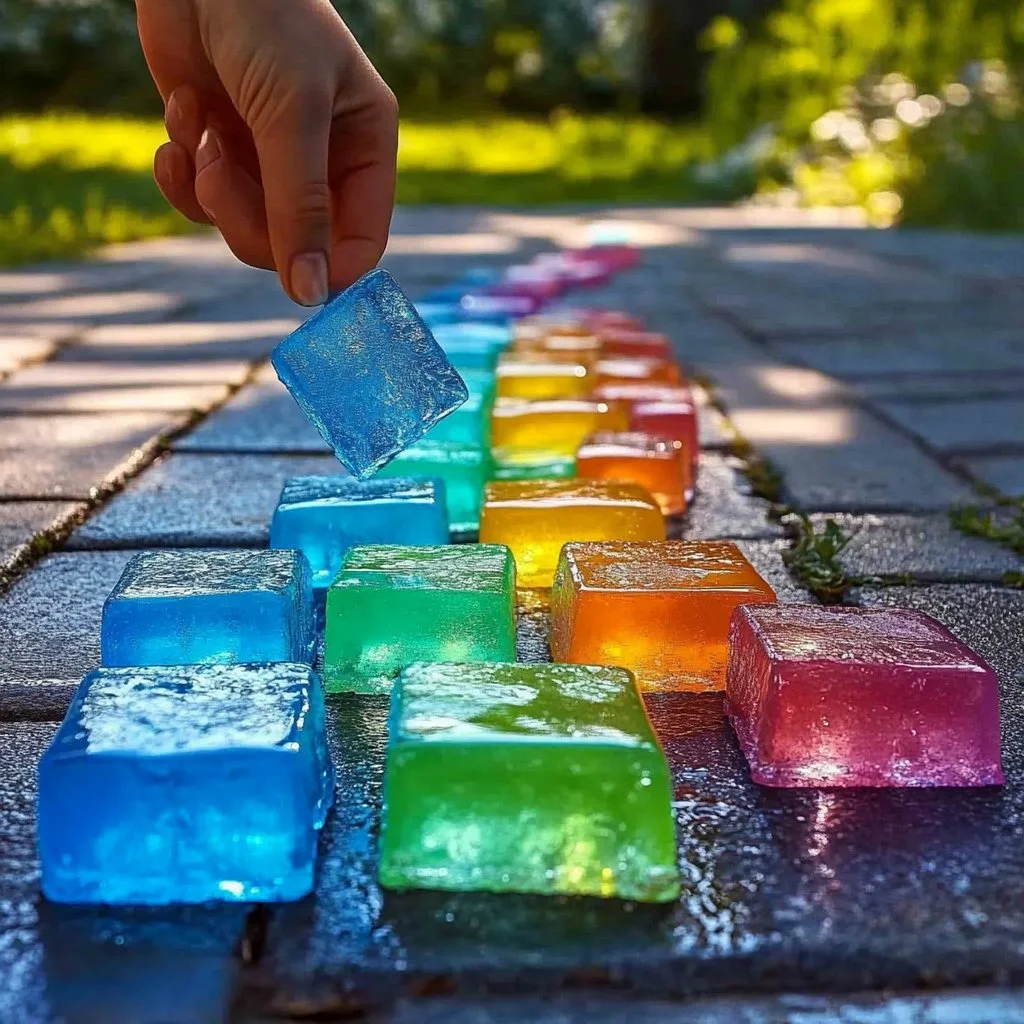
Ice chalk is a delightful and creative summer activity that combines art with the refreshing feel of coolness. This unique craft not only offers children an opportunity to express their artistic flair but also keeps them engaged during the hot summer months. As the sun beats down, there’s something incredibly satisfying about creating vibrant sidewalk masterpieces with ice chalk. Imagine the joy of watching colors swirl and blend as you mix your own icy creations! Whether you’re looking to entertain the kids, enhance your outdoor space, or simply have fun with colors, ice chalk art is the perfect summer project.
Creating ice chalk is not only a fun activity, but it also encourages sensory play and imaginative exploration. Enjoy this exciting process, watch as your sidewalk comes alive, and make lasting memories with your loved ones. Let’s dive into the world of DIY ice chalk and learn how to make your own!
Why You’ll Love This Ice Chalk for Summer Art:
- Vibrant colors: Create stunning hues that brighten up any outdoor space.
- Easy to make: With simple ingredients and tools, anyone can join in on the fun!
- Sensory engagement: The cool, wet sensation of the ice chalk is refreshing and satisfying.
- Eco-friendly: Made from natural ingredients, it’s a safe choice for outdoor play.
- Versatile: Use it on sidewalks, driveways, or any outdoor surfaces for art creation.
- Hours of entertainment: A perfect way to keep kids busy and engaged during warm days.
Materials:
- 2 cups of water
- 2 cups of cornstarch
- Food coloring (liquid or gel)
- Ice cube trays or silicone molds
- Mixing bowls
- Whisk or spoon
- Plastic gloves (optional for less mess)
Full Step-by-Step:
Step 1: Mix the Base
- In a mixing bowl, combine 2 cups of water and 2 cups of cornstarch.
- Use a whisk or spoon to stir until the mixture is smooth and lump-free. It should have a thick consistency.
Step 2: Add Color
- Divide the mixture into smaller bowls (depending on how many colors you want).
- Add food coloring to each bowl and mix well until you achieve your desired shade. This is where the fun begins—get creative with your color combinations!
Step 3: Pour into Molds
- Carefully pour the colored mixtures into ice cube trays or silicone molds.
- Fill each cavity to the top.
Step 4: Freeze
- Place the trays in the freezer for several hours or overnight.
- Check if they’re completely frozen before removing them for use.
Step 5: Create Art
- Once frozen, pop the ice chalk out of the molds and head outside.
- Use the icy chunks to draw on sidewalks, driveways, or any porous outdoor surface.
- Enjoy the sensory experience as the colors melt and blend under your artistic hands!
Tips & Variations:
- Customize colors: Use natural dyes for an eco-friendly twist, such as beet juice or turmeric.
- Swap materials: For a softer touch, try substituting cornmeal for cornstarch.
- Texture play: Add a bit of sand for a gritty texture if desired.
- Scented chalk: Incorporate a few drops of essential oils for a delightful aroma while you craft.
Frequently Asked Questions:
1. How long does the ice chalk last?
Ice chalk will last while frozen; however, once out, it will melt quickly, generally within an hour depending on the temperature.
2. Can I use food coloring alternatives?
Yes! Natural dyes work great, though they may produce softer colors. Experiment with beet, spinach, or even cocoa for different shades.
3. Is this chalk washable?
Absolutely! Ice chalk is made from cornstarch and water, making it easy to wash away with rain or a hose.
4. What surfaces can I use ice chalk on?
Best suited for concrete or asphalt surfaces. Avoid painted or sealed surfaces, as they may be stained.
Suggestions:
- Organize a sidewalk art contest with friends or neighbors!
- Pair ice chalk with family games, like hopscotch or chalk treasure hunts.
- Use ice chalk to create garden art or bright markers for outdoor flower beds.
Final Thoughts
Ice chalk offers a uniquely enjoyable way to engage with art during the summer heat. As you experiment with colors and designs, remember to share your creations with friends and family! We’d love to see your artistic flair, so feel free to leave a comment or share pictures of your ice chalk masterpieces. Happy crafting!
Print
Ice Chalk for Creative Summer Art
- Total Time: 15 minutes
- Yield: Multiple ice chalk sticks
- Diet: N/A
Description
Ice chalk is a fun, eco-friendly activity for refreshing summer art projects, perfect for kids and families.
Ingredients
- 2 cups of water
- 2 cups of cornstarch
- Food coloring (liquid or gel)
- Ice cube trays or silicone molds
- Mixing bowls
- Whisk or spoon
- Plastic gloves (optional for less mess)
Instructions
- In a mixing bowl, combine 2 cups of water and 2 cups of cornstarch. Stir until smooth and lump-free.
- Divide the mixture into smaller bowls and add food coloring to each, mixing well until you achieve your desired shade.
- Carefully pour the colored mixtures into ice cube trays or silicone molds, filling each cavity to the top.
- Place the trays in the freezer for several hours or overnight.
- Once frozen, pop the ice chalk out of the molds and head outside to create art on sidewalks or driveways.
Notes
Ice chalk melts quickly once out of the freezer, so plan your fun accordingly. Best used on porous surfaces like concrete or asphalt.
- Prep Time: 15 minutes
- Cook Time: 0 minutes
- Category: Craft
- Method: Freezing
- Cuisine: N/A
Nutrition
- Serving Size: 1 installation
- Calories: 0
- Sugar: 0g
- Sodium: 0mg
- Fat: 0g
- Saturated Fat: 0g
- Unsaturated Fat: 0g
- Trans Fat: 0g
- Carbohydrates: 0g
- Fiber: 0g
- Protein: 0g
- Cholesterol: 0mg

