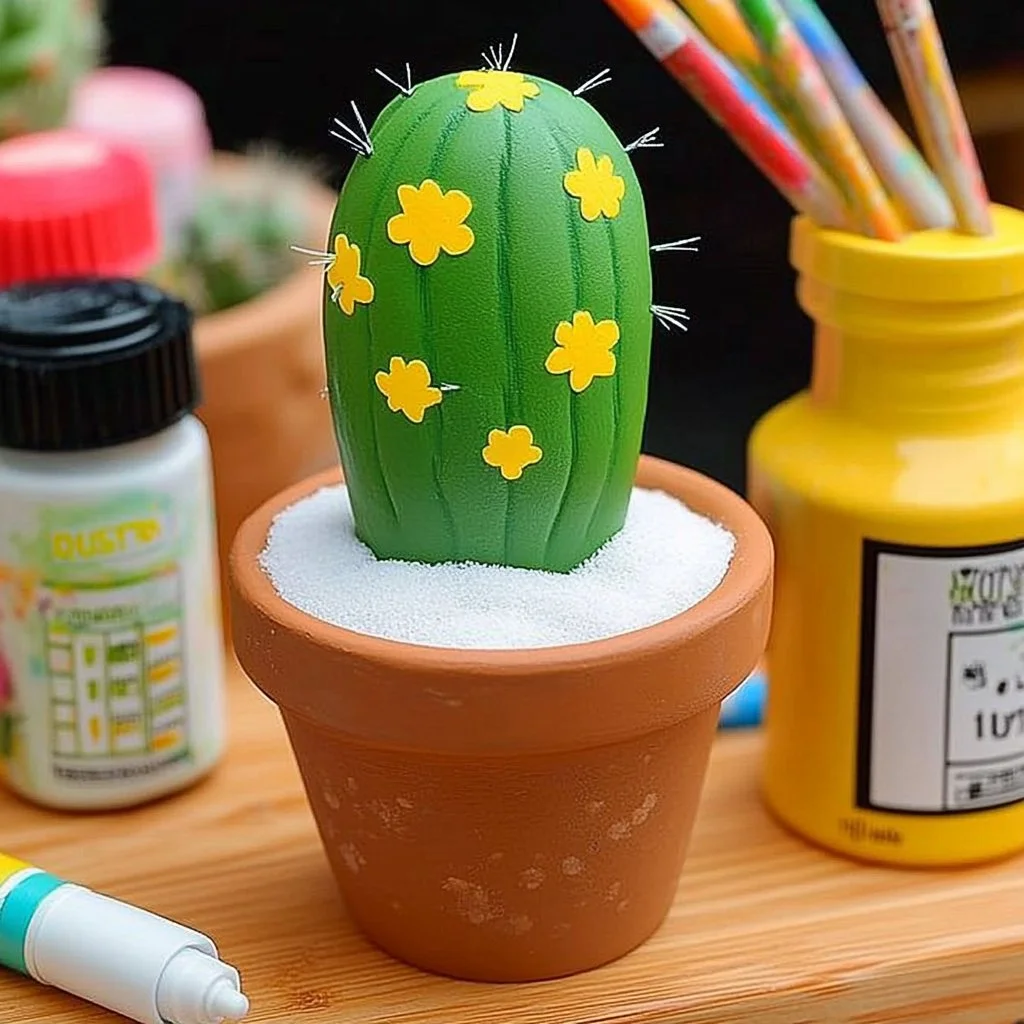
Painting rocks has become a delightful and creative way to express oneself, and cactus-themed designs are particularly popular for their vibrant colors and unique aesthetic. Creating cactus painted rocks is a fun DIY project that not only allows you to showcase your artistic abilities but also provides a charming decorative piece for your home or garden. Whether you are a seasoned crafter or a complete novice, this project is simple and enjoyable, making it perfect for all ages. You can personalize your stones with different colors, patterns, and sizes, and they make great gifts for others or lovely conversation starters around your space. Get ready to unleash your inner artist as we guide you through the steps of transforming ordinary rocks into stunning cactus masterpieces!
Why You’ll Love This How to Make Cactus Painted Rocks
- Creativity Boost: Unleash your artistic side and personalize your designs.
- Relaxing Activity: Painting is a therapeutic process that can help relieve stress.
- Eco-Friendly Decor: Use natural materials to create beautiful home and garden accents.
- Versatile Designs: Customize shapes, sizes, and colors to suit your style.
- Great Gift Idea: Handmade cactus rocks make thoughtful gifts for friends and family.
- Fun for All Ages: A perfect activity for kids, adults, or family bonding time.
Materials
- Smooth, clean rocks (various sizes)
- Acrylic paint (green, pink, yellow, brown, white)
- Paintbrushes (various sizes)
- Palette or paper plate (for mixing colors)
- Paint sealer or clear coat spray
- Water container (for rinsing brushes)
- Paper towels (for cleaning)
- Optional: pencil for sketching designs before painting
Step-by-Step Instructions
Prepare Your Work Area
- Choose a Space: Find a clean, flat surface to work on, preferably outdoors or in a well-ventilated area.
- Lay Down a Cover: Protect your workspace with newspapers or an old cloth to catch any paint spills.
Clean and Prep the Rocks
- Make sure the rocks are clean and dry. Wipe them down with a damp cloth if needed to remove dirt or dust.
Sketch Your Design
- Outline: Lightly sketch your cactus design on the rock using a pencil. This helps guide your painting and allows for easy adjustments.
Paint Your Cactus
- Base Color: Start by painting the base of your cactus with your chosen green shade. Use a wider brush for larger areas.
- Add Details: Once dry, add smaller details like spines and flowers using a finer brush. Feel free to mix colors to create depth and dimension!
- Layering: Allow each layer of paint to dry before adding new details or colors for a vibrant finish.
Seal the Paint
- After your cactus designs are dry, apply a clear coat of paint sealer or spray to protect your artwork. Make sure it’s fully dry before displaying.
Tips & Variations
- Experiment with Colors: Try using different shades of green or add unexpected colors for flowers.
- Mix Patterns: Combine cactus designs with other shapes like flowers or sun patterns.
- Texture: Use a sponge to apply paint for a unique textured look.
- Alternative Materials: Use other kinds of paints, like spray paint or watercolor, for different effects.
Frequently Asked Questions
How do I choose the right kind of rocks?
Look for smooth, flat stones to make painting easier and achieve good results. River rocks are a great option!
What paint should I use?
Acrylic paint is recommended for its vibrant colors and quick drying time. Make sure to use outdoor acrylic if displaying outside.
How can I fix mistakes?
If you make a mistake, simply wait for the paint to dry and paint over it with your base color. You can often incorporate the mistake into your design creatively!
How do I display my cactus painted rocks?
You can place them in your garden, use them as paperweights, or group them together on a shelf for a colorful display.
Serving Suggestions or Pairings
Enjoy your cactus painted rocks alongside a refreshing drink like iced tea or lemonade, or pair them with potted succulent plants for a complementary natural display.
Final Thoughts
Making cactus painted rocks is a delightful way to spark creativity while adding a bit of nature-inspired decor to your home. We hope you enjoy this fun DIY project as much as we do! We’d love to see your versions and hear your thoughts—please share your creations or leave a comment below! Happy painting!
Print
Cactus Painted Rocks
- Total Time: 10 minutes
- Yield: Multiple decorative pieces
- Diet: N/A
Description
Transform ordinary rocks into charming cactus-themed painted masterpieces with this fun and creative DIY project.
Ingredients
- Smooth, clean rocks (various sizes)
- Acrylic paint (green, pink, yellow, brown, white)
- Paintbrushes (various sizes)
- Palette or paper plate (for mixing colors)
- Paint sealer or clear coat spray
- Water container (for rinsing brushes)
- Paper towels (for cleaning)
- Optional: pencil for sketching designs before painting
Instructions
- Prepare Your Work Area: Find a clean, flat surface to work on, laying down newspapers or an old cloth to protect it.
- Clean and Prep the Rocks: Ensure rocks are clean and dry, wiping them down if necessary.
- Sketch Your Design: Lightly sketch your cactus design on the rock using a pencil.
- Paint Your Cactus: Start with the base color in green, and use finer brushes for details once dry.
- Layering: Allow each layer to dry before adding new paint for a vibrant finish.
- Seal the Paint: Once dry, apply a clear coat of paint sealer to protect your artwork.
Notes
Experiment with colors and patterns for unique designs. Use alternative materials like spray paint for different effects.
- Prep Time: 10 minutes
- Cook Time: 0 minutes
- Category: Craft
- Method: Painting
- Cuisine: N/A
Nutrition
- Serving Size: 1 rock
- Calories: 0
- Sugar: 0g
- Sodium: 0mg
- Fat: 0g
- Saturated Fat: 0g
- Unsaturated Fat: 0g
- Trans Fat: 0g
- Carbohydrates: 0g
- Fiber: 0g
- Protein: 0g
- Cholesterol: 0mg

