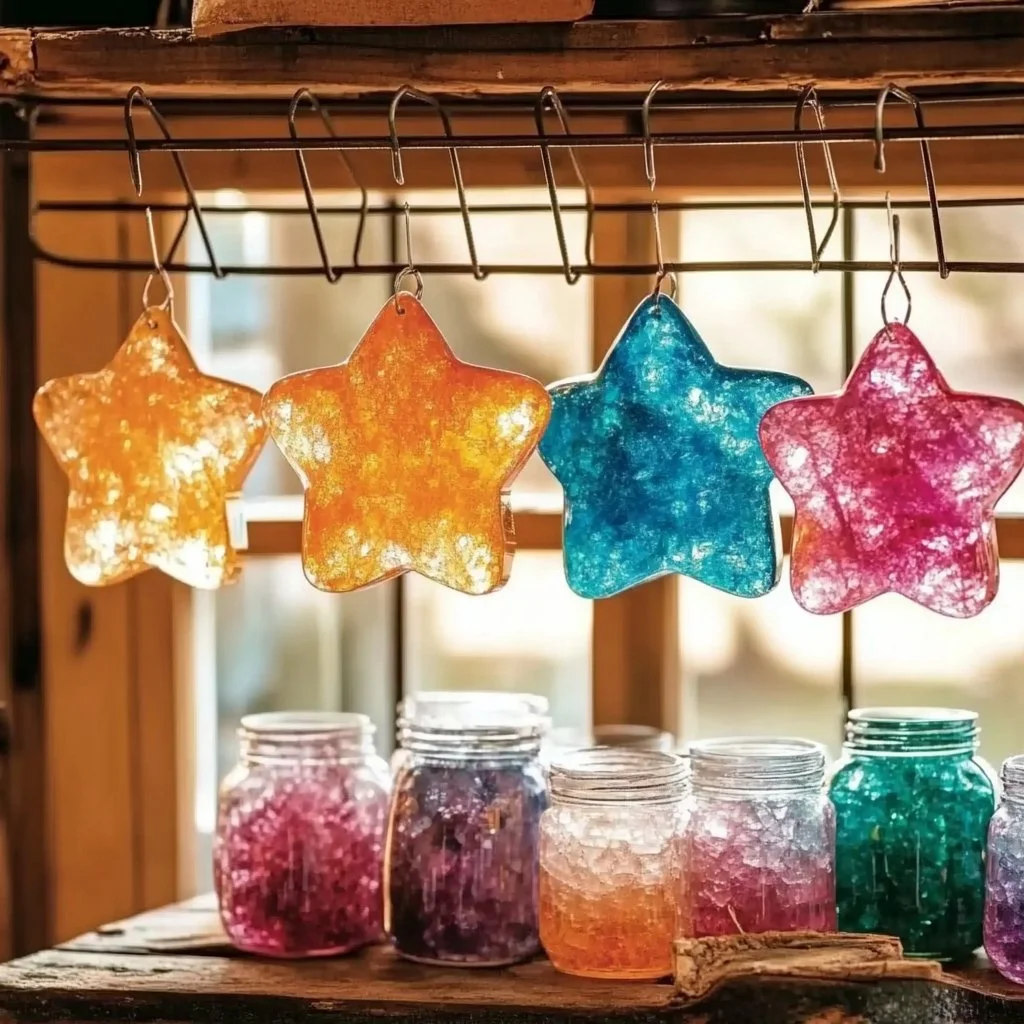
Creating stunning Borax crystal gems is an engaging and educational DIY project that combines science with artistry. Ideal for both kids and adults, this activity invites you to explore the fascinating world of crystallization while crafting beautiful decorations. Not only will you enjoy the satisfying process of watching your crystals grow, but you’ll also gain valuable insights into basic chemistry and the properties of materials. Plus, the end result is a dazzling display of colorful gems that can be used for various creative purposes. Whether you’re looking for a fun weekend project, an intriguing science experiment, or a unique gift idea, making Borax crystal gems is a delightful way to unleash your creativity and curiosity.
Why You’ll Love This How to Make Borax Crystal Gems
- Educational Fun: Learn about the science of crystallization while crafting.
- Simple Materials: Uses items commonly found at home or easily accessible.
- Customizable Colors: Experiment with different food coloring for unique creations.
- Engaging Activity: Perfect for kids and adults to bond over a hands-on project.
- Beautiful Results: Create eye-catching decorations for your home or gifts.
- Short Wait Time: Experience visible results within a few hours.
Materials
- 1 cup of water
- 3 tablespoons of Borax (available in the laundry aisle)
- A heat-resistant container (like a glass jar)
- String or pipe cleaners (shaped as desired)
- Food coloring (optional, for color customization)
- Stirring utensil (like a spoon)
- Heat source (stovetop or microwave)
Step-by-Step Instructions
Prepare the Solution
- Measure Water: Begin by measuring 1 cup of water.
- Heat Water: Pour the water into a heat-resistant container and heat it until it’s almost boiling.
- Add Borax: Remove the container from the heat source and slowly add 3 tablespoons of Borax to the hot water.
- Stir Well: Use a stirring utensil to mix until all the Borax has completely dissolved.
Set Up for Crystallization
- Shape Your Base: Take string or pipe cleaners and shape them into desired forms (like stars or hearts).
- Attach to a Stick: Tie one end of the string to a stick or pencil that can rest on the top of the jar, suspending the shaped base in the solution.
Grow Your Crystals
- Submerge: Place the shaped base into the Borax solution so that it is fully submerged.
- Add Color (Optional): If desired, drop a few drops of food coloring into the solution and gently stir.
- Let It Sit: Allow the container to sit undisturbed in a cool place for 6-12 hours.
- Observe: Check back periodically and watch the crystals form. You should see them growing as the solution cools.
Tips & Variations
- Experiment with Shapes: Use different shapes or designs for the base to create unique crystal formations.
- Color Mixing: Combine different food colors to produce multi-hued gems.
- Size Matters: Adjust the amount of Borax and water proportionally to create larger or smaller crystals.
- Incorporate Extras: For a fun twist, try adding a few drops of glitter for a sparkling effect.
Frequently Asked Questions
Can I use any type of water?
Yes, both tap and distilled water work well for this project. Just make sure the water is clean.
What if my crystals don’t grow?
Ensure that the solution was made with the correct ratio and that the container is undisturbed during the crystallization process.
Can I use other types of salts or powders?
Borax works best for this project, but you may experiment with Epsom salts or sugar for different types of crystals.
How do I store leftover solution?
If you have leftover Borax solution, cover it and store it in a cool, dry place. You can reuse it, but it may contain some already-formed crystals.
Serving Suggestions or Pairings
Serve your Borax crystal gems as vibrant table centerpieces or hang them as shimmering window decorations. Pair them with a refreshing drink like lemonade or iced tea while enjoying your DIY project. You can also mix them into a gift package with homemade crafts for an extra special touch.
Final Thoughts
Creating Borax crystal gems is not just a fun activity; it’s an opportunity to explore science creatively and make beautiful decorations. We hope you enjoy this DIY project as much as we do. If you try making your own crystals, please share your experiences or modifications in the comments!
Print
DIY Borax Crystal Gems
- Total Time: 720 minutes
- Yield: Multiple crystal gems
- Diet: N/A
Description
Engaging and educational DIY project to create stunning Borax crystal gems while exploring the science of crystallization.
Ingredients
- 1 cup of water
- 3 tablespoons of Borax
- A heat-resistant container (like a glass jar)
- String or pipe cleaners (shaped as desired)
- Food coloring (optional, for color customization)
- Stirring utensil (like a spoon)
- Heat source (stovetop or microwave)
Instructions
- Measure 1 cup of water.
- Pour the water into a heat-resistant container and heat until almost boiling.
- Remove from heat and add 3 tablespoons of Borax, stirring until dissolved.
- Shape string or pipe cleaners into desired forms.
- Tie one end of the string to a stick or pencil, suspending the shaped base in the solution.
- Submerge the shaped base in the Borax solution.
- Optional: add a few drops of food coloring and stir gently.
- Let the container sit undisturbed in a cool place for 6-12 hours.
- Observe crystal growth periodically.
Notes
Experiment with different shapes, colors, and sizes for unique crystal formations. Use glitter for a sparkling effect.
- Prep Time: 10 minutes
- Cook Time: 0 minutes
- Category: DIY Project
- Method: Crystallization
- Cuisine: Craft
Nutrition
- Serving Size: 1 crystal gem
- Calories: 0
- Sugar: 0g
- Sodium: 0mg
- Fat: 0g
- Saturated Fat: 0g
- Unsaturated Fat: 0g
- Trans Fat: 0g
- Carbohydrates: 0g
- Fiber: 0g
- Protein: 0g
- Cholesterol: 0mg

