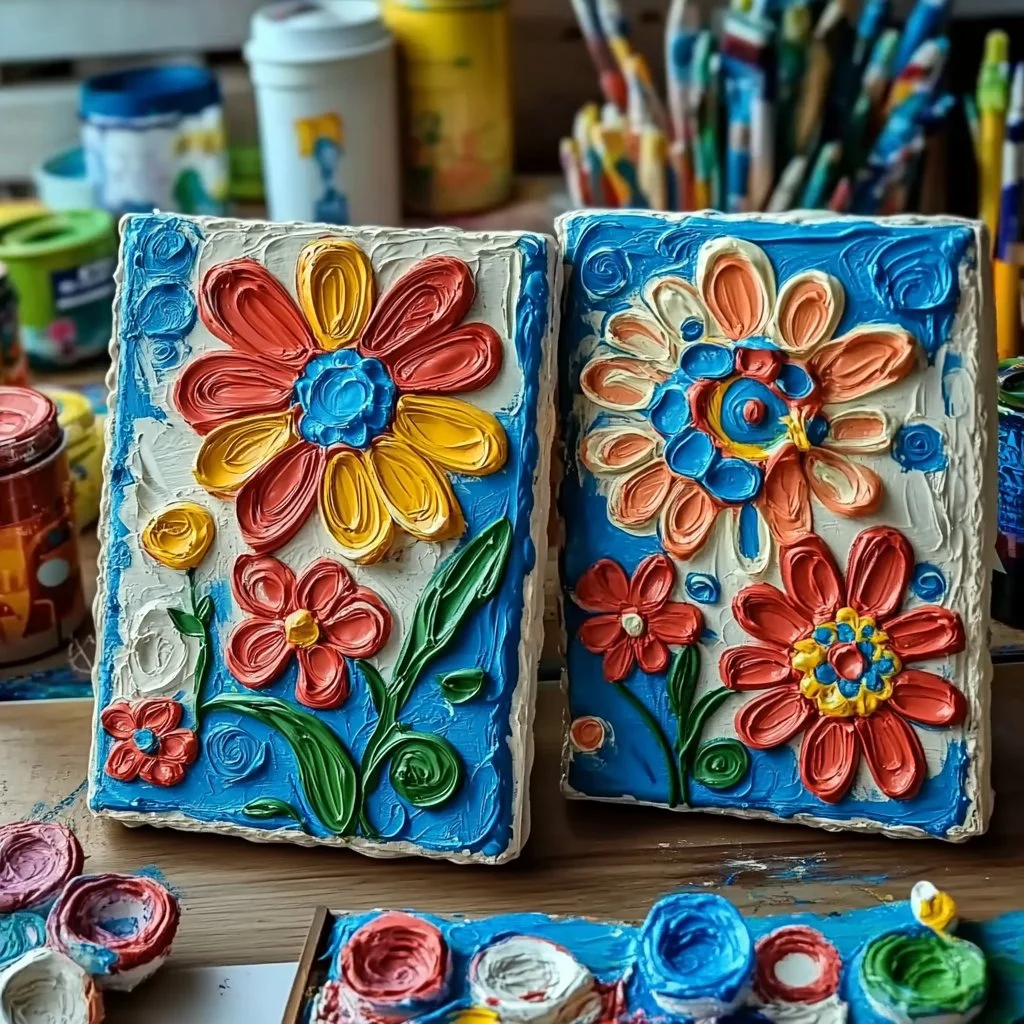
Are you ready to unleash your creative side while having a blast with your kids? Homemade puffy paint is a delightful and easy DIY project that not only encourages creativity but also brightens up your art supplies. With just a few simple ingredients, you can whip up this fun and versatile paint that dries into a raised, textured finish. Perfect for adding a unique touch to crafts, decorations, or school projects, it’s an ideal activity for art enthusiasts of all ages. Whether it’s a rainy day or a weekend family project, this homemade puffy paint will keep everyone happily engaged. So gather your supplies and let’s dive into the world of colorful creativity!
Why You’ll Love This Homemade Puffy Paint
- Easy to Make: With minimal ingredients, it’s a hassle-free project for all skill levels.
- Safe and Non-Toxic: Ideal for children, using household ingredients ensures safety.
- Customizable Colors: Mix and match to create your desired color palette.
- Multi-Purpose Use: Great for a variety of crafts, from cards to canvas art.
- Textured Finish: Adds a fun, three-dimensional quality to your artwork.
- Budget-Friendly: Save money while creating endless artistic possibilities.
Materials
- 1 cup flour
- 1 cup water
- 1 cup salt
- 1 tablespoon baking powder
- Food coloring (various colors)
- Mixing bowls
- Whisk or spoon
- Squeeze bottles or plastic bags (for application)
Step-by-Step Instructions
Step 1: Mix the Dry Ingredients
- In a mixing bowl, combine 1 cup of flour, 1 cup of salt, and 1 tablespoon of baking powder.
- Use a whisk or spoon to thoroughly mix the dry ingredients until well combined.
Step 2: Add Water
- Gradually pour in 1 cup of water while stirring the mixture.
- Mix until the paint reaches a smooth, lump-free consistency.
Step 3: Divide and Color
- Divide the paint mixture into separate bowls (one for each color you wish to create).
- Add food coloring to each bowl and mix until you achieve your desired shades.
Step 4: Transfer to Application Tools
- Pour or spoon the colored paint into squeeze bottles or plastic bags.
- If using bags, snip a small corner off for easy dispensing.
Step 5: Get Creative!
- Use your puffy paint to create art on paper, canvas, or even cardboard.
- Squeeze, swirl, and layer your paint to explore texture and depth.
Step 6: Let Dry
- Allow your artwork to dry completely, which may take several hours or overnight.
- Watch as the paint puffs up and creates a fun, raised effect!
Tips & Variations
- Experiment with Ingredients: Swap out regular salt for Epsom salt for a different texture.
- Add Scents: Mix in essential oils or vanilla extract for a pleasant aroma.
- Use different application tools: Try brushes, sponges, or even your fingers for varied effects.
- Permanent Version: For long-lasting art, consider adding a sealant layer after drying.
Frequently Asked Questions
Q1: Can I make this puffy paint with gluten-free flour?
A: Yes! You can substitute regular flour with gluten-free options like rice flour or almond flour for a gluten-free variant.
Q2: What surfaces can I use this paint on?
A: This paint works well on paper, cardboard, and canvas. Avoid using it on surfaces that can’t be cleaned easily.
Q3: How long does the paint take to dry?
A: Drying time can vary depending on thickness, humidity, and temperature, but it typically takes several hours to overnight.
Q4: Can I store leftover puffy paint?
A: It’s best to use the paint fresh, but you can store it in sealed containers in the fridge for up to a week. Remember to stir it well before using again.
Serving Suggestions or Pairings
- Enjoy this creative activity with a refreshing lemonade or iced tea.
- Pair your art session with healthy snacks like veggie sticks or fruit slices to keep energy levels high.
- Consider playing some fun music or an art podcast to inspire creativity while you paint.
Final Thoughts
Homemade puffy paint is more than just a fun craft; it’s an opportunity for you and your kids to bond, express creativity, and explore the endless possibilities of art. We hope this recipe inspires you to create beautiful masterpieces and let your imagination run wild. Have you tried making puffy paint? We’d love to hear about your experiences! Share your colorful creations or leave a comment below!
Print
Homemade Puffy Paint
- Total Time: 10 minutes
- Yield: Multiple servings
- Diet: N/A
Description
A fun and easy DIY project for kids, this homemade puffy paint encourages creativity and adds a textured finish to arts and crafts.
Ingredients
- 1 cup flour
- 1 cup water
- 1 cup salt
- 1 tablespoon baking powder
- Food coloring (various colors)
- Mixing bowls
- Whisk or spoon
- Squeeze bottles or plastic bags (for application)
Instructions
- In a mixing bowl, combine 1 cup of flour, 1 cup of salt, and 1 tablespoon of baking powder. Use a whisk or spoon to thoroughly mix the dry ingredients until well combined.
- Gradually pour in 1 cup of water while stirring the mixture. Mix until the paint reaches a smooth, lump-free consistency.
- Divide the paint mixture into separate bowls for each color. Add food coloring to each bowl and mix until you achieve your desired shades.
- Pour or spoon the colored paint into squeeze bottles or plastic bags. If using bags, snip a small corner off for easy dispensing.
- Use your puffy paint to create art on paper, canvas, or cardboard, squeezing, swirling, and layering to explore texture and depth.
- Allow your artwork to dry completely, which may take several hours or overnight, and watch as the paint puffs up.
Notes
Experiment with different ingredients, scents, and application tools for varied effects. Store leftovers in sealed containers in the fridge for up to a week.
- Prep Time: 10 minutes
- Cook Time: 0 minutes
- Category: Craft
- Method: Mixing
- Cuisine: N/A
Nutrition
- Serving Size: As needed
- Calories: Varies based on usage
- Sugar: 0g
- Sodium: 0mg
- Fat: 0g
- Saturated Fat: 0g
- Unsaturated Fat: 0g
- Trans Fat: 0g
- Carbohydrates: 15g (approx. per serving)
- Fiber: 1g
- Protein: 2g
- Cholesterol: 0mg

