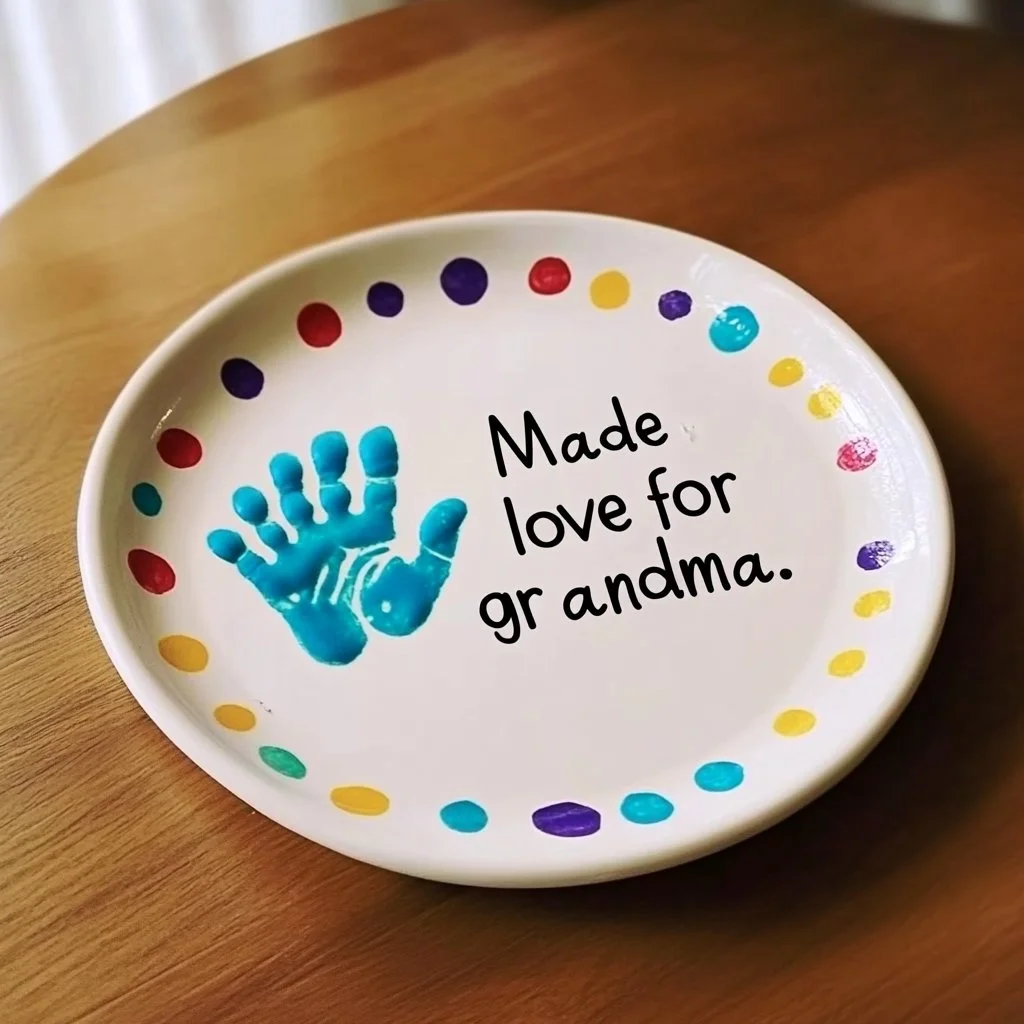
Creating a handprint memory plate is a delightful and meaningful DIY project that allows you to capture the essence of your loved ones in a unique way. Whether it’s for a special event like a birthday, holiday, or simply as a heartfelt keepsake, this project combines creativity and sentimentality. The handprint plate not only serves as a decorative item but also as a treasured memory that you can cherish for years to come. This simple yet engaging activity provides an opportunity to bond with family and friends while exploring artistic expression. Plus, it makes for a fantastic gift that showcases personal touches, making it even more special.
Why You’ll Love This Handprint Memory Plate
- Personal Touch: Each plate is unique, reflecting your loved one’s handprint.
- Sentimental Keepsake: A beautiful way to preserve memories as your child grows.
- Perfect Gift: Ideal for birthdays, holidays, or any occasion that calls for a heartfelt present.
- Versatile Decor: Makes for eye-catching home decor, perfect for display or functional use.
- Easy to Make: Simple steps ensure this project is accessible for all skill levels.
Materials
- Air-dry clay or oven-bake clay
- Rolling pin
- Cookie cutter (optional, for shaping)
- Non-toxic acrylic paint
- Clear acrylic sealant (optional)
- Paintbrush
- Water for smoothing edges
- Rolling mat or clean surface
Step-by-Step Instructions
Prepare Your Workspace
- Lay down a clean surface or rolling mat where you will work.
- Gather all materials to ensure everything is at hand.
Shape the Clay
- Take a portion of air-dry or oven-bake clay and roll it out to about ¼ inch thick using a rolling pin.
- Use a cookie cutter or shape it by hand into a round or desired shape for your plate.
Create the Handprint
- Have your child press their hand firmly into the center of the clay to make a clear impression.
- Use a damp cloth or your fingers to smooth any rough edges around the print.
Dry or Bake
- If using air-dry clay, leave the plate out for 24-48 hours to dry completely.
- For oven-bake clay, follow the manufacturer’s instructions, usually around 30 minutes at 275°F (135°C).
Paint the Plate
- Once dry, use non-toxic acrylic paint to decorate the plate.
- Have fun with colors—let your child choose their favorites to create a vibrant design!
Seal (Optional)
- Once the paint is dry, consider applying a clear acrylic sealant for extra durability.
Tips & Variations
- Customize it: Add names, dates, or personal messages using paint or a craft knife before sealing.
- Swap materials: Use air-dry clay for ease or traditional pottery clay for a more authentic finish.
- Different shapes: Try using different shaped molds to create themed plates, like hearts for Valentine’s Day or stars for baby showers.
- Festive touches: Use seasonal colors and embellishments to match holidays or events.
Frequently Asked Questions
Q: Can I use regular paint on the plate?
A: It’s best to use non-toxic acrylic paints to ensure safety and durability.
Q: How can I ensure the handprint comes out clean?
A: Make sure to press firmly and evenly. You can lightly wet the hand for a better impression.
Q: Is oven-bake clay food-safe?
A: Most oven-bake clays are non-toxic, but check the manufacturer’s instructions before using them for food.
Q: How do I store the plate after it’s made?
A: Store the plate in a cool, dry place, and avoid exposing it to extreme temperatures to preserve the paint and shape.
Serving Suggestions or Pairings
- Pair this memory plate with homemade cookies or treats as a thoughtful gift.
- Use it to serve snacks at family gatherings or special occasions.
- Consider presenting it alongside a handwritten note or recipe card for a complete package.
Final Thoughts
Creating a handprint memory plate is not only an enjoyable activity but also a wonderful way to capture cherished moments in a tangible form. It’s a unique craft that offers a lasting representation of your loved ones and can be personalized to reflect individual personalities. We encourage you to try this project and share your versions or experiences in the comments. Your creations could inspire others to embark on their own memory-making journey!
Print
Handprint Memory Plate
- Total Time: 45 minutes
- Yield: 1 plate
- Diet: N/A
Description
Create a sentimental keepsake by making a handprint memory plate, perfect for capturing special moments with loved ones.
Ingredients
- Air-dry clay or oven-bake clay
- Rolling pin
- Cookie cutter (optional)
- Non-toxic acrylic paint
- Clear acrylic sealant (optional)
- Paintbrush
- Water for smoothing edges
- Rolling mat or clean surface
Instructions
- Prepare your workspace by laying down a clean surface or rolling mat and gathering all materials.
- Roll out the clay to about ¼ inch thick using a rolling pin.
- Shape the clay into a round or desired shape using a cookie cutter or by hand.
- Have your child press their hand firmly into the center of the clay to make a clear impression.
- Smooth any rough edges around the print with a damp cloth or your fingers.
- If using air-dry clay, leave the plate to dry for 24-48 hours. If using oven-bake clay, bake according to the manufacturer’s instructions, usually around 30 minutes at 275°F (135°C).
- Once dry, use non-toxic acrylic paint to decorate the plate as desired.
- Consider applying a clear acrylic sealant for extra durability once the paint is dry.
Notes
Customize your plate with names or messages and experiment with different shapes and festive colors for holidays.
- Prep Time: 15 minutes
- Cook Time: 30 minutes
- Category: Craft
- Method: Crafting
- Cuisine: N/A
Nutrition
- Serving Size: 1 finished plate
- Calories: N/A
- Sugar: N/A
- Sodium: N/A
- Fat: N/A
- Saturated Fat: N/A
- Unsaturated Fat: N/A
- Trans Fat: N/A
- Carbohydrates: N/A
- Fiber: N/A
- Protein: N/A
- Cholesterol: N/A

