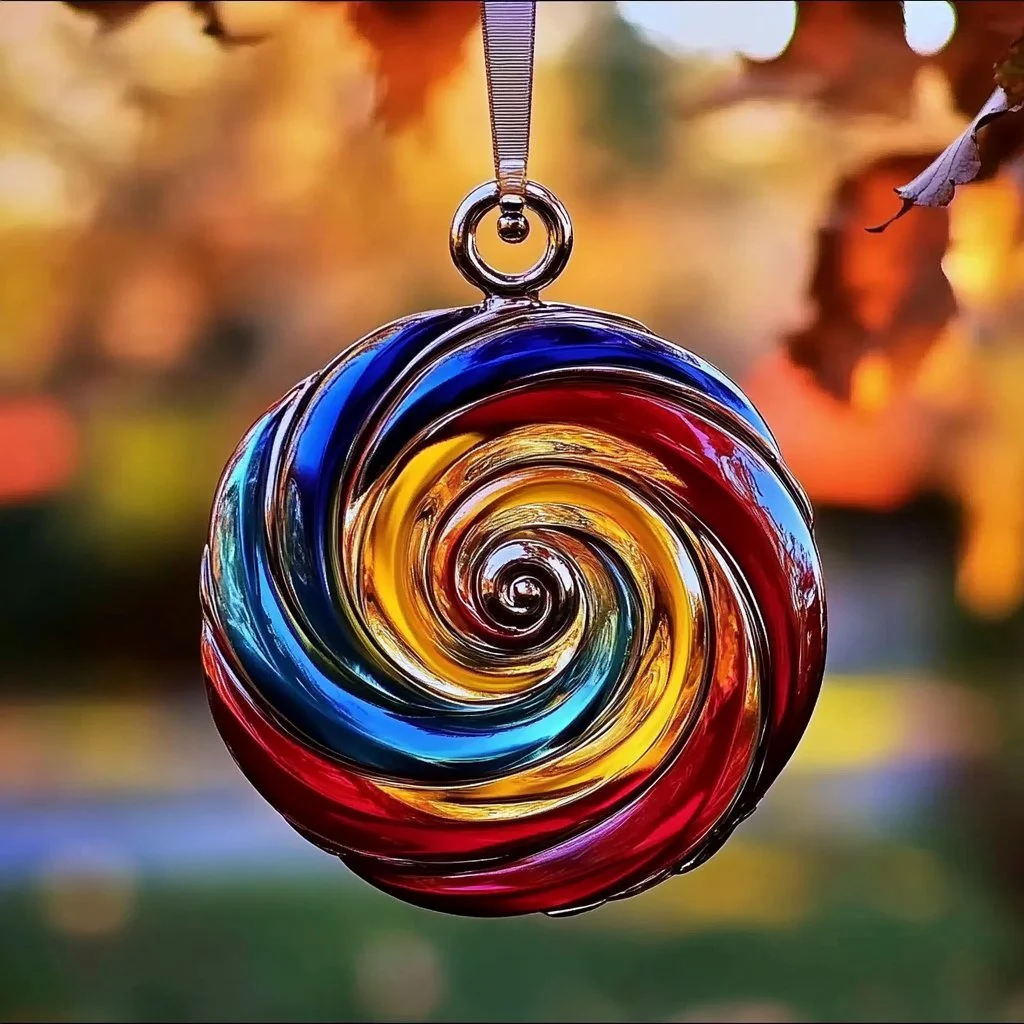
Crafting with glue isn’t just for sticking things together; it can create colorful and vibrant art pieces! One such delightful project is making Glue Suncatchers. These charming decorations are perfect for children and adults alike and can brighten any window with their dazzling colors. Using simple materials, you can unleash your creativity and produce unique designs that are both enjoyable to make and visually striking. The tactile nature of this craft provides a rewarding experience, engaging the senses as you mix, pour, and create. Plus, this project encourages imagination as you experiment with colors, shapes, and patterns. It’s a perfect activity for a rainy day, a classroom project, or an afternoon with friends. Let’s dive into why you’ll love making Glue Suncatchers and how to get started!
Why You’ll Love This Glue Suncatcher Magic:
- Easy and Fun: Perfect for all skill levels; anyone can join in.
- Colorful Creations: Use a mix of colors to create vibrant designs.
- Sensory Engagement: The process of mixing and pouring glue is satisfying.
- Customizable: Adapt the project with different shapes and themes.
- Perfect for Any Occasion: Great for holiday decorations or year-round fun.
Materials:
- Clear school glue
- Wax paper or plastic sheets
- Food coloring or liquid watercolors
- Mixing cups and spoons
- Plastic or squeeze bottles (optional)
- Scissors
- String or ribbon (for hanging)
Full Step-by-Step:
Step 1: Prepare Your Workspace
- Lay down wax paper or plastic sheets to protect your surface.
- Gather all your materials for easy access.
Step 2: Mix Your Glue
- Pour your clear school glue into a mixing cup.
- Add a few drops of food coloring or liquid watercolor.
- Stir well until the color is uniform and vibrant.
Step 3: Create Your Design
- Use a spoon or squeeze bottle to pour the colored glue onto the wax paper.
- Experiment with different shapes like circles, hearts, or abstract designs.
- Feel free to layer different colors for a marbled effect!
Step 4: Allow to Dry
- Let your suncatcher dry for 24 hours or until completely hard.
- You’ll know it’s ready when it feels firm to the touch.
Step 5: Cut and Hang
- Once dry, carefully peel off the wax paper.
- Use scissors to cut out your suncatcher.
- Attach a string or ribbon for hanging.
Tips & Variations:
- Add Sparkle: Incorporate glitter into your glue mix for extra shimmer.
- Use Template Shapes: Place a stencil underneath the wax paper to guide your design.
- Layering Colors: Pour one color first, allow it to set slightly, then add another for dimensional effects.
- Nature Touch: Incorporate small leaves or dried flowers into your design before it dries.
Frequently Asked Questions:
Q1: Can I use other types of glue?
A1: While clear school glue is best for this project, you can experiment with other types like clear gel or mod podge. Just ensure they dry clear!
Q2: How do I store leftover glue mixture?
A2: It’s best to use the glue mixture immediately. If you have leftovers, seal them tightly in a container and use within a day or two.
Q3: What if my suncatcher doesn’t dry completely?
A3: Ensure you allowed sufficient time for drying. If it remains sticky, it may need more time in a cool, dry place.
Q4: Can I hang these suncatchers outside?
A4: While they’re great for indoors, prolonged exposure to sunlight and weather may cause them to fade or deteriorate.
Suggestions:
- Create seasonal suncatchers for holidays, like pumpkins for Halloween or snowflakes for winter.
- Host a glue suncatcher party with friends to enjoy different designs and colors.
- Encourage kids to share their art by gifting suncatchers to family and friends.
Final Thoughts
Making Glue Suncatchers is not only a joyful craft but also a wonderful way to express creativity and brighten your space! We hope you enjoy making these colorful decorations as much as we do. We’d love to see your versions and hear any tips or ideas you might have! Feel free to share in the comments below!
Print
Glue Suncatchers
- Total Time: 1455 minutes
- Yield: 1 suncatcher
- Diet: N/A
Description
Brighten your windows with colorful Glue Suncatchers! A fun craft project for all ages, perfect for unleashing your creativity with simple materials.
Ingredients
- Clear school glue
- Wax paper or plastic sheets
- Food coloring or liquid watercolors
- Mixing cups and spoons
- Plastic or squeeze bottles (optional)
- Scissors
- String or ribbon (for hanging)
Instructions
- Prepare Your Workspace: Lay down wax paper or plastic sheets to protect your surface and gather all your materials.
- Mix Your Glue: Pour clear school glue into a mixing cup and add food coloring or liquid watercolor. Stir until uniform.
- Create Your Design: Use a spoon or squeeze bottle to pour the colored glue onto the wax paper in shapes like circles or hearts, layering different colors as desired.
- Allow to Dry: Let your suncatcher dry for 24 hours or until firm.
- Cut and Hang: Once dry, peel off the wax paper, cut out your suncatcher, and attach a string or ribbon for hanging.
Notes
Incorporate glitter for sparkle and use templates for guided designs. Great for seasonal decorations!
- Prep Time: 15 minutes
- Cook Time: 1440 minutes
- Category: Craft
- Method: Crafting
- Cuisine: N/A
Nutrition
- Serving Size: 1 suncatcher
- Calories: 50
- Sugar: 0g
- Sodium: 10mg
- Fat: 0g
- Saturated Fat: 0g
- Unsaturated Fat: 0g
- Trans Fat: 0g
- Carbohydrates: 12g
- Fiber: 0g
- Protein: 0g
- Cholesterol: 0mg

