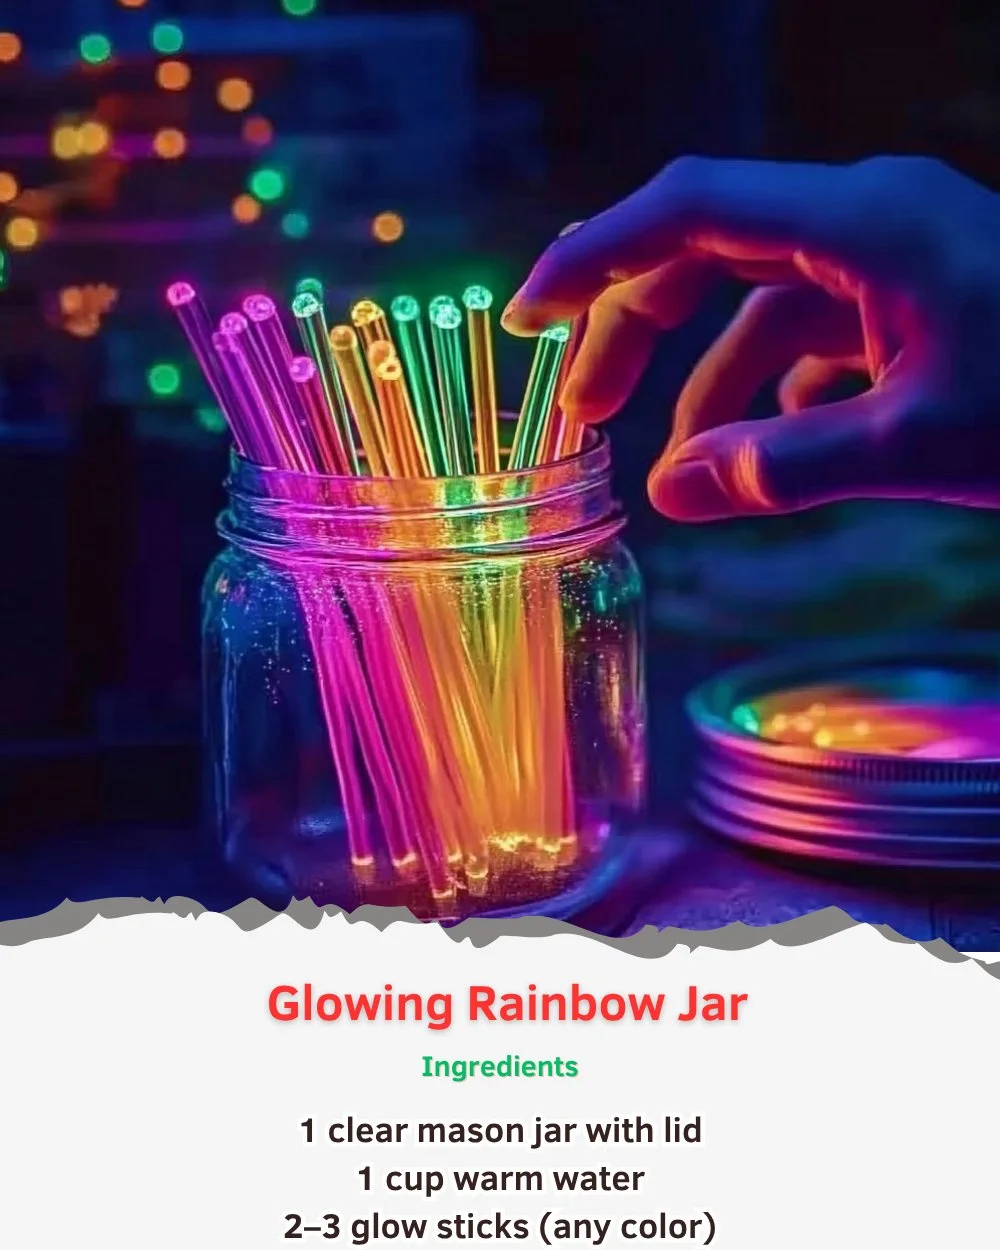
Creating a glowing rainbow jar is a delightful and visually stunning DIY project that combines science and art. This colorful craft is perfect for both kids and adults, offering a unique way to express creativity while exploring the fascinating world of luminescence. Whether you’re looking for an engaging activity for a rainy day, a creative centerpiece, or a relaxing night-light, this glowing rainbow jar delivers on all fronts. By layering vibrant colors, you can create a mesmerizing effect that glows in the dark, capturing the beauty of rainbows in a jar. It’s a simple yet magical process that can spark joy and curiosity, making it an excellent choice for family activities, parties, or even as a thoughtful gift. Let’s dive into the exciting world of rainbow jars and learn how to bring them to life!
Why You’ll Love This Glowing Rainbow Jar
- Visually Stunning: The layers of color create a beautiful rainbow effect that glows in the dark.
- Fun for All Ages: A perfect activity for kids, adults, or families to enjoy together.
- Simple and Affordable: Easily made with common ingredients and household items.
- Creative Outlet: Customize your jar with different colors and designs.
- Interactive Learning: Discover the science behind luminescence and color mixing.
Materials
- Clear glass or plastic jar with a lid
- Water
- Clear corn syrup or glycerin
- Food coloring (red, orange, yellow, green, blue, purple)
- Small flashlight or blacklight (for the glow effect)
- Small spoon or stir stick
- Funnel (optional, for layering)
Step-by-Step Instructions
Prepare the Liquid Mixture
- Combine Ingredients: In a bowl, mix equal parts clear corn syrup (or glycerin) and water.
- Divide the Mixture: Pour the mixture into separate small containers—one for each color you will use.
Add Food Coloring
- Color Each Mixture: Add a few drops of different food coloring to each container:
- Red
- Orange
- Yellow
- Green
- Blue
- Purple
- Stir Well: Use a spoon or stir stick to mix each color until it’s vibrant.
Layer the Colors
-
Start Layering: Using a funnel (if desired), pour the mixtures into the jar one at a time, starting with the densest liquid.
- Key Action: Pour slowly along the side of the jar to avoid mixing.
- Sensory Cue: Notice the distinct separation of colors as you pour.
-
Complete the Layers: Continue until you’ve added all colors, layering carefully.
Activate the Glow
- Prepare for Glow: Seal the lid onto the jar.
- Shine the Light: In a darkened room, shine a small flashlight or blacklight onto the jar to see the glowing effect!
Tips & Variations
- Color Choices: Feel free to experiment with other colors or shades to create a custom rainbow jar.
- Texture Variation: Try adding a little glitter or small glow-in-the-dark stars for added sparkle.
- Layer Thickness: Adjust the thickness of each layer for varied effects; thinner layers may create a more blended look.
Frequently Asked Questions
Q1: Can I use any jar for this project?
A1: Yes, any clear jar will work, but a wider mouth jar can make layering easier.
Q2: What if my layers are mixing?
A2: Pour slowly along the jar’s side and ensure each layer is denser than the one before.
Q3: How long will the glow last?
A3: The glow duration depends on your light source; it should last for several hours with exposure to UV light.
Q4: Can I use other liquids instead of corn syrup or glycerin?
A4: While corn syrup and glycerin provide the best density, you could experiment with other clear liquids, but results may vary.
Serving Suggestions or Pairings
- Pair your glowing rainbow jar with glowing drinks like tonic water limeade for a whimsical effect.
- Complement with fairy lights in a dark room for an enchanting atmosphere.
- Serve at parties as striking centerpieces alongside colorful snacks or desserts.
Final Thoughts
Creating a glowing rainbow jar is not only a joyful crafting experience but also a wonderful way to illuminate your space with creativity. Enjoy the process, customize it to your taste, and watch your creation come to life. We’d love to see your versions or hear your thoughts—feel free to share your unique spin in the comments below! Happy crafting!
Print
Glowing Rainbow Jar
- Total Time: 15 minutes
- Yield: 1 glowing rainbow jar
- Diet: N/A
Description
A delightful DIY project that combines science and art, creating a visually stunning rainbow jar that glows in the dark.
Ingredients
- Clear glass or plastic jar with a lid
- Water
- Clear corn syrup or glycerin
- Food coloring (red, orange, yellow, green, blue, purple)
- Small flashlight or blacklight
- Small spoon or stir stick
- Funnel (optional)
Instructions
- In a bowl, mix equal parts clear corn syrup (or glycerin) and water.
- Pour the mixture into separate small containers—one for each color.
- Add a few drops of different food coloring to each container (red, orange, yellow, green, blue, purple) and stir well.
- Using a funnel, pour the mixtures into the jar one at a time, starting with the densest liquid.
- Pour slowly along the side of the jar to avoid mixing and continue layering carefully until all colors are added.
- Seal the lid onto the jar.
- In a darkened room, shine a small flashlight or blacklight onto the jar to see the glowing effect!
Notes
Experiment with different colors, textures, and layer thickness for varied effects. Adding glitter or glow-in-the-dark stars can enhance the visual appeal.
- Prep Time: 15 minutes
- Cook Time: 0 minutes
- Category: Craft
- Method: DIY
- Cuisine: N/A
Nutrition
- Serving Size: 1 jar
- Calories: 0
- Sugar: 0g
- Sodium: 0mg
- Fat: 0g
- Saturated Fat: 0g
- Unsaturated Fat: 0g
- Trans Fat: 0g
- Carbohydrates: 0g
- Fiber: 0g
- Protein: 0g
- Cholesterol: 0mg

