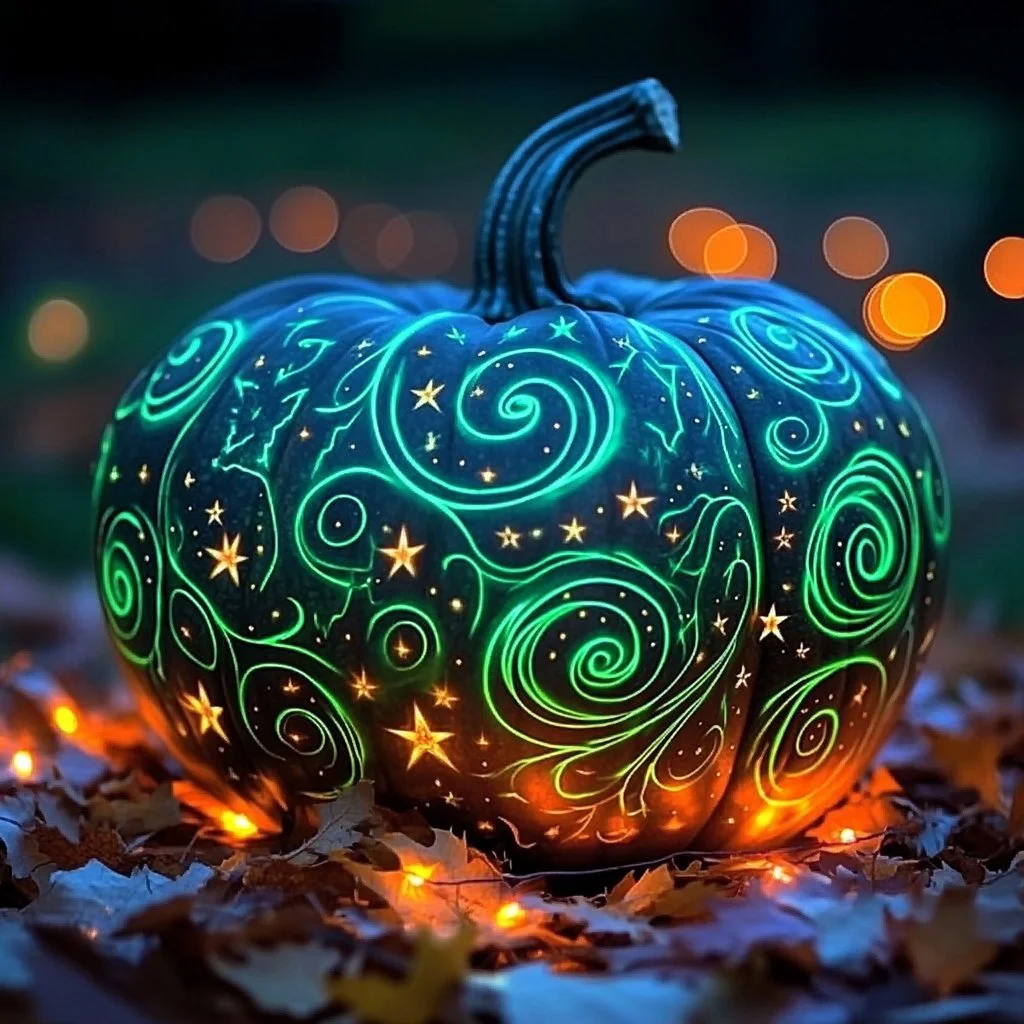
Glow-in-the-dark pumpkins are the perfect spooky touch for your Halloween festivities! Not only do they add a whimsical glow to your decorations, but crafting them can also become an engaging activity for families and friends. This DIY project is easy and enjoyable, allowing you to bond and unleash your creativity. With just a few materials, you’ll transform ordinary pumpkins into enchanting luminaries that light up the night and bring smiles to everyone who sees them. Plus, they are completely safe to use inside or outside your home. Whether you’re hosting a Halloween party or simply want to spruce up your yard, this glow-in-the-dark pumpkin recipe is a must-try.
Why You’ll Love This Glow-in-the-Dark Pumpkins
- Creative Fun: Great activity for families and friends to bond over.
- Unique Decor: Stand out with pumpkins that glow in the dark.
- Customizable: Personalize your design to fit your style or theme.
- Safe and Non-Toxic: Made with safe ingredients for peace of mind.
- Reusable: With proper care, you can reuse them for years to come.
Materials
- Orange pumpkins
- Glow-in-the-dark paint or glow sticks
- Paintbrush (if using paint)
- Black marker or pen
- Craft knife or pumpkin carving kit (optional)
- Bowl (for pumpkin guts)
- Tealight candle or LED tea light for illumination
Step-by-Step Instructions
Prepare Your Pumpkin
- Choose Your Pumpkin: Select the size and shape you prefer.
- Clean the Pumpkin: Wash the exterior to remove dirt.
- Cut the Top Off: Use a craft knife to create an opening at the top.
Scoop Out the Insides
- Scoop Out Seeds and Guts: Use a spoon to remove pumpkin seeds and stringy insides; this will create space for your glow source.
Design Your Pumpkin
- Sketch Your Design: Use a black marker to outline your design on the pumpkin.
- Carve (Optional): If desired, cut out your design with a pumpkin carving kit.
Apply the Glow-in-the-Dark Effect
- Applying Paint: If using paint, apply a generous coating inside the pumpkin and on the cut-out areas.
- Using Glow Sticks: Alternatively, break glow sticks and pour the contents inside the pumpkin for a different effect.
Final Touches
- Add Light Source: Place a tealight candle or LED tea light in the bottom.
- Replace the Top: Put the lid back on, securing it for a complete look.
Tips & Variations
- Customize Colors: Mix glow-in-the-dark paints with other colors for more creative designs.
- Swap Ingredients: Use LED lights instead of candles for safety.
- Try Different Shapes: Experiment with various pumpkin shapes and sizes.
- Add Glitter: After painting, sprinkle some glow-in-the-dark glitter for extra sparkle!
Frequently Asked Questions
1. Can I use regular paint instead of glow-in-the-dark paint?
Yes, regular paint can be used, but it won’t provide the glowing effect in the dark.
2. How long does the glow last?
The glow typically lasts for a few hours and may require exposure to light beforehand for optimal glow.
3. Can I use this technique on other vegetables?
Yes, you can use the same method on other hollowed-out veggies, such as gourds or squashes.
4. Is it safe to leave these pumpkins outside?
Yes, as long as you use LED lights instead of candles, they’re safe for outdoor use.
Serving Suggestions or Pairings
- Perfect Pairings: Enjoy your glowing pumpkins with a spooky-themed drink, such as pumpkin spice lattes or spiced apple cider.
- Side Dishes: Serve with pumpkin soup or roasted pumpkin seeds for a festive feast.
- Sauces: Pair with caramel or chocolate dips for Halloween treats.
Final Thoughts
Creating glow-in-the-dark pumpkins is a delightful way to embrace the Halloween spirit while fostering creativity. It’s a project that brings joy, laughter, and a dash of spookiness to your home. We hope you enjoy making your own version, and we’d love to see your creative twist on this DIY recipe! Please share your experiences or leave a comment below! Happy Halloween!
Print
Glow-in-the-Dark Pumpkins
- Total Time: 15 minutes
- Yield: 1 pumpkin
- Diet: Vegetarian
Description
Create enchanting glow-in-the-dark pumpkins for a spooky touch to your Halloween festivities. This fun DIY project is great for families and friends!
Ingredients
- Orange pumpkins
- Glow-in-the-dark paint or glow sticks
- Paintbrush (if using paint)
- Black marker or pen
- Craft knife or pumpkin carving kit (optional)
- Bowl (for pumpkin guts)
- Tealight candle or LED tea light for illumination
Instructions
- Choose Your Pumpkin: Select the size and shape you prefer.
- Clean the Pumpkin: Wash the exterior to remove dirt.
- Cut the Top Off: Use a craft knife to create an opening at the top.
- Scoop Out Seeds and Guts: Use a spoon to remove pumpkin seeds and stringy insides to create space for your glow source.
- Sketch Your Design: Use a black marker to outline your design on the pumpkin.
- Carve (Optional): If desired, cut out your design with a pumpkin carving kit.
- Apply the Glow-in-the-Dark Effect: If using paint, apply a generous coating inside the pumpkin and on the cut-out areas. Alternatively, break glow sticks and pour the contents inside the pumpkin for a different effect.
- Add Light Source: Place a tealight candle or LED tea light in the bottom.
- Replace the Top: Put the lid back on, securing it for a complete look.
Notes
Customize your pumpkins with different colors and add glitter for extra sparkle! Use LED lights for safety if placing outside.
- Prep Time: 15 minutes
- Cook Time: 0 minutes
- Category: DIY Project
- Method: Crafting
- Cuisine: American
Nutrition
- Serving Size: 1 pumpkin
- Calories: 50
- Sugar: 0g
- Sodium: 5mg
- Fat: 0g
- Saturated Fat: 0g
- Unsaturated Fat: 0g
- Trans Fat: 0g
- Carbohydrates: 12g
- Fiber: 3g
- Protein: 1g
- Cholesterol: 0mg

