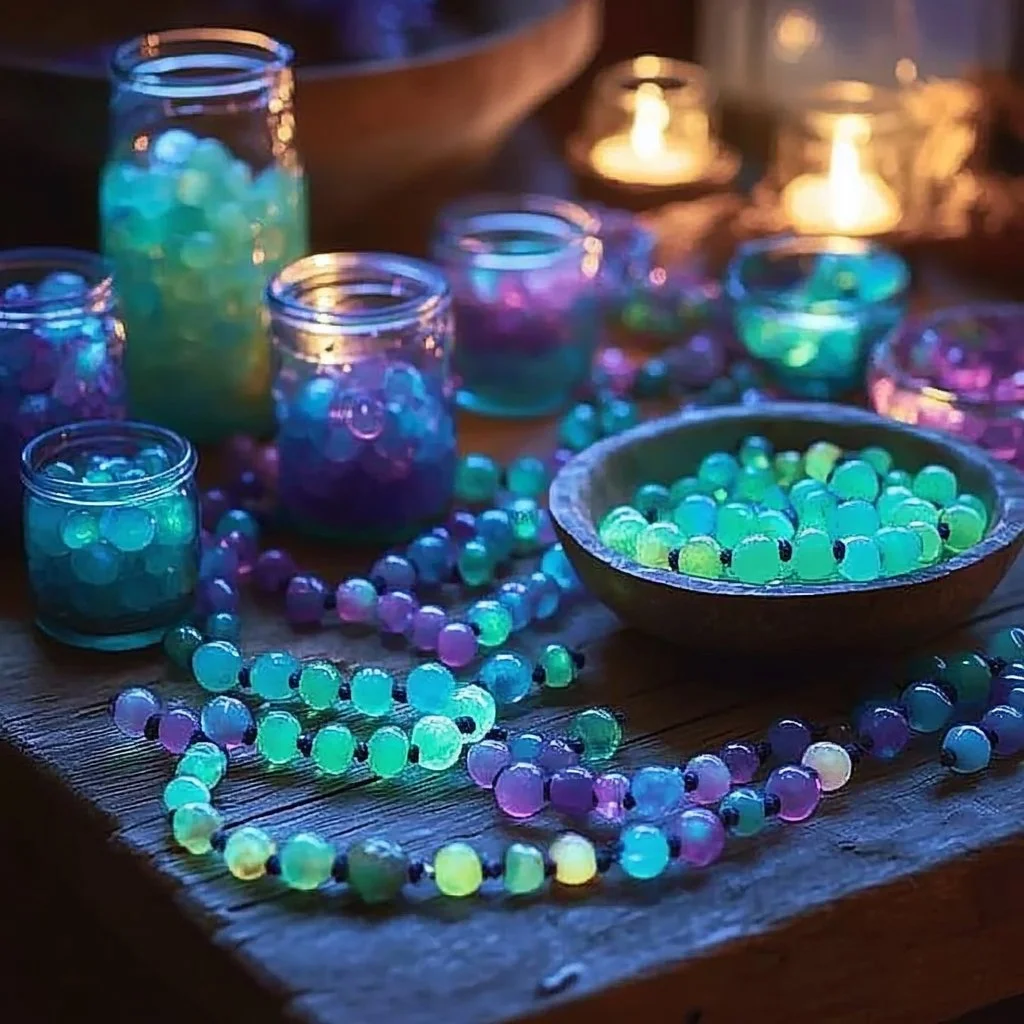
Crafting with glow-in-the-dark beads is a delightful way to add a touch of magic to your projects. These unique beads not only create stunning visual effects but also engage creativity and imagination. Perfect for children and adults alike, this craft allows you to produce beautiful jewelry, home décor, or festive decorations that shine brightly in the dark. The process is simple and fun, making it an excellent choice for gatherings, parties, or even solo crafting sessions. Let’s dive into why you’ll love these glowing gems!
Why You’ll Love This Glow-in-the-Dark Beads:
- Stunning Visuals: Create beautiful accessories that glow vividly in low light.
- Versatile Uses: Perfect for jewelry, ornaments, and other DIY projects.
- Fun Activity: Ideal for family crafting time or gatherings with friends.
- Kid-Friendly: Safe and easy for children to use under adult supervision.
- Endless Creativity: Mix and match with other materials to create unique designs.
Materials:
- Glow-in-the-dark beads (various colors)
- Elastic cord or string
- Scissors
- Bead mat or tray
- Optional: Jewelry clasps, pliers
Full Step-by-Step:
1. Prepare Your Workspace
- Choose a clean, well-lit area and lay down a bead mat to keep your beads from rolling away.
2. Create Your Design
- Start by laying out your glow-in-the-dark beads in a pattern on the mat.
- Visualize how you want the finished piece to look, continuing to rearrange until satisfied.
3. Cut the Elastic Cord
- Measure and cut a piece of elastic cord about 10 inches longer than your intended design length.
4. Thread the Beads
- Carefully thread each bead onto the elastic cord, following your design pattern.
- Feel the texture of each bead as you go; it adds a tactile element to your creation.
5. Secure the Ends
- Once all beads are on, tie a secure knot at both ends of the elastic cord.
- Optional: Use jewelry clasps for a more polished finish.
6. Charge Your Beads
- Expose your completed piece to light for at least 10-30 minutes to ensure the glow effect works effectively.
Tips & Variations:
- Customize Colors: Experiment with different colors of beads for variety.
- Swap Materials: Use wire instead of elastic for a sturdier design.
- Add Charms: Incorporate other charm beads or pendants to enhance your creation.
- Use for Events: Create themed jewelry or decorations for parties, using colors that match the occasion.
Frequently Asked Questions:
-
Can I use regular beads instead of glow-in-the-dark?
Yes, but the standout effect of glowing beads won’t be achieved. -
How do I recharge my glow-in-the-dark beads?
Simply expose them to light, either natural sunlight or a lamp, for a brief period. -
Is this craft safe for children?
Yes, as long as there is adult supervision when using cutting tools and small beads. -
What if my beads don’t glow?
Ensure they were charged in light adequately; low-quality beads may not glow effectively.
Suggestions:
- Create matching bracelets and necklaces for friends and family.
- Use glow-in-the-dark beads to embellish hair accessories like clips or headbands.
- Combine with other craft materials like loom bands or fabric for a mixed-media project.
Final Thoughts
Crafting with glow-in-the-dark beads offers a whimsical and engaging experience, perfect for people of all ages. It’s a wonderful way to tap into your creativity and make something special. Have you tried your hand at this glowing craft? We’d love to hear your thoughts or see your versions! Share your creations or leave a comment below!
Print
Glow-in-the-Dark Beads Craft
- Total Time: 15 minutes
- Yield: Variable, depending on the design
- Diet: N/A
Description
Create stunning jewelry and decorations with glow-in-the-dark beads for an engaging and magical crafting experience.
Ingredients
- Glow-in-the-dark beads (various colors)
- Elastic cord or string
- Scissors
- Bead mat or tray
- Optional: Jewelry clasps, pliers
Instructions
- Prepare Your Workspace: Choose a clean, well-lit area and lay down a bead mat to keep your beads from rolling away.
- Create Your Design: Lay out your glow-in-the-dark beads in a pattern on the mat, and rearrange until satisfied.
- Cut the Elastic Cord: Measure and cut a piece of elastic cord about 10 inches longer than your intended design length.
- Thread the Beads: Carefully thread each bead onto the elastic cord, following your design pattern.
- Secure the Ends: Tie a secure knot at both ends of the cord. Optionally, use jewelry clasps for a polished finish.
- Charge Your Beads: Expose your completed piece to light for at least 10-30 minutes to activate the glow effect.
Notes
Customize colors and experiment with materials for unique designs. Always supervise children while crafting.
- Prep Time: 15 minutes
- Cook Time: 0 minutes
- Category: Craft
- Method: Crafting
- Cuisine: N/A
Nutrition
- Serving Size: 1 craft project
- Calories: 0
- Sugar: 0g
- Sodium: 0mg
- Fat: 0g
- Saturated Fat: 0g
- Unsaturated Fat: 0g
- Trans Fat: 0g
- Carbohydrates: 0g
- Fiber: 0g
- Protein: 0g
- Cholesterol: 0mg

