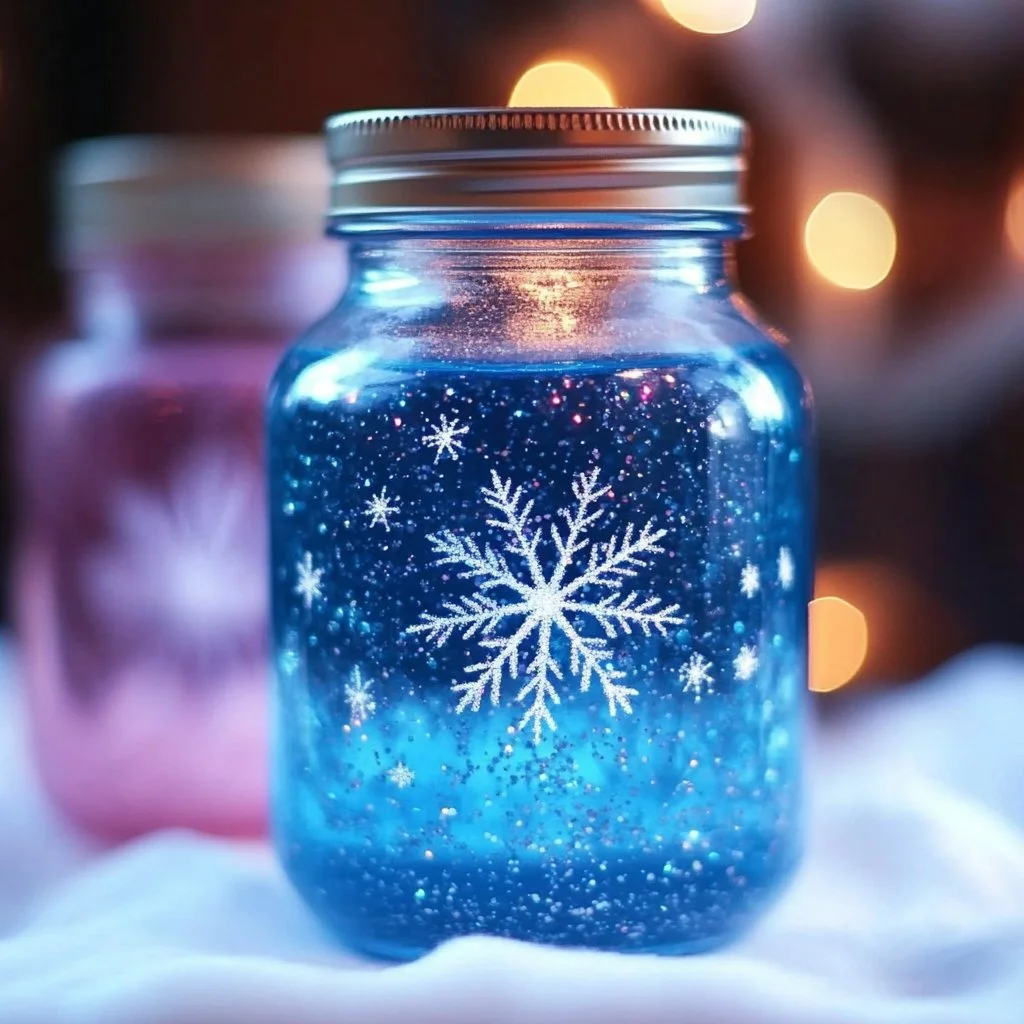
Crafting a Glitter Snow Jar is not only a delightful way to capture the beauty of winter but also a perfect opportunity for creativity. Whether you are looking to create a decorative piece for your home, a charming gift for someone special, or an engaging activity to do with children, this craft serves all these purposes and more. The mesmerizing swirling motion of glitter in clear water evokes memories of snowflakes dancing in the air, making it a captivating visual experience. Plus, it’s a relatively simple project that requires minimal materials and time, making it ideal for both beginners and seasoned crafters alike. Let’s dive into the sparkly world of Glitter Snow Jars!
Why You’ll Love This Glitter Snow Jar:
- Visual Delight: The shimmering glitter mimics falling snowflakes.
- Easy and Quick: Complete the project in under an hour.
- Customizable: Choose colors and materials to match your style.
- Fun for All Ages: A great craft to do with kids or friends.
- Perfect Gift: Handmade gifts are always cherished.
Materials:
- Clean glass jar with a lid (mason jar works well)
- Distilled water
- White glitter or snow-like glitter
- Glycerin (optional for slow movement)
- Hot glue gun and glue sticks
- Decorative items (miniature trees, figurines, etc. – optional)
Full Step-by-Step:
Prepare the Jar:
- Clean the Jar: Ensure your jar is free from dust and labels.
- Glue the Lid: Secure any decoration items (like trees or snowmen) to the inside of the lid with hot glue.
Add the Liquid:
- Fill the Jar: Pour distilled water into the jar, leaving about an inch of space at the top.
- Add Glitter: Sprinkle in a generous amount of white glitter. This will create the snow effect.
Enhance the Effect:
- Glycerin Option: If using glycerin, add a few tablespoons to thicken the water and make the glitter fall more slowly.
- Seal It Up: Carefully screw the lid back onto the jar.
Final Touches:
- Shake and Enjoy: Give the jar a gentle shake to see the glitter swirl!
- Display: Place your Glitter Snow Jar in a prominent spot to catch the light.
Tips & Variations:
- Color Choices: Experiment with different glitter colors for a festive or seasonal touch (e.g., silver for winter, pastels for spring).
- Jar Size: Use larger jars for a bigger display or smaller jars for gifts.
- Add Personal Touch: Consider including personal photos or quotes inside the jar.
- Swap Materials: Substitute water with clear glue for a thicker base.
Frequently Asked Questions:
-
Can I use regular water instead of distilled water?
- Yes, but distilled water helps prevent cloudiness.
-
What if I don’t have glycerin?
- You can skip it; the jar will still look beautiful, but the glitter will fall faster.
-
How can I clean up glitter spills?
- Use tape or a lint roller to pick up stray glitter pieces.
-
Is the Glitter Snow Jar safe for children?
- Yes, but supervision is recommended if using a hot glue gun.
Suggestions:
- Pair your Glitter Snow Jar with matching ornaments for a cohesive holiday display.
- Create a themed set of jars with different decorations for each season.
- Use an assortment of jar sizes to make a stunning centerpiece.
Final Thoughts
Crafting a Glitter Snow Jar is a fun, creative project that invites imagination and personalization. We’d love to see your creations! Share your versions of the Glitter Snow Jar in the comments below or leave a tip from your own crafting experiences. Happy crafting!
Print
Glitter Snow Jar
- Total Time: 30 minutes
- Yield: 1 jar
- Diet: N/A
Description
Craft a whimsical Glitter Snow Jar that captures the beauty of winter with swirling glitter and customizable decorations.
Ingredients
- Clean glass jar with a lid (mason jar works well)
- Distilled water
- White glitter or snow-like glitter
- Glycerin (optional for slow movement)
- Hot glue gun and glue sticks
- Decorative items (miniature trees, figurines, etc. – optional)
Instructions
- Clean the jar to ensure it is free from dust and labels.
- Secure any decorative items to the inside of the lid using a hot glue gun.
- Pour distilled water into the jar, leaving about an inch of space at the top.
- Sprinkle in a generous amount of white glitter.
- If desired, add a few tablespoons of glycerin to thicken the water and slow the movement of glitter.
- Carefully screw the lid back onto the jar.
- Shake gently to see the glitter swirl.
- Display the Glitter Snow Jar in a prominent spot to catch the light.
Notes
Experiment with different glitter colors for seasonal variations. Larger jars make for bigger displays, while smaller ones are great for gifts.
- Prep Time: 15 minutes
- Cook Time: 15 minutes
- Category: Crafts
- Method: Crafting
- Cuisine: N/A
Nutrition
- Serving Size: 1 jar
- Calories: 0
- Sugar: 0g
- Sodium: 0mg
- Fat: 0g
- Saturated Fat: 0g
- Unsaturated Fat: 0g
- Trans Fat: 0g
- Carbohydrates: 0g
- Fiber: 0g
- Protein: 0g
- Cholesterol: 0mg

