Introduction
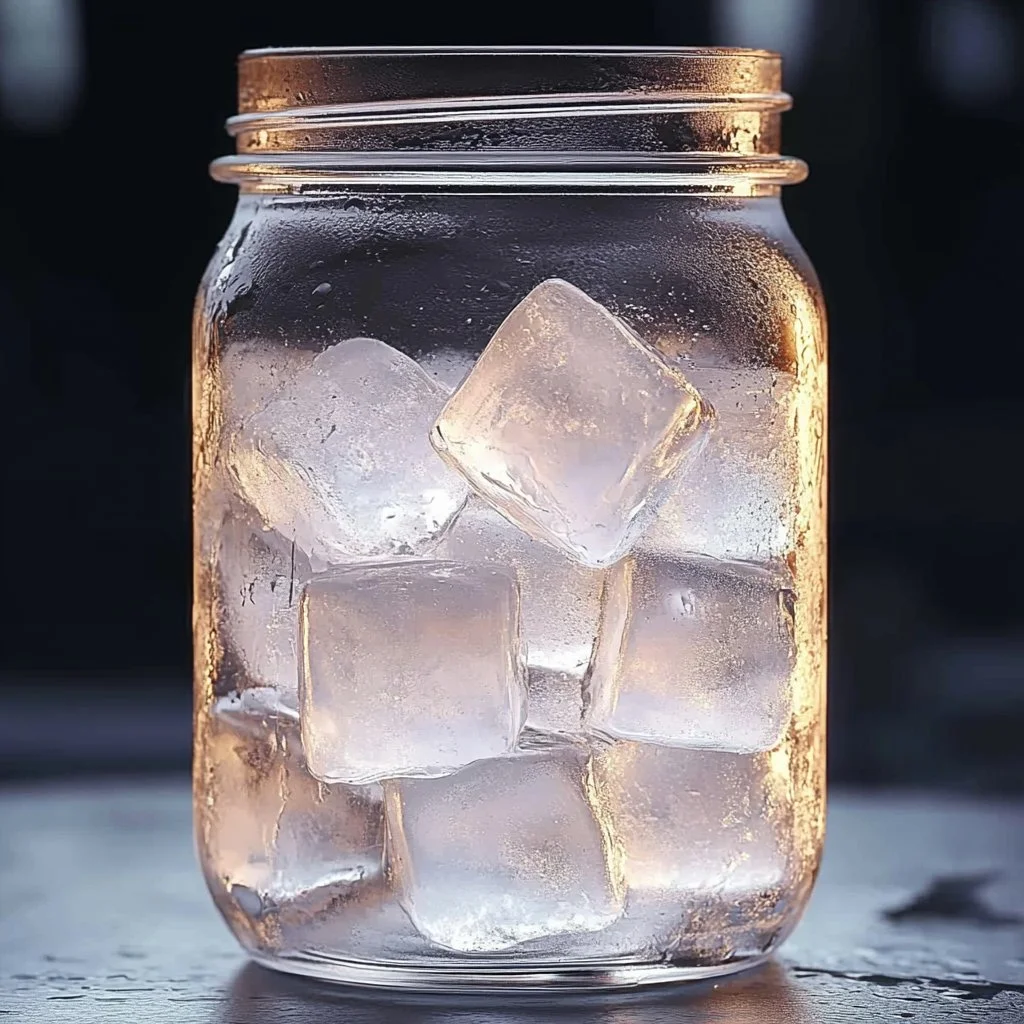
Creating your own Frost in a Jar is a delightful craft that not only sparks creativity but also brings a touch of wonder to your home. Perfect for enhancing decor or as a unique gift, this project allows you to mimic the beauty of winter’s frost in a simple, fun way. Whether you are an experienced crafter or a beginner, this recipe is approachable and enjoyable, making it a great activity for individuals or groups, such as friends and family. The result is a mesmerizing jar that catches light beautifully and adds an enchanting ambiance to any space. Get ready to embrace your creative side and bring a frosty charm indoors!
Why You’ll Love This Frost in a Jar:
- Easy to make: No advanced crafting skills required.
- Customizable: Use different colors or add personal touches.
- Great for all ages: A fun activity for kids and adults alike.
- Gifts with a personal touch: Perfect for birthdays or other special occasions.
- Decorative: Adds a whimsical touch to your home decor.
Materials:
- Clear glass jar (with or without a lid)
- White glue (school or craft glue)
- Epsom salt or fake snow
- Water
- Paintbrush
- Craft stick or spoon (for mixing)
- Glitter (optional, for extra sparkle)
- Ribbon or twine (optional, for decoration)
Full Step-by-Step:
1. Prepare the Jar
- Clean the jar: Ensure the glass jar is clean and dry.
2. Create the Frost Mixture
- Mix glue and water: In a bowl, combine equal parts of white glue and water. This will serve as the base for your frost.
3. Apply the Frost
- Brush the mixture: Using a paintbrush, apply the glue mixture generously to the outside of the jar, leaving some areas untouched for a more natural look.
4. Add the Frost
- Sprinkle Epsom salt: While the glue is still wet, sprinkle the Epsom salt (or fake snow) over the jar. Shake off any excess.
5. Add Extra Sparkle (Optional)
- Glitter time: For a shimmering effect, sprinkle glitter over the frosted areas before the glue dries.
6. Finishing Touches
- Attach ribbon: If desired, tie a ribbon or twine around the neck of the jar for a charming finish.
7. Let it Dry
- Dry completely: Allow the jar to dry for at least 24 hours before displaying or gifting it.
Tips & Variations:
- Customize Colors: Add food coloring to the glue mixture for colored frost.
- Different Sizes: Use various jar sizes to create a set of frosted jars.
- Seasonal Touches: Decorate the jar with small holiday ornaments, flowers, or seasonal accents.
Frequently Asked Questions:
-
Can I use different types of glue?
- Yes, any white craft glue will work, but avoid using glue that dries clear as it may not achieve the frosted look.
-
What if I don’t have Epsom salt or fake snow?
- You can substitute with plain table salt or sugar for a different texture.
-
Can I use these jars outdoors?
- It’s best to keep them indoors as moisture can diminish the effect over time.
-
How do I clean the jars if I want to reuse them?
- Use warm soapy water to soak and gently scrub the exterior of the jar, being careful not to damage the frost effect.
Suggestions:
- Gift Ideas: These frosted jars make lovely centerpieces or festive gifts filled with candles or fairy lights.
- Sensory Play: Discuss textures and colors with children while crafting to enhance the sensory experience.
- Themed Decor: Use multiple jars in different sizes to create a winter wonderland display.
Final Thoughts
Creating your Frost in a Jar is not just about the final product—it’s about the joy of crafting and the memories made along the way. We would love to see your versions of this enchanting decor! Share your creations in the comments or let us know if you have any tips or variations. Happy crafting!
Print
Frost in a Jar
- Total Time: 1450 minutes
- Yield: 1 frosted jar
Description
Create your own Frost in a Jar for a whimsical touch to your home decor or as a unique gift.
Ingredients
- Clear glass jar (with or without a lid)
- White glue (school or craft glue)
- Epsom salt or fake snow
- Water
- Paintbrush
- Craft stick or spoon (for mixing)
- Glitter (optional)
- Ribbon or twine (optional)
Instructions
- Clean the jar: Ensure the glass jar is clean and dry.
- In a bowl, combine equal parts of white glue and water to create the frost mixture.
- Using a paintbrush, apply the glue mixture generously to the outside of the jar, leaving some areas untouched.
- Sprinkle Epsom salt (or fake snow) over the wet glue. Shake off any excess.
- For extra sparkle, sprinkle glitter over the frosted areas before the glue dries.
- If desired, tie a ribbon or twine around the neck of the jar for a charming finish.
- Allow the jar to dry for at least 24 hours before displaying or gifting it.
Notes
Customize colors by adding food coloring to the glue mixture. Use different jar sizes for a set of frosted jars.
- Prep Time: 10 minutes
- Cook Time: 1440 minutes
- Category: Crafts
- Method: Crafting
Nutrition
- Serving Size: 1 jar

