- Introduction
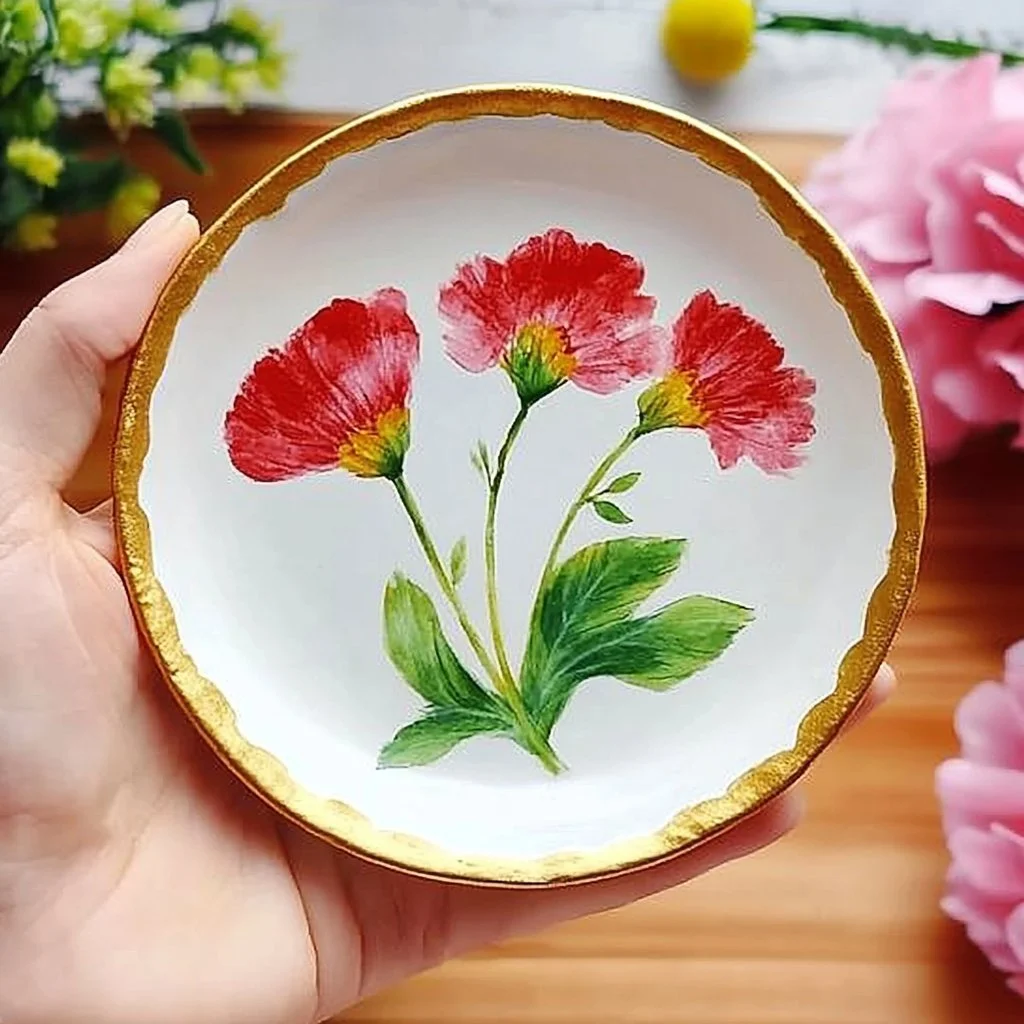
Creating your own Flower Imprint Clay Dish is a delightful way to combine creativity and practicality. This DIY project allows you to capture the beauty of nature and infuse it into a functional piece of art. The process is not only fun, but it also serves as a great way to spend time with loved ones, fostering connection through creativity. Whether you’re looking to enhance your home décor or seeking a unique handmade gift, this charming dish is an excellent choice. It’s simple enough for beginners yet allows for artistic flair, making it a fulfilling crafting experience for both kids and adults. So roll up your sleeves and get ready to explore the world of crafting with clay!
- Why You’ll Love This Flower Imprint Clay Dish
- Natural Beauty: Capture the delicate details of flowers and leaves.
- Functional Art: Use your dish to hold small items or as a decorative piece.
- Therapeutic Crafting: Engaging with clay can reduce stress and increase mindfulness.
- Customizable Designs: Choose your flowers and colors for a personal touch.
- Eco-Friendly: Use natural materials, promoting sustainability through crafting.
- Perfect for Gifting: Handmade gifts are always cherished and unique.
- Materials
- Air-dry clay (white or natural)
- Rolling pin
- Fresh flowers or leaves (e.g., daisies, ferns)
- Clay tools or a toothpick
- Baking sheet or plastic cutting board
- Acrylic paint (optional)
- Paintbrush (if painting)
- Clear sealant (optional)
- Step-by-Step Instructions
Prepare Your Work Surface
- Clean your workspace to ensure a smooth crafting experience.
- Place the baking sheet or cutting board in front of you.
Roll Out the Clay
- Take a chunk of clay and knead it until it’s soft and pliable.
- Use the rolling pin to flatten the clay to about 1/4-inch thickness.
Imprint the Flowers
- Gently press your chosen flowers or leaves onto the surface of the clay, ensuring you apply even pressure to capture the imprint.
- Carefully remove the flowers to reveal the design.
Shape the Dish
- Use your fingers to lift the edges of the clay upwards, forming a dish shape.
- Smooth out any rough edges for a polished finish.
Drying the Clay
- Place the dish on the baking sheet and let it air dry according to the manufacturer’s instructions.
- This could take anywhere from 24 to 48 hours.
Optional: Paint and Seal
- Once dry, paint your dish with acrylic paint for added color.
- For longevity, apply a clear sealant after the paint has dried.
- Tips & Variations
- Floral Choices: Experiment with different flowers for unique textures and patterns.
- Color Variations: Mix colors of clay or paint for a multi-toned effect.
- Embedding Textures: Use textured fabrics or other items alongside flowers for added detail.
- Size Considerations: Adjust the size of the clay piece based on desired functionality—small for jewelry, larger for fruit.
- Frequently Asked Questions
Q1: Can I use dried flowers instead of fresh ones?
A1: Yes, dried flowers can be used, but they may not leave as vivid an imprint as fresh ones.
Q2: What should I do if my clay cracks while drying?
A2: Cracks can often be repaired by gently smoothing damp clay over the cracks.
Q3: Is air-dry clay waterproof?
A3: Air-dry clay is not waterproof. It’s best to keep it dry and use a sealant for added protection.
Q4: Can I bake the clay to harden faster?
A4: Only specific types of clay are safe to bake. Check the instructions of the clay you are using before attempting to use heat.
- Serving Suggestions or Pairings
Serve your Flower Imprint Clay Dish with:
- A selection of artisanal cheeses or crackers.
- Fresh fruits garnished with mint.
- Candles for a cozy, decorative centerpiece.
- Potpourri for a scented option to elevate your home ambiance.
- Final Thoughts
Creating a Flower Imprint Clay Dish is not just about crafting; it’s about connecting with nature, expressing your creativity, and adding a personal touch to your space. Encourage your friends and family to join in and share their unique designs! We’d love to hear about your experiences and see your beautiful creations—feel free to leave a comment or share your version!
Print
Flower Imprint Clay Dish
- Total Time: 1440 minutes
- Yield: 1 dish
- Diet: N/A
Description
A delightful DIY project to create a functional piece of art by imprinting fresh flowers in clay.
Ingredients
- Air-dry clay (white or natural)
- Rolling pin
- Fresh flowers or leaves (e.g., daisies, ferns)
- Clay tools or a toothpick
- Baking sheet or plastic cutting board
- Acrylic paint (optional)
- Paintbrush (if painting)
- Clear sealant (optional)
Instructions
- Prepare your work surface by cleaning it and placing a baking sheet or cutting board in front of you.
- Take a chunk of clay and knead it until it’s soft and pliable, then roll it out to about 1/4-inch thickness.
- Gently press your chosen flowers or leaves onto the surface of the clay, then carefully remove the flowers to reveal the imprint.
- Shape the dish by lifting the edges of the clay upwards and smoothing out any rough edges.
- Place the dish on the baking sheet and let it air dry according to the manufacturer’s instructions (24 to 48 hours).
- Optional: Once dry, paint with acrylic paint and apply a clear sealant for longevity.
Notes
Experiment with different flowers and colors to create unique designs. Adjust the size of the clay piece based on its intended use.
- Prep Time: 15 minutes
- Cook Time: 0 minutes
- Category: Crafting
- Method: Air-drying
- Cuisine: N/A
Nutrition
- Serving Size: 1 dish
- Calories: N/A
- Sugar: N/A
- Sodium: N/A
- Fat: N/A
- Saturated Fat: N/A
- Unsaturated Fat: N/A
- Trans Fat: N/A
- Carbohydrates: N/A
- Fiber: N/A
- Protein: N/A
- Cholesterol: N/A

