- Introduction
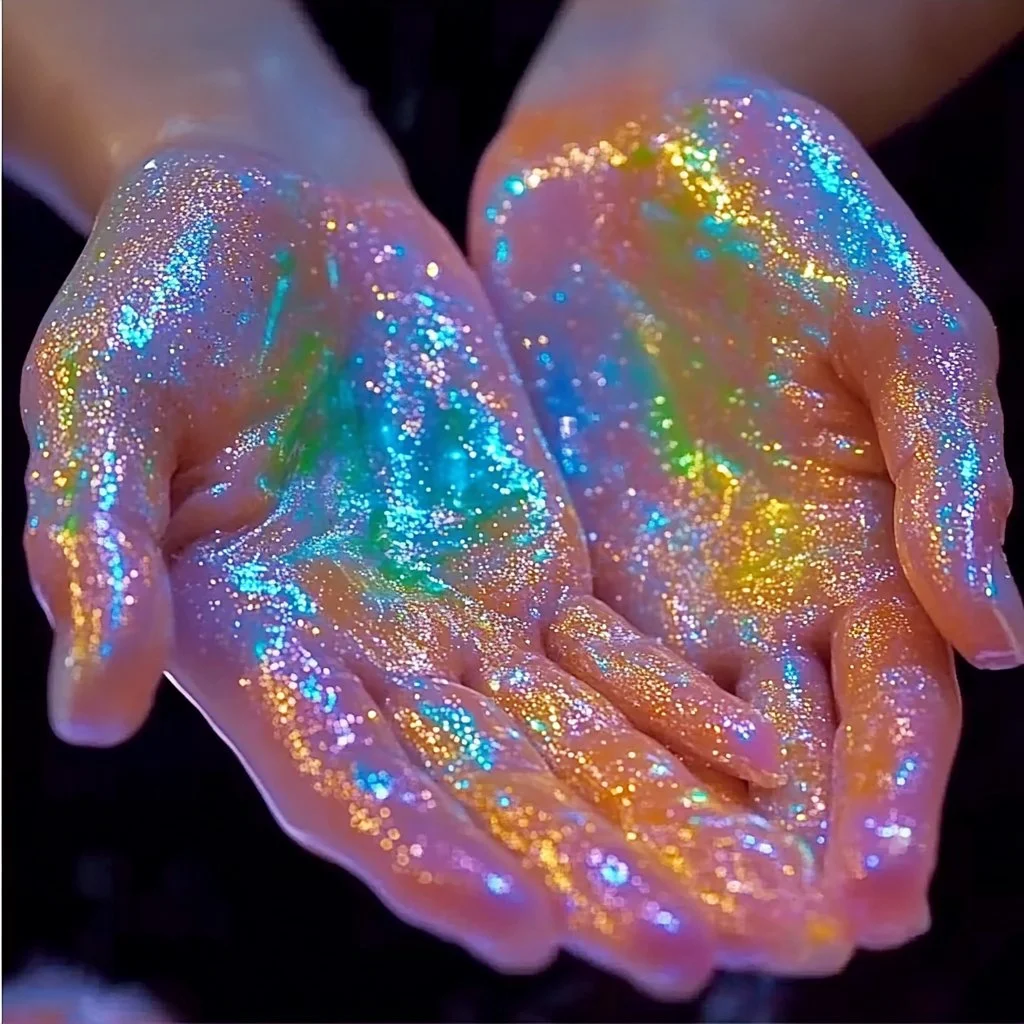
Are you ready to embark on a fun and frosty crafting adventure? Fizzing Frozen Hands is a delightful project that combines the joy of science with the excitement of art. Perfect for kids and adults alike, this craft unleashes creativity while engaging with fascinating chemical reactions. Not only do you get to create visually stunning frozen hands, but you also get to watch them fizz and bubble as the ingredients come together. It’s an engaging way to explore the world of frozen concoctions and experience the tactile nature of this chilly project. With just a few simple materials and a little bit of imagination, you can create your very own fizzy creations that will entertain and amaze anyone who sees them.
- Why You’ll Love This Fizzing Frozen Hands:
- Creative Exploration: Enjoy the artistic process of creating your own designs.
- Science in Action: Witness the exciting chemical reactions in real-time.
- Sensory Experience: Engage multiple senses with the fizzing and bubbling actions.
- Family Fun: A perfect activity to enjoy with friends or family.
- Customizable: Personalize your frozen hands with various colors and scents.
- Materials:
- Water
- Baking soda (1 cup)
- White vinegar (1 cup)
- Food coloring (various colors)
- Plastic gloves or latex gloves
- A large bowl and a squeeze bottle
- Optional: Essential oils for scent
- Full Step-by-Step:
Step 1: Prep the Gloves
- Start by filling each glove with water, leaving a little space at the top.
- Carefully add a few drops of food coloring into each glove. You can mix colors for interesting shades!
Step 2: Freeze
- Tie the gloves shut tightly to avoid any spills.
- Place the gloves in the freezer and leave them overnight to solidify completely.
Step 3: Mix the Fizz
- In a bowl, combine 1 cup of baking soda with 1 cup of vinegar.
- Pour in the baking soda slowly to create a fizzing reaction. You’ll notice bubbles forming and releasing carbon dioxide!
Step 4: Unmask the Frozen Hands
- Once frozen, carefully cut the gloves off to reveal your icy creations.
- Place your frozen hands in a shallow dish.
Step 5: Add the Fizz
- Use a squeeze bottle to drizzle the baking soda and vinegar mixture over your frozen hands.
- Watch as the magic unfolds with vibrant fizzing colors!
- Tips & Variations:
- Color Customization: Use different food coloring combinations for unique looks.
- Scent Options: Add a few drops of essential oils to the water before freezing for aromatic frozen hands.
- Different Shapes: Try using different mold shapes, such as balloons or ice trays, for variety.
- Size Variation: Create mini frozen hands using smaller gloves or balloons.
- Frequently Asked Questions:
-
Can I use other liquids instead of water?
Yes! You can experiment with fruit juices or herbal teas for added color and scent. -
What if I don’t have vinegar?
You can substitute vinegar with lemon juice, though the fizzing effect may vary slightly. -
How long do the frozen hands last?
If stored correctly in the freezer, they can last for several days. Make sure they are well-sealed! -
Can this project be done outdoors?
Absolutely! Doing this project outside can be a fun way to enjoy the summer sun or a snowy winter day.
- Suggestions:
- For an extra layer of fun, use glow-in-the-dark food coloring or add glitter to the baking soda mixture.
- Host a party where everyone creates their own designs, culminating in a spectacular fizzing display!
- Use themed colors for holidays (like red and green for Christmas or pastels for Easter) to celebrate with flair.
- Final Thoughts
Fizzing Frozen Hands is not just a craft; it’s an engaging blend of science and creativity that brings joy to all ages. We would love to hear about your own creations or any unique variations you tried! Share your experiences in the comments below, and let’s continue to inspire each other with our crafting adventures!

Fizzing Frozen Hands
- Total Time: 1440 minutes
- Yield: Several frozen hands
- Diet: Not Applicable
Description
Create visually stunning frozen hands with fizzing effects using simple materials for a fun science and art project.
Ingredients
- Water
- 1 cup Baking soda
- 1 cup White vinegar
- Food coloring (various colors)
- Plastic gloves or latex gloves
- A large bowl
- A squeeze bottle
- Optional: Essential oils for scent
Instructions
- Prep the Gloves: Fill each glove with water and add food coloring.
- Freeze: Tie the gloves shut and place them in the freezer overnight.
- Mix the Fizz: Combine baking soda and vinegar in a bowl to create a fizzing reaction.
- Unmask the Frozen Hands: Cut off the gloves to reveal the frozen hands.
- Add the Fizz: Drizzle the baking soda and vinegar mixture over the frozen hands and watch them fizz.
Notes
Consider customizing colors and scents for unique designs. Use glow-in-the-dark food coloring for added fun.
- Prep Time: 15 minutes
- Cook Time: 0 minutes
- Category: Crafts
- Method: Freezing
- Cuisine: Not Applicable
Nutrition
- Serving Size: 1 frozen hand
- Calories: 0
- Sugar: 0g
- Sodium: 0mg
- Fat: 0g
- Saturated Fat: 0g
- Unsaturated Fat: 0g
- Trans Fat: 0g
- Carbohydrates: 0g
- Fiber: 0g
- Protein: 0g
- Cholesterol: 0mg

