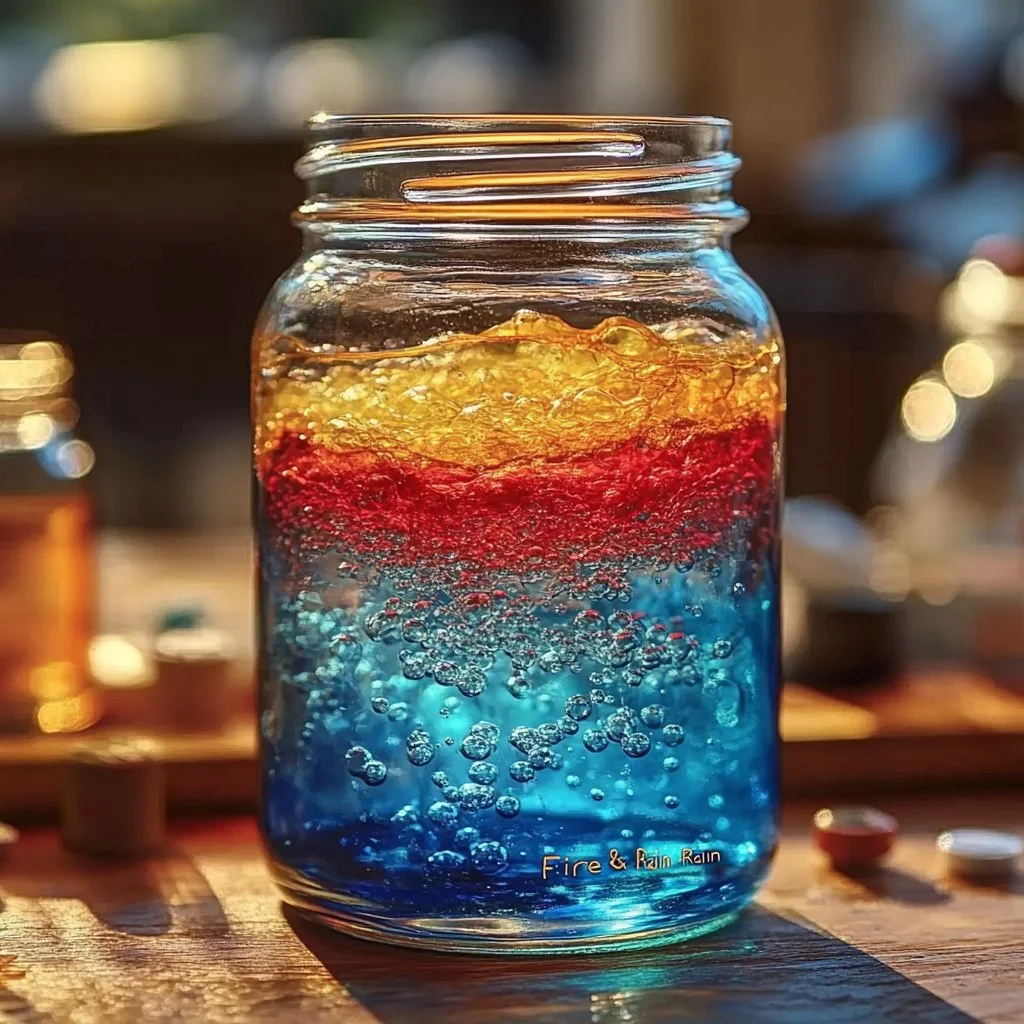
Creating a Fire & Rain Rainbow in a Jar is not just an enjoyable DIY project; it’s an opportunity to experience the magic of color blending and sensory exploration. This vibrant activity is the perfect way to introduce a splash of creativity into your day, whether you’re a parent looking for a fun craft with the kids or an adult seeking a relaxing and artistic outlet. By layering colorful liquids in a jar, you will not only witness a beautiful visual display but also delve into scientific concepts like density and solubility. It’s a fantastic way to engage curiosity while having fun!
Gather your materials, clear some space, and let’s create a stunning rainbow effect that is sure to inspire awe and spark joy. This rainbow jar can also serve as a beautiful decoration or a thoughtful gift for friends and family. Get ready to embrace the colors of the rainbow!
Why You’ll Love This Fire & Rain Rainbow In A Jar
- Educational: Learn about density and color mixing.
- Visually Stunning: Create a beautiful layered effect.
- Customizable: Use your favorite colors and liquids.
- Fun for All Ages: Suitable for kids and adults alike.
- Quick & Easy: Simple steps that ensure success.
- Great for Gifts: A unique handmade present that delights.
Materials
- Clear glass jar or plastic container
- Water
- Food coloring (various colors)
- Vegetable oil
- Honey or corn syrup
- Light corn syrup
- Small measuring cups
- Spoon for stirring
- Funnel (optional)
Step-by-Step Instructions
Prepare Your Base Liquid
- Fill a Measuring Cup: Begin by filling a cup with water.
- Add Food Coloring: Mix in a few drops of your chosen food coloring until you achieve your desired shade.
- Set Aside: Repeat this step for multiple colors and set them aside.
Layer the Ingredients
-
Start with Honey/Syrup: Carefully pour the honey or corn syrup into your jar as the bottom layer. Use a funnel to avoid spills.
- Sensory Cue: Notice how thick and sticky it is as you pour.
-
Add Colored Water: Slowly pour the colored water over the back of a spoon. This technique helps to create distinct layers.
- Key Action: Pour gently to maintain the layering.
-
Layer Vegetable Oil: After the water layer, add the vegetable oil in the same manner.
- Visual Cue: Watch how the oil creates another layer above the water.
-
Repeat with Remaining Colors: Continue layering your colored waters and oil until the jar is full.
Final Touches
- Seal & Display: Once you’re done, seal the jar with a lid or leave it open for display.
- Admire Your Creation: Enjoy the sight of your rainbow jar and the layers you’ve created!
Tips & Variations
- Color Choices: Experiment with different color combinations to match themes or holidays.
- Swap Ingredients: Use glitter gel or colored gelatin instead of food coloring for a sparkly finish.
- Alternative Liquids: Substitute vegetable oil with mineral oil for a different effect.
- Layering Technique: Try pouring the liquids from different heights to create varied layering effects.
Frequently Asked Questions
Q: Can I use any type of jar?
A: Yes, you can use any clear container, but a glass jar works best for visibility.
Q: What happens if the layers mix?
A: Mixing may occur if poured too quickly; to prevent this, always pour gently over a spoon.
Q: How long will my rainbow jar last?
A: The rainbow jar can last for a long time if sealed properly. However, the colors may fade over time.
Q: Can I use different colored oils?
A: While most oils are clear, you can try infusing oils with colors, but results may vary.
Serving Suggestions or Pairings
Enjoy your rainbow jar as part of a fun craft afternoon with lemonade or fruit juices. It pairs wonderfully with light snacks like popcorn or rainbow fruit skewers for a colorful treat!
Final Thoughts
Creating a Fire & Rain Rainbow in a Jar is a delightful way to explore colors and enjoy crafting. Whether it’s a solo activity or a family project, the end result is sure to bring joy and inspiration. We’d love to hear about your rainbow jar creations! Feel free to share your versions or leave a comment below!
Print
Fire & Rain Rainbow in a Jar
- Total Time: 10 minutes
- Yield: 1 rainbow jar
- Diet: N/A
Description
A vibrant DIY project that combines fun and education by creating a stunning rainbow effect with layered liquids.
Ingredients
- Clear glass jar or plastic container
- Water
- Food coloring (various colors)
- Vegetable oil
- Honey or corn syrup
- Light corn syrup
- Small measuring cups
- Spoon for stirring
- Funnel (optional)
Instructions
- Fill a measuring cup with water and mix in a few drops of food coloring to achieve your desired shade. Set aside.
- Pour the honey or corn syrup into the jar as the bottom layer, using a funnel if needed.
- Slowly pour the colored water over the back of a spoon to create distinct layers.
- Add the vegetable oil in the same manner.
- Continue layering until the jar is full using remaining colors.
- Seal the jar or leave it open for display and enjoy your rainbow creation.
Notes
Experiment with color combinations and alternative liquids for different effects.
- Prep Time: 10 minutes
- Cook Time: 0 minutes
- Category: Craft
- Method: DIY Project
- Cuisine: N/A
Nutrition
- Serving Size: 1 jar
- Calories: 150 (estimated based on ingredients used)
- Sugar: 25g (estimated based on honey/syrup)
- Sodium: 0mg
- Fat: 0g
- Saturated Fat: 0g
- Unsaturated Fat: 0g
- Trans Fat: 0g
- Carbohydrates: 38g
- Fiber: 0g
- Protein: 0g
- Cholesterol: 0mg

