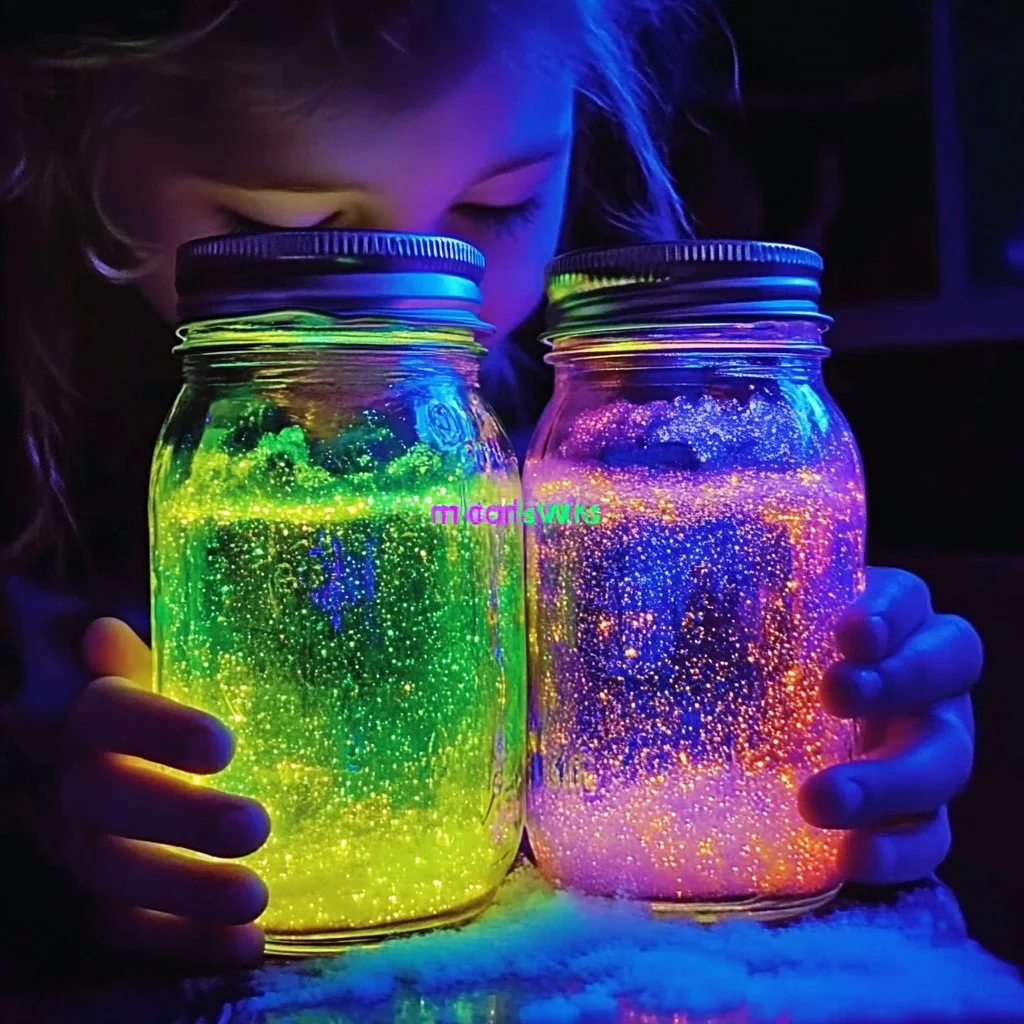
Creating a fairy jar is a delightful way to bring a touch of whimsy and magic into your home. Perfect for kids and adults alike, fairy jars can serve as enchanting decor or as a magical gift for someone special. The process of crafting your very own fairy jar fosters creativity and imagination, making it a wonderful shared activity for families or a solo endeavor for those craving a bit of calm and focus. You can fill your jar with glowing lights, charming figurines, or even whimsical natural elements, making each jar a unique reflection of your personal style. With just a few materials and some simple steps, you can create a soothing glow that captures the essence of fairy tales. Let’s get started on this magical adventure!
Why You’ll Love This Fairy Jar:
- Endless Creativity: Customize your design with colors, lights, and elements.
- Soothing Ambiance: The soft glow provides a calming atmosphere.
- Perfect Gift: A unique and thoughtful present for friends and family.
- Easy to Make: Suitable for all skill levels; fun for all ages!
- Eco-Friendly Option: Use materials you already have at home to create something beautiful.
Materials:
- Clear glass jar (any size)
- LED fairy lights or glow-in-the-dark paint
- Decorative elements (e.g., glitter, small figurines, artificial flowers)
- Craft glue or hot glue gun
- Optional: colored paper or fabric for embellishments
- Scissors
- Battery pack for lights (if using LED fairy lights)
Full Step-by-Step:
Prepare Your Jar
- Wash and Dry: Ensure your glass jar is clean and completely dry before starting.
- Choose Your Base: If using glow-in-the-dark paint, apply an even coat inside the jar and let it dry as per instructions.
Add Fairy Elements
- Layering: Place decorative elements like glitter at the bottom of the jar for a sparkling effect.
- Position Figurines: Arrange any small figurines or embellishments strategically to create depth and interest.
Insert Lights
- Lights First: If using LED fairy lights, carefully insert them into the jar, making sure the battery pack remains accessible.
- Secure: Use glue to secure the lights in place if necessary.
Final Touches
- Cover the Jar: If desired, use colored paper or fabric to wrap around the jar for added texture. Secure with glue.
- Switch On: Once everything is set, turn on the lights to see your fairy jar glow!
Tips & Variations:
- Customize Colors: Use colored lights or materials to match your home decor.
- Swap Materials: Try natural elements like pebbles or dried flowers instead of glitter.
- Size Variation: Experiment with different jar sizes for varying effects.
- Themed Jars: Create holiday-themed fairy jars using seasonal decorations.
Frequently Asked Questions:
Q1: What type of jar is best for a fairy jar?
A: A clear glass jar is ideal, but you can also use plastic jars or bottles. The key is transparency to showcase the lights!
Q2: Can I use regular LED lights instead of fairy lights?
A: Yes, but ensure they fit inside the jar, and be cautious about heat if using traditional bulbs.
Q3: How can I make my fairy jar sparkle more?
A: Use larger amounts of glitter or glass beads; adding layers can enhance the sparkle effect.
Q4: What if I don’t have glow-in-the-dark paint?
A: You can skip this step or use glitter instead for a different aesthetic.
Suggestions:
- Themed Fairy Jars: Create a winter wonderland with white and silver decor or a summer garden jar with vivid flowers.
- Utilizing Recyclables: Use leftover materials from other crafts to make it an eco-friendly project.
Final Thoughts
Making a fairy jar is a simple yet captivating project that brings a slice of magic into everyday life. We hope you enjoy creating your own unique version. Feel free to share your creations or leave a comment below with your thoughts and any variations you tried! Happy crafting!
Print
Fairy Jar
- Total Time: 15 minutes
- Yield: 1 jar
- Diet: N/A
Description
Create your very own enchanting fairy jar, a whimsical decor piece that adds a magical touch to your home.
Ingredients
- Clear glass jar (any size)
- LED fairy lights or glow-in-the-dark paint
- Decorative elements (e.g., glitter, small figurines, artificial flowers)
- Craft glue or hot glue gun
- Optional: colored paper or fabric for embellishments
- Scissors
- Battery pack for lights (if using LED fairy lights)
Instructions
- Wash and dry the glass jar thoroughly.
- If using glow-in-the-dark paint, apply an even coat inside the jar and let it dry.
- Place decorative elements like glitter at the bottom of the jar for a sparkling effect.
- Arrange any small figurines or embellishments inside the jar.
- If using LED fairy lights, carefully insert them into the jar, keeping the battery pack accessible.
- Secure the lights in place with glue if necessary.
- If desired, wrap the jar with colored paper or fabric and secure it with glue.
- Turn on the lights to see your fairy jar glow!
Notes
Feel free to customize your fairy jar with different colors and materials to match your decor or theme. Use natural elements for a unique twist.
- Prep Time: 15 minutes
- Cook Time: 0 minutes
- Category: Craft
- Method: Crafting
- Cuisine: N/A
Nutrition
- Serving Size: 1 jar
- Calories: 0
- Sugar: 0g
- Sodium: 0mg
- Fat: 0g
- Saturated Fat: 0g
- Unsaturated Fat: 0g
- Trans Fat: 0g
- Carbohydrates: 0g
- Fiber: 0g
- Protein: 0g
- Cholesterol: 0mg

