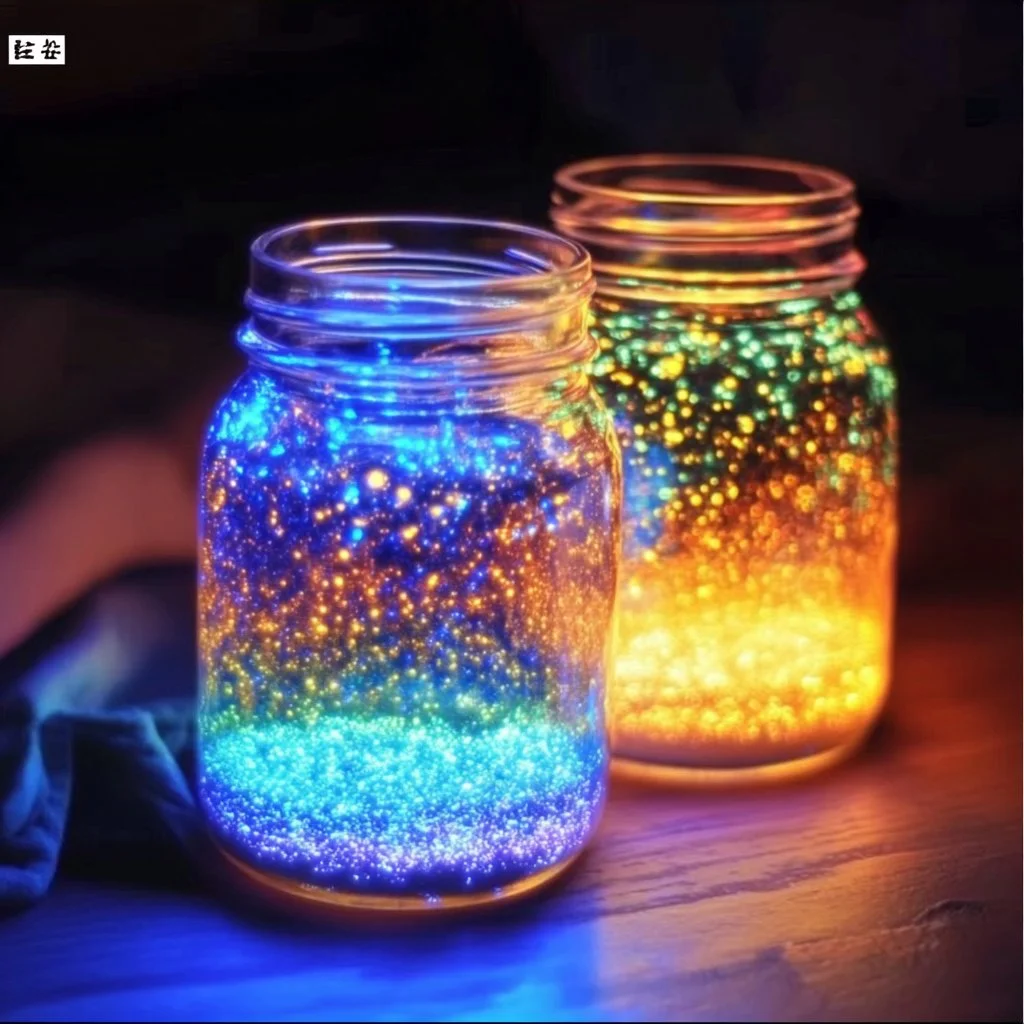
Creating enchanting little worlds with "Fairies in a Jar" is a delightful craft project that sparks creativity and imagination. This whimsical endeavor allows you to design your own miniature fairy realm using simple materials you may already have at home. Whether it’s for your own enjoyment, a unique gift, or an engaging activity with kids, building your fairy jar provides an opportunity to unwind while crafting something beautiful. Each jar becomes a personal expression of art, infused with magic and charm, capturing the essence of fairies nestled in a cozy space. With just a little imagination and some basic supplies, you can transform a simple jar into a captivating wonderland — a perfect reminder of the magic around us.
Why You’ll Love This Fairies in a Jar:
- Creativity Unleashed: Personalize your fairy jar to reflect your imagination.
- Perfect for All Ages: Suitable for kids and adults alike, encouraging collaboration.
- Simple Materials: Uses easy-to-find and inexpensive supplies.
- Sensory Experience: Engage multiple senses through colors, textures, and scents.
- Unique Home Décor: Adds a whimsical touch to any room.
- Thoughtful Gift: A charming gift for friends and family on any occasion.
Materials:
- A clear glass jar with a lid (mason jar or baby food jar)
- Small faux flowers or dried flowers
- Miniature fairy figurines or toys
- Glitter or fairy dust
- Colored sand or pebbles
- Craft glue
- Optional: LED fairy lights
- Optional: Small stones or crystals
- Optional: Moss or artificial grass
Full Step-by-Step:
Prepare Your Jar
- Clean and Dry: Ensure your jar is clean and dry before you start assembling your craft.
- Choose a Base Layer: Lay down a thin layer of colored sand or pebbles at the bottom for texture.
Add Natural Elements
- Floral Arrangement: Place small faux flowers or dried flowers on top of your base layer. Arrange them to create a natural, magical garden look.
- Include Consistent Texture: Add moss or artificial grass for a more woodland feel.
Introduce the Fairies
- Add Fairy Figurine: Position your miniature fairy or toy in a focal point to draw the eye.
- Create a Scene: You can position other decorative elements like small stones or crystals around the fairy.
Add Sparkle
- Sprinkle Glitter: Lightly sprinkle glitter or fairy dust to create a shimmering effect, simulating magical fairy dust.
Final Touches
- Seal & Glow: If using LED fairy lights, consider placing them inside the jar and then securing the lid to keep your fairy world safe.
- Display: Once complete, display your fairy jar in a spot where it can be admired!
Tips & Variations:
- Swap Fairy Figurines: Use different themes (e.g., winter wonderland with snowflakes or autumn with leaves).
- Personalize with Colors: Pick specific colors for your flowers, sand, and decorations to match your home décor.
- Use Natural Elements: Incorporate twigs or real flowers (ensure they are dried) for a more organic feel.
- Add a Personal Message: Include a small note inside the jar as a surprise for someone special.
Frequently Asked Questions:
Q1: Can I use real flowers instead of faux?
A1: Yes, but make sure the flowers are dried to avoid mold and decay.
Q2: What if I don’t have miniature figurines?
A2: You can create your fairies using colored paper, felt, or even family photos.
Q3: How can I add lighting to my jar?
A3: Use LED fairy lights, making sure they’re battery-operated for safety.
Q4: What’s the best way to clean the jar?
A4: Rinse the jar with warm soapy water and allow it to dry completely before starting your craft.
Suggestions:
- Create a Series: Make different jars for various seasons or holidays.
- Host a Craft Night: Gather friends or family for a fun crafting evening.
- Use for Parties: Use fairy jars as centerpieces or party favors for a fairy-themed event.
Final Thoughts
Crafting your own "Fairies in a Jar" is a delightful way to bring a bit of magic into your life. We encourage you to share your unique versions and any variations you’ve tried in the comments below — let’s inspire each other with creativity!
Print
Fairies in a Jar
- Total Time: 30 minutes
- Yield: 1 fairy jar
- Diet: N/A
Description
A delightful craft project transforming a simple jar into a miniature fairy realm using easy-to-find materials.
Ingredients
- A clear glass jar with a lid (mason jar or baby food jar)
- Small faux flowers or dried flowers
- Miniature fairy figurines or toys
- Glitter or fairy dust
- Colored sand or pebbles
- Craft glue
- Optional: LED fairy lights
- Optional: Small stones or crystals
- Optional: Moss or artificial grass
Instructions
- Ensure your jar is clean and dry before starting.
- Lay down a thin layer of colored sand or pebbles at the bottom of the jar.
- Place small faux flowers or dried flowers on top of your base layer.
- Add moss or artificial grass for texture.
- Position your miniature fairy or toy in a focal point.
- Add decorative elements like small stones or crystals around the fairy.
- Lightly sprinkle glitter or fairy dust for a shimmering effect.
- If using LED fairy lights, place them inside the jar and secure the lid.
- Display your finished fairy jar in a spot where it can be admired!
Notes
Try different themes or colors to personalize your fairy jar. Incorporate natural elements for an organic feel.
- Prep Time: 30 minutes
- Cook Time: 0 minutes
- Category: Craft
- Method: Crafting
- Cuisine: N/A
Nutrition
- Serving Size: 1 jar
- Calories: 0
- Sugar: 0g
- Sodium: 0mg
- Fat: 0g
- Saturated Fat: 0g
- Unsaturated Fat: 0g
- Trans Fat: 0g
- Carbohydrates: 0g
- Fiber: 0g
- Protein: 0g
- Cholesterol: 0mg

