Introduction
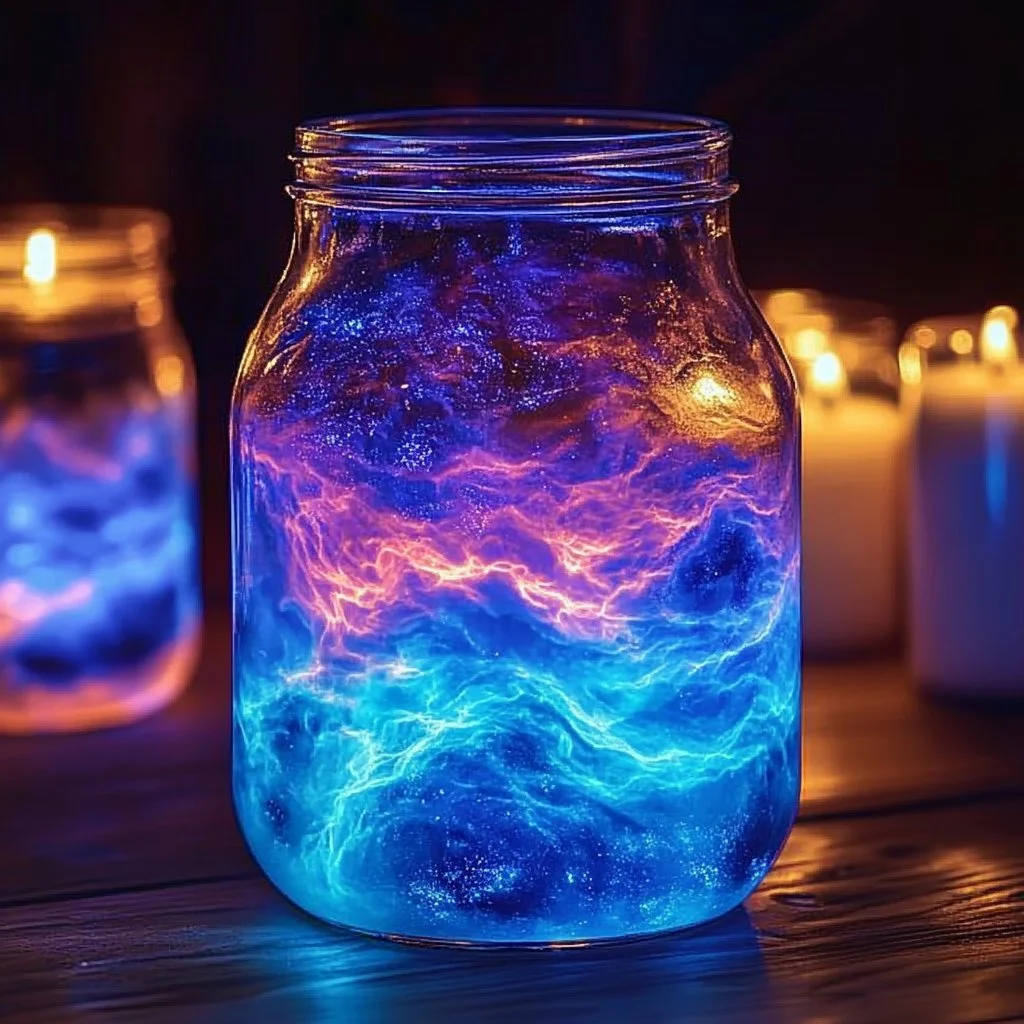
Creating your own electrified thunder glow jars is not only a fun and engaging DIY project, but it also doubles as an enchanting decoration for your home. Perfect for parties, kids’ rooms, or simply to brighten up your living space, these glow jars harness the beauty of luminescence and the magic of creativity. With just a few materials and straightforward steps, you can transform simple jars into captivating light features that flicker and shimmer with a thunderous glow. Whether you’re looking to impress guests at your next gathering or craft a calming night light, these jars are sure to spark joy and wonder. Let’s dive into the electrifying journey of creating these mesmerizing glow jars!
Why You’ll Love This ELECTRIFIED THUNDER GLOW JARS
- Captivating Visual Appeal: The glow creates a magical ambiance in any room.
- Easy to Craft: Simple materials and straightforward steps make it beginner-friendly.
- Customizable Designs: Personalize with different colors and textures.
- Safe and Non-Toxic: Use materials that are safe for adults and kids alike.
- Perfect for Any Occasion: Suitable for parties, holidays, or everyday décor.
- Great for STEM Learning: Introduces concepts of light and color to kids.
Materials
- Clear glass jars (mason jars or similar)
- Glow-in-the-dark paint (in desired colors)
- Paintbrushes
- Black light or UV light (for maximum glow effect)
- Optional: glitter, stones, or small decorations
Step-by-Step Instructions
Prepare Your Workspace
- Work in an area that can get a little messy, as paint may splatter.
- Lay down newspaper or a plastic sheet to protect surfaces.
Paint the Jars
- Use a paintbrush to apply the glow-in-the-dark paint evenly on the inside of the jar.
- For added texture, sprinkle glitter while the paint is still wet.
Let It Dry
- Allow the jars to dry fully according to the paint instructions, usually 2-4 hours.
- Tip: Place them in direct sunlight for a short while to maximize glow effect later on.
Charge the Glow
- Once dry, place the jars under a black light or sunlight for at least 10 minutes to "charge" the glow.
- After charging, you’ll see them radiate beautifully in the dark.
Tips & Variations
- Customize Colors: Mix different glow paints to create new colors.
- Add Texture: Insert small stones or marbles for a unique aesthetic.
- Use Different Jar Sizes: Experiment with small vases or larger containers for varied effects.
- Combine with Other Decor: Incorporate fairy lights or ribbons around the jars for added flair.
Frequently Asked Questions
1. Can I use any type of paint?
Yes, but make sure it is specifically glow-in-the-dark paint for the best results.
2. How long does the glow last?
The glow duration can vary; typically, it will last for several hours depending on how well the jars are charged.
3. Can children help with this project?
Absolutely! Just provide supervision with the paint and black light to ensure safety.
4. What if I don’t have a black light?
Sunlight works well, too! Just ensure the jars are in direct sunlight for optimal charging.
Serving Suggestions or Pairings
- Pair your electrified glow jars with themed cocktails or mocktails for a stunning party setup.
- Use them as centerpieces alongside finger foods or dessert tables.
- Enhance their effect by placing them next to candles for a cozy ambiance.
Final Thoughts
Creating electrified thunder glow jars is a delightful way to experiment with art and light. Not only can you create a mesmerizing atmosphere, but you also have a chance to express your creativity. Whether you follow the steps exactly or customize the project to fit your style, these jars are bound to capture attention. We would love to see your creations! Please share your versions in the comments below or let us know how your glow jars turned out!
Print
Electrified Thunder Glow Jars
- Total Time: 15 minutes
- Yield: Multiple jars
- Diet: N/A
Description
Create captivating glow-in-the-dark jars that double as enchanting home decorations and fun craft projects.
Ingredients
- Clear glass jars (mason jars or similar)
- Glow-in-the-dark paint (in desired colors)
- Paintbrushes
- Black light or UV light (for maximum glow effect)
- Optional: glitter, stones, or small decorations
Instructions
- Prepare Your Workspace: Work in a messy area and lay down newspaper or a plastic sheet.
- Paint the Jars: Use a paintbrush to apply glow-in-the-dark paint evenly inside the jar; add glitter for texture while the paint is wet.
- Let It Dry: Allow jars to dry fully (2-4 hours), possibly in direct sunlight for enhanced glow effect.
- Charge the Glow: Place jars under a black light or in sunlight for at least 10 minutes to charge the glow.
Notes
Customize colors and add textures with stones for unique aesthetic effects. Supervise children during the project for safety.
- Prep Time: 15 minutes
- Cook Time: 0 minutes
- Category: DIY Crafts
- Method: Crafting
- Cuisine: N/A
Nutrition
- Serving Size: 1 jar
- Calories: N/A
- Sugar: N/A
- Sodium: N/A
- Fat: N/A
- Saturated Fat: N/A
- Unsaturated Fat: N/A
- Trans Fat: N/A
- Carbohydrates: N/A
- Fiber: N/A
- Protein: N/A
- Cholesterol: N/A

