Introduction
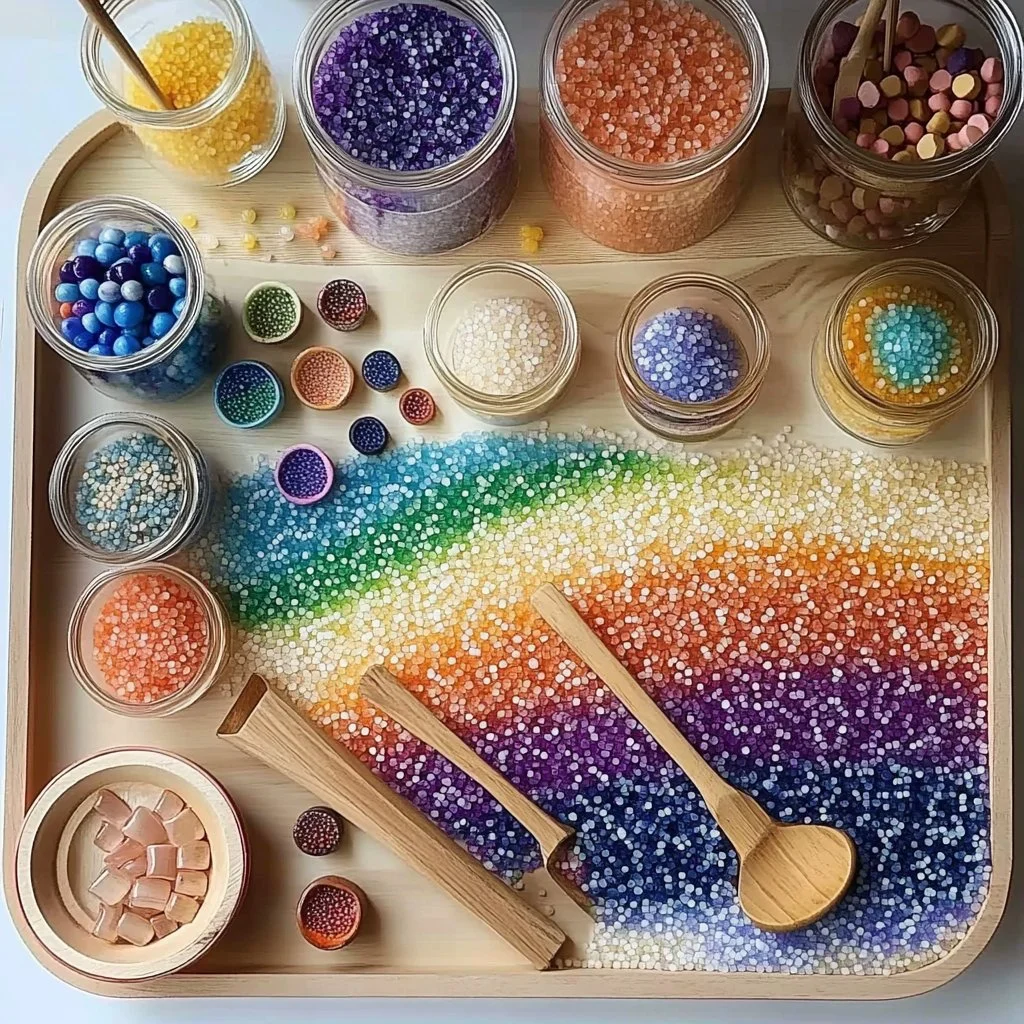
Dyed rice is a vibrant, fun, and sensory-rich craft that engages both kids and adults alike. Perfect for crafty afternoons or as an engaging educational activity, creating dyed rice can enhance children’s fine motor skills and stimulate their creativity. Furthermore, the colorful rice can be used in a multitude of ways— from filling sensory bins to creating art projects or homemade ornaments. Unlike store-bought products, making your own dyed rice allows you to choose colors and scents, tailoring the experience to your preferences. It’s simple, safe, and requires minimal materials, making it an ideal weekend project. In this guide, you’ll find everything you need to know to embark on this crafty endeavor and unleash your inner artist!
Why You’ll Love This Dyed Rice:
- Vibrant Colors: Create a rainbow of colors with simple ingredients.
- Sensory Play: Ideal for sensory bins, providing tactile stimulation.
- Educational: Engages children in learning about colors and measurements.
- Customizable: Easily adjust colors, scents, and textures to your liking.
- Budget-Friendly: A low-cost activity using ingredients you likely already have.
- Fun for All Ages: Enjoyable for both kids and adults; perfect for family bonding.
Materials:
- 1 cup of uncooked white rice
- 1 tablespoon of vinegar
- Food coloring (various colors)
- Resealable plastic bags (quart-sized or larger)
- Baking sheet or tray
- Parchment paper or wax paper (optional for drying)
Full Step-by-Step:
Step 1: Prepare the Rice
- Begin by measuring 1 cup of uncooked white rice.
- Pour the rice into a resealable plastic bag.
Step 2: Add the Coloring
- Drizzle 1 tablespoon of vinegar into the bag. This helps the color adhere to the rice.
- Add 5-10 drops of your chosen food coloring to the bag. The more drops, the more intense the color!
Step 3: Mix It Up
- Seal the bag tightly.
- Shake vigorously until all the rice is evenly coated with color.
Step 4: Dry the Rice
- Spread the dyed rice onto a baking sheet lined with parchment paper.
- Allow it to dry for 30 minutes to an hour.
Step 5: Store or Use
- Once dry, store the dyed rice in an airtight container or use it for your craft projects immediately.
Tips & Variations:
- Color Mixing: Experiment by mixing different food coloring to create unique shades.
- Scented Rice: Add a few drops of essential oils in the mixing bag to infuse your dyed rice with lovely scents.
- Texture Additions: Mix in small beads, glitter, or dried herbs for an interesting texture.
- Bulk Batching: Multiply the recipe to create larger quantities for events or playdates.
Frequently Asked Questions:
Q1: Can I use brown rice instead?
A1: Yes, but the color might not be as vibrant since brown rice is more porous.
Q2: What if I don’t have vinegar?
A2: You can substitute vinegar with rubbing alcohol, or simply use water, but the color may not stick as well.
Q3: How should I store leftover dyed rice?
A3: Store it in an airtight container away from direct sunlight to maintain color.
Q4: Is it safe for young children?
A4: While dyed rice is generally safe, it should be supervised as it can pose a choking hazard.
Suggestions:
- Use dyed rice in sensory bins for toddlers, mixing it with scoops and small toys.
- Create beautiful layered jars by layering different colors of rice for decorative pieces.
- Use the dyed rice in craft projects, like filling homemade greeting cards or ornaments.
Final Thoughts
Creating dyed rice is not just a fun craft, but also a fantastic way to express your creativity and engage your senses. Whether you’re forming new sensory play activities or crafting colorful artworks, the possibilities are endless. We’d love to hear about your experiences and variations! Please share your creations or leave a comment below!
Print
How to Make Dyed Rice
- Total Time: 45 minutes
- Yield: 1 cup dyed rice 1x
- Diet: N/A
Description
A fun and sensory-rich craft for all ages, perfect for engaging kids and enhancing creativity through vibrant dyed rice.
Ingredients
- 1 cup uncooked white rice
- 1 tablespoon vinegar
- Food coloring (various colors)
- Resealable plastic bags (quart-sized or larger)
- Baking sheet or tray
- Parchment paper or wax paper (optional for drying)
Instructions
- Begin by measuring 1 cup of uncooked white rice.
- Pour the rice into a resealable plastic bag.
- Drizzle 1 tablespoon of vinegar into the bag, and add 5-10 drops of food coloring.
- Seal the bag tightly and shake vigorously until the rice is evenly coated.
- Spread the dyed rice onto a baking sheet lined with parchment paper and allow it to dry for 30 minutes to an hour.
- Once dry, store the dyed rice in an airtight container or use it immediately for craft projects.
Notes
Experiment with color mixing and scented variations by adding essential oils. Consider mixing in small beads or glitter for texture.
- Prep Time: 15 minutes
- Cook Time: 30 minutes
- Category: Craft
- Method: Crafting
Nutrition
- Serving Size: N/A
- Calories: 0
- Sugar: 0g
- Sodium: 0mg
- Fat: 0g
- Saturated Fat: 0g
- Unsaturated Fat: 0g
- Trans Fat: 0g
- Carbohydrates: 0g
- Fiber: 0g
- Protein: 0g
- Cholesterol: 0mg

