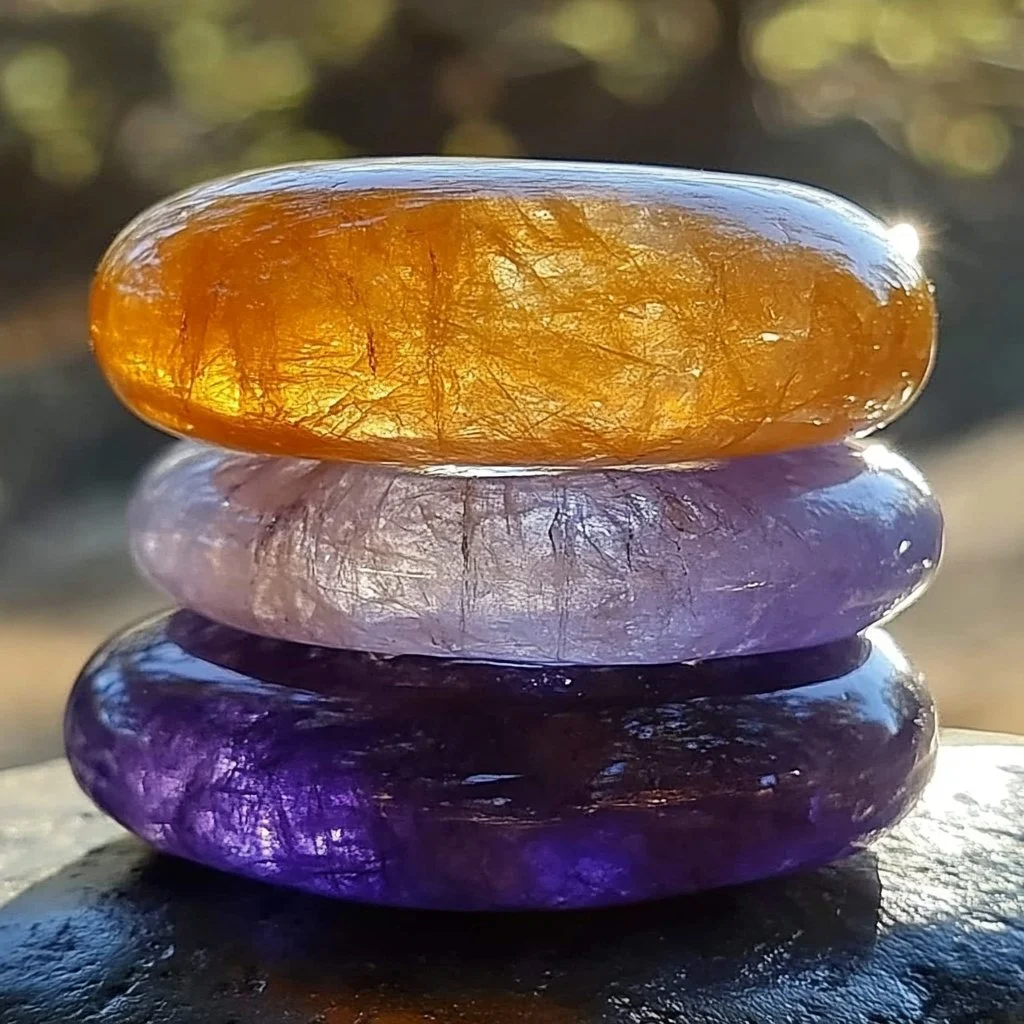
DIY Worry Stones Craft
Growing up, I spent countless summers at my grandmother’s house where we would often sit on the porch and share our worries, hopes, and dreams. In her gentle hands, she crafted these beautiful little worry stones, each one unique and filled with the spirit of family. Whenever I held one, I felt a sense of calm wash over me, as if the world outside could wait just a little longer. This simple yet profound tradition is not just a craft; it’s a connection to my roots—a way to tame our racing thoughts with something tangible. Now as the winter season approaches, it’s the perfect time to create your own worry stones. These little treasures not only make for meaningful keepsakes but are also wonderful gifts to share with loved ones amidst the hustle and bustle of the holidays.
Why You’ll Love This DIY Worry Stones Craft
- Therapeutic: Ideal for calming anxious thoughts.
- Kid-Friendly: A fun and creative activity for all ages.
- Personalized: Each stone can reflect the personality of its creator.
- Sustainable: Use natural materials that are eco-friendly.
- Memory Crafting: Create lasting reminders of loved ones or precious moments.
Ingredients
- Smooth, flat stones (6-8)
- Non-toxic paints or permanent markers
- Paintbrushes (optional)
- Clear sealant spray (optional)
- Soft cloth for polishing
Step-by-Step Instructions
1. Gather Your Materials
Start by collecting smooth, flat stones. These can be found in your backyard, local park, or craft store. Aim for stones that fit comfortably in your hand.
2. Clean the Stones
Wash the stones with soap and water to remove any dirt. Pat them dry with a soft cloth until they are spotless.
3. Paint or Decorate
Use non-toxic paints or permanent markers to decorate your stones. Let your imagination run wild! You could create patterns, inspirational words, or simply color them in your favorite shades.
4. Allow to Dry
Set the decorated stones aside for a few hours to let the paint or marker dry completely. This is an excellent time to brainstorm designs for the next batch!
5. Seal the Stones (Optional)
For added durability, spray the finished stones with a clear sealant. This step is particularly useful if you’re gifting them.
6. Store and Use
Enjoy your worry stones by keeping them in a special place or passing them on to family and friends. Whenever you feel overwhelmed, hold a stone in your hand and focus on your breath; let your worries drift away.
Tips & Variations
- Swaps: Use pebbles or river rocks if you can’t find smooth stones.
- Personalization: Write names or initials on the stones for a personalized touch.
- Theme Ideas: Create a themed set (nature, seasons, colors) for gift-giving.
- Kids Crafts: Use stickers instead of paint for younger children.
Storage Instructions
Store your worry stones in a cool, dry place. If sealed, they can remain outdoors, but keep them sheltered from harsh weather conditions.
Nutritional Information
- Prep time: 15 minutes
- Total time: 3-4 hours (including drying time)
- Servings: This craft makes 6-8 worry stones, but feel free to make more!
Frequently Asked Questions
1. Can I use any type of stone?
Yes, but it’s best to use smooth, flat stones to achieve a comforting feel in your hand.
2. What if I don’t have paint?
You can use permanent markers, colored pencils, or even washi tape for decoration.
3. How can I customize these for gifts?
Consider adding thoughtful messages, using favorite colors, or incorporating personal symbols.
4. Can kids participate in this craft?
Absolutely! Just supervise younger children with the paints and scissors when necessary.
Serving Suggestions or Pairings
While this isn’t a recipe for food, you might consider pairing your worry stones with a calming herbal tea or perhaps create a special “worry jar” where you can write your stresses down, in tandem with your stones.
Final Thoughts
Crafting your own worry stones is not only a creative outlet but also a heartwarming way to foster connections—whether with yourself or with family and friends. I encourage you to share your creations and stories in the comments below. What designs inspired you? Let’s keep this lovely tradition alive together! Happy crafting!

