Introduction
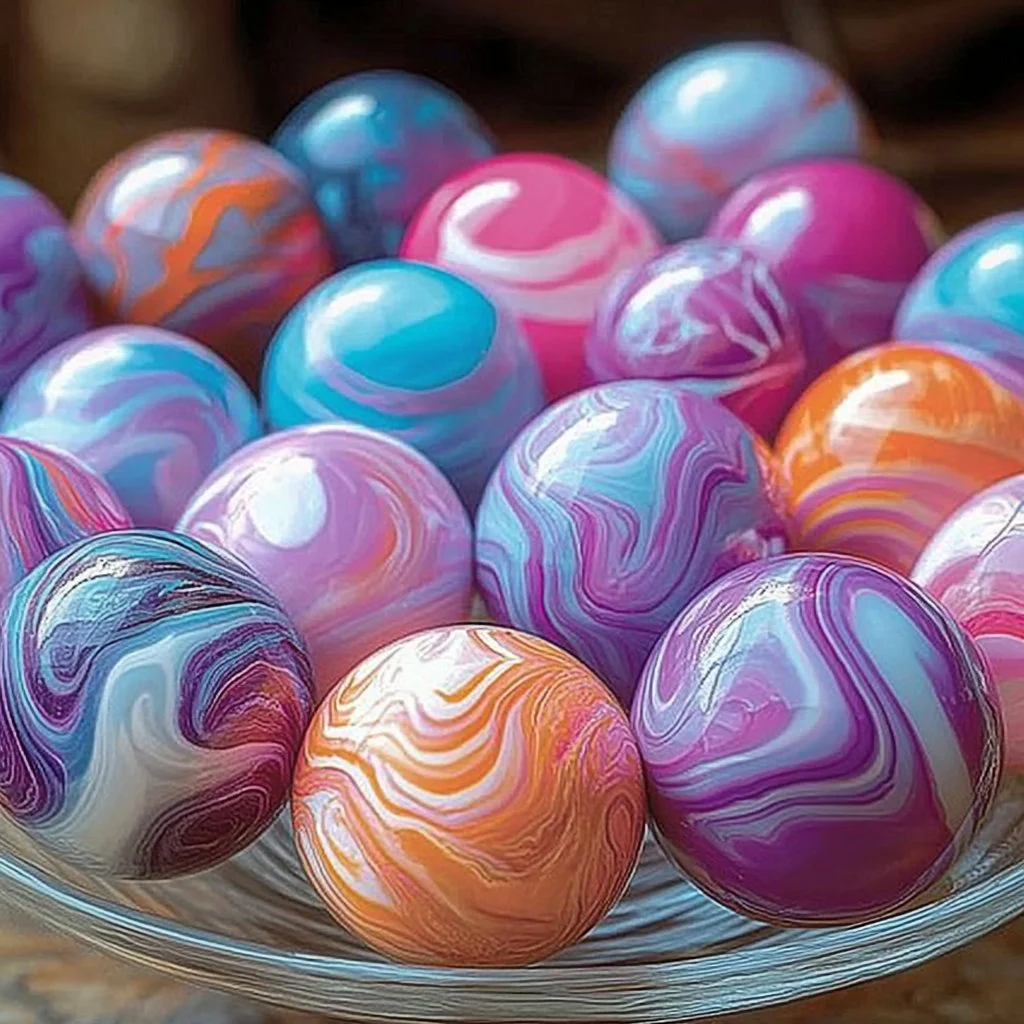
Crafting DIY worry stones is a therapeutic and enjoyable activity that allows you to create tactile objects designed to ease anxiety. Worry stones, traditionally smooth and flat, are often used to help calm the mind and reduce stress when held between the fingers. The act of rubbing the stone can provide a sensory distraction, allowing you to focus and find peace in challenging moments. This creative project not only harnesses the benefits of mindfulness but also adds a personal touch to your self-care routine. With minimal materials and simple steps, you can make worry stones that reflect your style, making them perfect for yourself or thoughtful gifts for friends and family.
Why You’ll Love This DIY Worry Stones:
- Relaxation Tool: These stones can help ease anxiety and promote mindfulness.
- Personalized Touch: You can customize stones with colors, patterns, and textures.
- Simple Craft: Ideal for all skill levels, making it a perfect family or solo project.
- Affordable: Uses inexpensive materials found around your home or local craft store.
- Great Gift: Handmade worry stones make thoughtful presents for loved ones.
Materials
- Smooth, flat stones (river stones or beach stones work well)
- Sandpaper (for smoothing edges)
- Paints (acrylic or watercolor)
- Paintbrushes or sponges
- Sealant (optional, to protect the finish)
- Clear adhesive gems or stickers (optional for decoration)
Full Step-by-Step
1. Prepare Your Stones
- Start by rinsing the stones to remove dirt and dust.
- Use sandpaper to smooth any rough edges, ensuring they feel pleasant in your hand.
2. Design Your Stones
- Decide on your design: you can paint patterns, symbols, or simply color them.
- Use a paintbrush or sponge to apply paint evenly. Feel the texture of the paint as it glides onto the stone.
3. Allow to Dry
- Let your painted stones sit undisturbed in a warm, dry place.
- Depending on the paint, drying may take a few hours.
4. Apply Sealant (Optional)
- If you want to protect your design, apply a thin layer of sealant to each stone.
- This step adds durability, especially if you plan to use them often.
5. Decorate (Optional)
- For added flair, use clear adhesive gems or stickers to embellish your stones.
- Feel free to experiment with different placements and combinations.
Tips & Variations
- Color Swapping: Use different paint colors for each stone based on mood or preference.
- Texture Play: Incorporate textured materials, like fabric or yarn, to create unique touch sensations.
- Personal Messages: Write affirmations or inspirational quotes on the stones with permanent markers.
- Natural Touch: Consider using natural pigments from plants for a more organic look.
Frequently Asked Questions
Q: Can I use any type of stone?
A: While any smooth stone can work, flat stones are typically best for ease of handling.
Q: What if I don’t have paint?
A: You can use markers, crayons, or even colored pencils if paint is unavailable.
Q: How can I ensure my stones are kid-friendly?
A: Use non-toxic paints and sealants to keep the project safe for children.
Q: What if I want to make worry stones for a larger group?
A: Consider setting up a crafting station with various colors and materials for everyone to enjoy.
Suggestions
- Host a worry stone crafting party to help friends and family express their creativity.
- Pair your worry stones with guided meditation sessions for enhanced relaxation.
- Create themed stones for holidays or special events, adding a festive element to your craft.
Final Thoughts
Crafting your own DIY worry stones can be a rewarding and calming journey. Whether you keep them for yourself or share them with loved ones, these personalized stones can serve as both art and comfort. We’d love to see your versions! Share your completed projects or any modifications in the comments below!
Print
DIY Worry Stones
- Total Time: 120 minutes
- Yield: 4 stones
- Diet: N/A
Description
Craft your own worry stones to help ease anxiety and add a personal touch to your self-care routine.
Ingredients
- Smooth, flat stones (river stones or beach stones)
- Sandpaper
- Paints (acrylic or watercolor)
- Paintbrushes or sponges
- Sealant (optional)
- Clear adhesive gems or stickers (optional)
Instructions
- Prepare Your Stones: Rinse the stones to remove dirt and use sandpaper to smooth rough edges.
- Design Your Stones: Paint patterns or colors on the stones with a paintbrush or sponge.
- Allow to Dry: Let painted stones dry in a warm, dry place for a few hours.
- Apply Sealant (Optional): Use sealant for added durability on your designs.
- Decorate (Optional): Embellish stones with clear adhesive gems or stickers.
Notes
Feel free to customize your stones with colors, textures, and personal messages.
- Prep Time: 15 minutes
- Cook Time: 0 minutes
- Category: Craft
- Method: Crafting
- Cuisine: N/A
Nutrition
- Serving Size: 1 stone
- Calories: 0
- Sugar: 0g
- Sodium: 0mg
- Fat: 0g
- Saturated Fat: 0g
- Unsaturated Fat: 0g
- Trans Fat: 0g
- Carbohydrates: 0g
- Fiber: 0g
- Protein: 0g
- Cholesterol: 0mg

