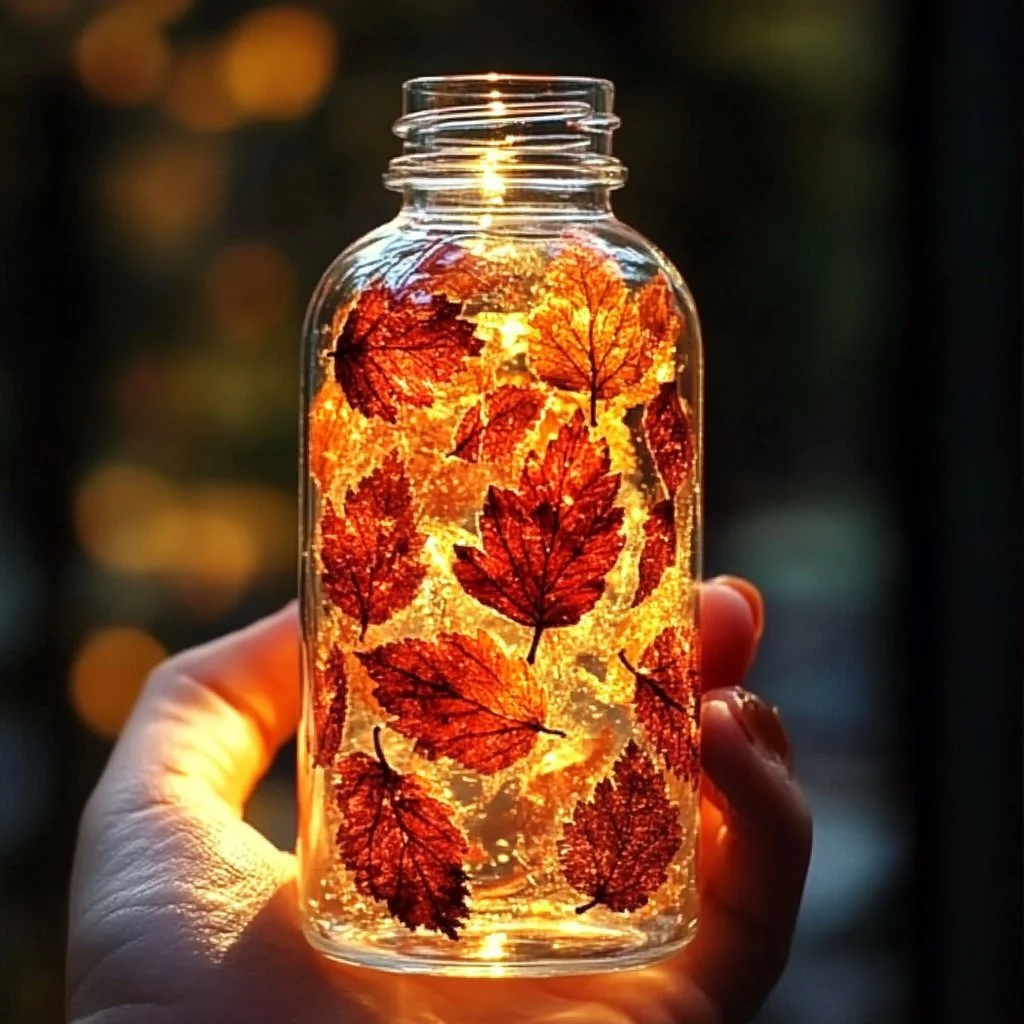
Fall is a season filled with vibrant colors and a gentle breeze, making it the perfect time to immerse ourselves in the beauty of nature. What better way to capture this essence than by creating a DIY Windy Fall Leaves Sensory Bottle? This delightful craft not only promotes creativity but also engages the senses, making it a fun and educational project for people of all ages. Whether you’re looking for a relaxing activity for yourself or a hands-on project to share with family and friends, a sensory bottle can be a captivating addition to your autumn decor or a calming tool for little ones.
In this guide, we’ll walk you through the steps to create your very own sensory bottle that showcases the beauty of fall leaves while providing a mesmerizing experience as the contents swirl and dance in the bottle.
Why You’ll Love This DIY Windy Fall Leaves Sensory Bottle:
- Engaging Sensory Experience: The movement of leaves and the fluid in the bottle create a soothing visual.
- Educational Value: Great for teaching kids about the changing seasons and nature.
- Customizable: Personalize your sensory bottle with colors and materials that resonate with you.
- Relaxing Activity: Perfect for stress relief, meditation, or simply enjoying a moment of tranquility.
- Easy to Make: Requires minimal supplies and can be assembled in just a short amount of time.
Materials:
- Clear plastic or glass bottle with a tight-fitting lid
- Small fall leaves (real or fake)
- Clear glycerin or clear glue
- Water
- Optional: Glitter, small pine cones, or acorns
- Funnel (for easier pouring)
Full Step-by-Step:
Prepare Your Bottle
- Clean the bottle: Ensure your bottle is clean and dry, removing any labels if needed.
- Gather your leaves: Collect small, colorful fall leaves that will fit through the opening of your bottle.
Create the Liquid Mixture
- Mix the filling: In a separate container, combine 1 part clear glycerin (or glue) with 2 parts water to create your liquid base.
- Add optional items: If desired, include glitter or small natural items like acorns.
Assemble the Sensory Bottle
- Use a funnel: Carefully pour your prepared liquid mixture into the bottle using a funnel.
- Add the leaves: Gently insert the fall leaves into the bottle.
- Seal the bottle: Ensure the lid is tightly closed to prevent leaks before shaking and swirling the contents.
Enjoy Your Creation
- Shake it up: Give your sensory bottle a gentle shake, and watch as the leaves float and swirl.
Tips & Variations:
- Customization: Feel free to add essential oils for a calming scent or colored liquids for a fun visual impact.
- Swap Materials: You can replace glycerin with clear hair gel if that’s more accessible.
- Size Matters: Experiment with different bottle sizes for varied sensory experiences.
- Seasonal Themes: Switch out leaves and other fillers for different seasons to keep it fresh year-round.
Frequently Asked Questions:
1. Can I use real leaves?
Yes, real leaves work great! Just ensure they are dried and preserved to prevent decay.
2. What if my bottle leaks?
Make sure the lid is sealed tightly. For added security, you can also use hot glue around the lid before sealing.
3. How long will the sensory bottle last?
If made correctly, it should last for months! However, be mindful of any decay if you use real leaves.
4. Can I use colored water?
Absolutely! You can add food coloring to the water for a more vibrant effect.
Suggestions:
- Consider making a matching set for each season: spring flowers, summer seashells, autumn leaves, and winter snowflakes.
- Use the sensory bottle as a calming tool for children during quiet time or before bed.
- Try incorporating thematic stories about fall while showing the sensory bottle to engage and educate kids.
Final Thoughts
Creating a DIY Windy Fall Leaves Sensory Bottle is not only a fun autumn activity but also a meaningful way to connect with nature and enhance your sensory experiences. We encourage you to share your versions or any variations you implement in the comments below! Enjoy crafting and embracing the beauty of fall!
Print
DIY Windy Fall Leaves Sensory Bottle
- Total Time: 15 minutes
- Yield: 1 sensory bottle
Description
Create a captivating sensory bottle filled with fall leaves that swirls and dances, promoting relaxation and creativity.
Ingredients
- Clear plastic or glass bottle with a tight-fitting lid
- Small fall leaves (real or fake)
- Clear glycerin or clear glue
- Water
- Optional: Glitter, small pine cones, or acorns
- Funnel (for easier pouring)
Instructions
- Clean the bottle and remove any labels.
- Gather small colorful fall leaves that fit through the bottle opening.
- In a separate container, mix 1 part clear glycerin (or glue) with 2 parts water.
- If desired, add glitter or small natural items like acorns to the mixture.
- Use a funnel to carefully pour the liquid mixture into the bottle.
- Gently insert the fall leaves into the bottle.
- Seal the bottle tightly to prevent leaks.
- Give the bottle a gentle shake and watch the leaves float and swirl.
Notes
Customize with essential oils or colored liquids for a unique sensory experience. Experiment with different bottle sizes for varied effects.
- Prep Time: 15 minutes
- Cook Time: 0 minutes
- Category: Craft
- Method: DIY
Nutrition
- Serving Size: 1 bottle
- Calories: 0
- Sugar: 0g
- Sodium: 0mg
- Fat: 0g
- Saturated Fat: 0g
- Unsaturated Fat: 0g
- Trans Fat: 0g
- Carbohydrates: 0g
- Fiber: 0g
- Protein: 0g
- Cholesterol: 0mg

