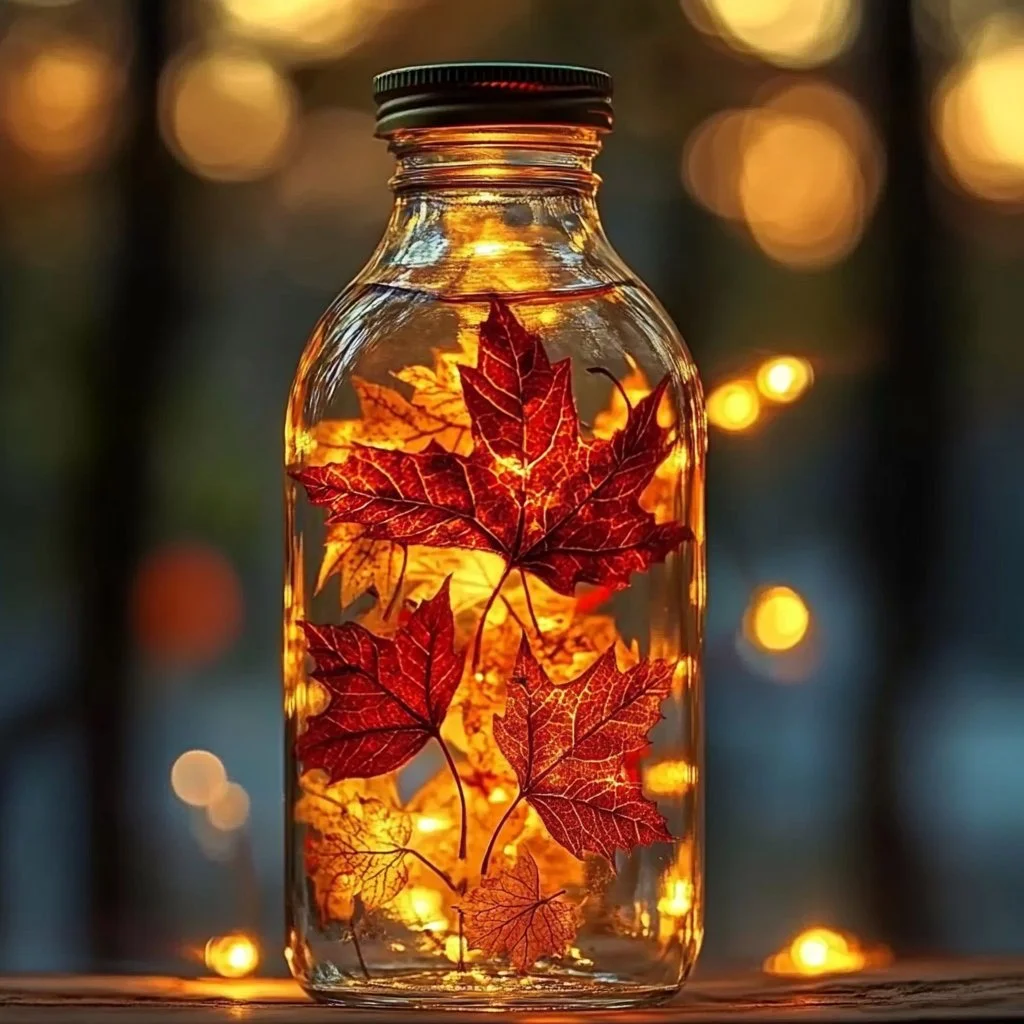
As the leaves turn vibrant shades of red, orange, and yellow in the fall, a DIY Windy Fall Leaves Sensory Bottle presents a delightful way to capture that essence in a fun and interactive craft. This sensory bottle not only brings the beauty of the season indoors but also provides a calming sensory experience suitable for all ages. Crafted using easily accessible materials, you can create a mesmerizing display that mimics the falling leaves in a gentle breeze. Whether you’re looking for a creative activity with children or a unique decorative piece for your home, this DIY project is both engaging and visually enchanting.
Why You’ll Love This DIY Windy Fall Leaves Sensory Bottle
- Engaging Sensory Play: Perfect for children and adults alike, this bottle provides a soothing visual experience.
- Seasonal Decor: Adds a touch of autumn charm to any room.
- Customizable: Use various materials and colors to make it uniquely yours.
- Easy to Make: Simple steps mean you can create this in under an hour.
- Educational Activity: Encourages discussions about nature, seasons, and colors.
Materials
- Clear plastic or glass bottle (with a tight-sealing lid)
- Dried leaves (real or artificial)
- Clear liquid (water, glitter glue, or vegetable glycerin)
- Optional: glitter or small decorative items (like beads, sequins)
- Funnel (for easy filling)
- Measuring cup (if using liquid)
Full Step-by-Step
1. Prepare Your Leaves
- Select your leaves: Choose dried leaves in various autumn colors.
- Break or chop them if needed to fit inside the bottle.
2. Fill the Bottle
- Use the funnel: Place it in the neck of the bottle.
- Add leaves carefully: Pour in the dried leaves, ensuring they’re evenly distributed.
3. Add the Liquid
- Choose your liquid: Fill the bottle with clear water, glitter glue, or vegetable glycerin.
- Leave some space: Do not overfill! Leave about an inch of space at the top.
4. Add Glitter and Decorations (Optional)
- Sprinkle in glitter: For a magical touch, add a few pinches of glitter or other decorative items.
5. Seal the Bottle
- Tightly secure the lid: Ensure it’s closed properly to avoid leaks.
- Shake gently: Turn the bottle upside down to mix everything, then watch how the leaves float and swirl.
Tips & Variations
- Use a different liquid: Experiment with colored water or vegetable glycerin for a thicker, slower movement of leaves.
- Add scents: Drop in a few drops of essential oil to infuse pleasant fragrances.
- Swap decor: Instead of leaves, use small autumn-themed items like mini pumpkins, acorns, or pinecones for a different look.
- Create a themed set: Make multiple bottles with different themes for a sensory bottle collection.
Frequently Asked Questions
Q1: Can I use fresh leaves?
A1: Fresh leaves may rot over time. It’s better to use dried or artificial leaves.
Q2: What if my bottle leaks?
A2: Ensure the lid is tightly sealed. Consider using glue around the lid to ensure it doesn’t come off.
Q3: Can children make this on their own?
A3: Children can make this craft with adult supervision, especially for handling liquids or glass.
Q4: How can I clean the bottle?
A4: If necessary, rinse with warm water and a little vinegar, then dry thoroughly before refilling.
Suggestions
- Try creating themed sensory bottles for holidays or changing seasons.
- Use larger bottles for a more dramatic display, perfect for table centerpieces.
- Incorporate lights by using LED fairy lights inside for added charm.
Final Thoughts
Crafting a DIY Windy Fall Leaves Sensory Bottle is a rewarding activity that celebrates the beauty of autumn and provides sensory enjoyment. We hope you enjoy making and personalizing your bottle! Share your versions or leave a comment below to inspire others with your creativity!
Print
DIY Windy Fall Leaves Sensory Bottle
- Total Time: 10 minutes
- Yield: 1 sensory bottle
- Diet: N/A
Description
Create a mesmerizing sensory bottle that captures the essence of autumn with dried leaves and clear liquid for soothing visual play.
Ingredients
- Clear plastic or glass bottle (with a tight-sealing lid)
- Dried leaves (real or artificial)
- Clear liquid (water, glitter glue, or vegetable glycerin)
- Optional: glitter or small decorative items (like beads, sequins)
- Funnel (for easy filling)
- Measuring cup (if using liquid)
Instructions
- Select your leaves: Choose dried leaves in various autumn colors. Break or chop them if needed to fit inside the bottle.
- Use the funnel: Place it in the neck of the bottle. Add leaves carefully: Pour in the dried leaves, ensuring they’re evenly distributed.
- Choose your liquid: Fill the bottle with clear water, glitter glue, or vegetable glycerin. Leave some space: Do not overfill! Leave about an inch of space at the top.
- Sprinkle in glitter: For a magical touch, add a few pinches of glitter or other decorative items.
- Tightly secure the lid: Ensure it’s closed properly to avoid leaks. Shake gently: Turn the bottle upside down to mix everything, then watch how the leaves float and swirl.
Notes
Consider using different liquids or scents, and swap decor for various themes.
- Prep Time: 10 minutes
- Cook Time: 0 minutes
- Category: Craft
- Method: DIY Crafting
- Cuisine: N/A
Nutrition
- Serving Size: 1 bottle
- Calories: 0
- Sugar: 0g
- Sodium: 0mg
- Fat: 0g
- Saturated Fat: 0g
- Unsaturated Fat: 0g
- Trans Fat: 0g
- Carbohydrates: 0g
- Fiber: 0g
- Protein: 0g
- Cholesterol: 0mg

